[toc]

安装系统

更换系统源

清华大学源

如何添加armv7l架构源,很简单,只需编辑/etc/apt/sources.list,并且无需额外的服务或者整机的重启操作。

先注释掉所有语句,然后加入:

1
2
3
deb https://mirrors.tuna.tsinghua.edu.cn/raspbian/raspbian/ bullseye main non-free contrib rpi
deb-src https://mirrors.tuna.tsinghua.edu.cn/raspbian/raspbian/ bullseye main non-free contrib rpi
deb [arch=arm64] https://mirrors.tuna.tsinghua.edu.cn/raspbian/multiarch/ bullseye main

第一行是:

1
选择你的 Raspbian 对应的 Debian 版本: Debian 11 (bullseye) Debian 10 (buster) Debian 9 (stretch) 

第二行是:

源码目录仓库是否开启

1
启用源码镜像:是 

第三行是:

为arm64和aarch64提供deb包

1
启用 multi-arch aarch64:是

然后更新软件列表和软件即可

1
sudo apt-get update

如果出现证书问题

1
gpg --keyserver keyserver.ubuntu.com --recv-keys [报错的公钥]

如果还想加入aarch64架构的源也可这样,编辑 /etc/apt/sources.list.d/raspi.list 文件。

1
deb https://mirrors.tuna.tsinghua.edu.cn/raspberrypi/ bullseye main

然后更新软件列表和软件即可

1
sudo apt-get update

树莓派实验

RPI.GPIO 使用手册

RPI.GPIO包介绍

RPi.GPIO 模块程序包提供了一个在 Raspberry Pi 中控制 GPIO 的类。

**RPi.GPIO是 Python的一个module( 模块 ), 树莓派官方系统默认已经安装, 仍在不断更新中,可以访问 python主页下载源码 **
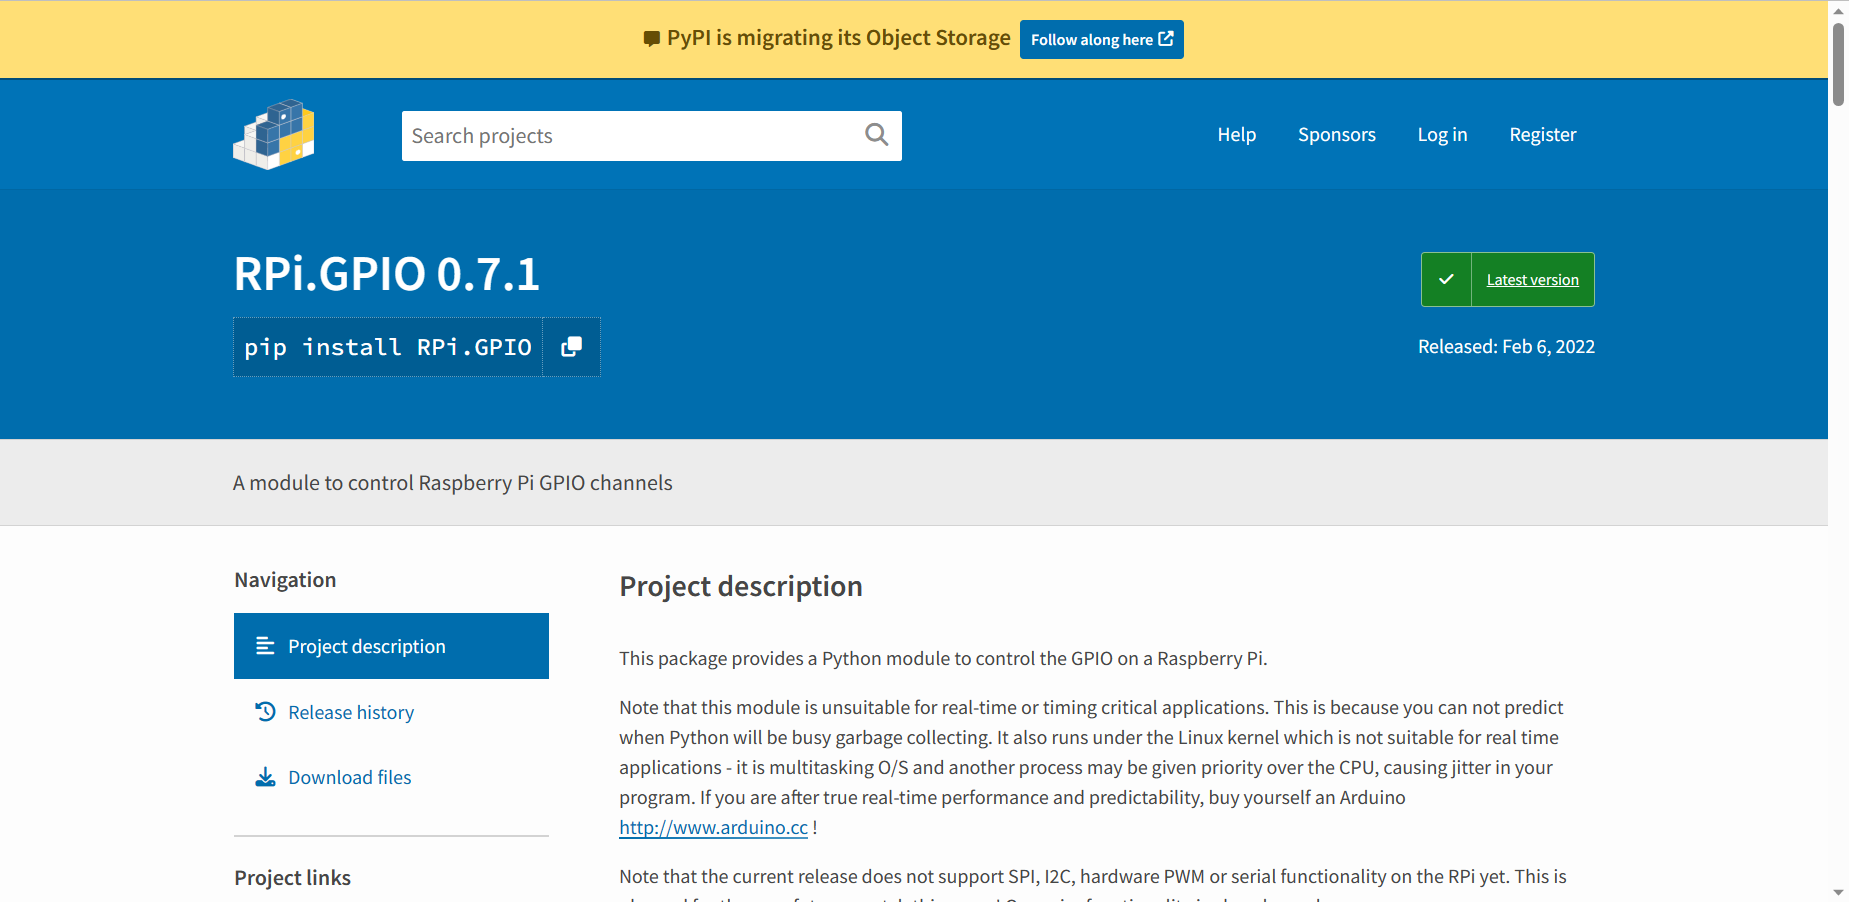
image-20230412210044844

注意,该模块不适合应用到追求实时性或计数周期的应用中。这是由于您无法预测 Ptyhon 何时繁忙,以及资源回收的时间。而且它是运行在基于 Linux 核心的系统中,也不合适用于实时应用 – 原因在于其它进程可能获得更高的 CPU 优先级。
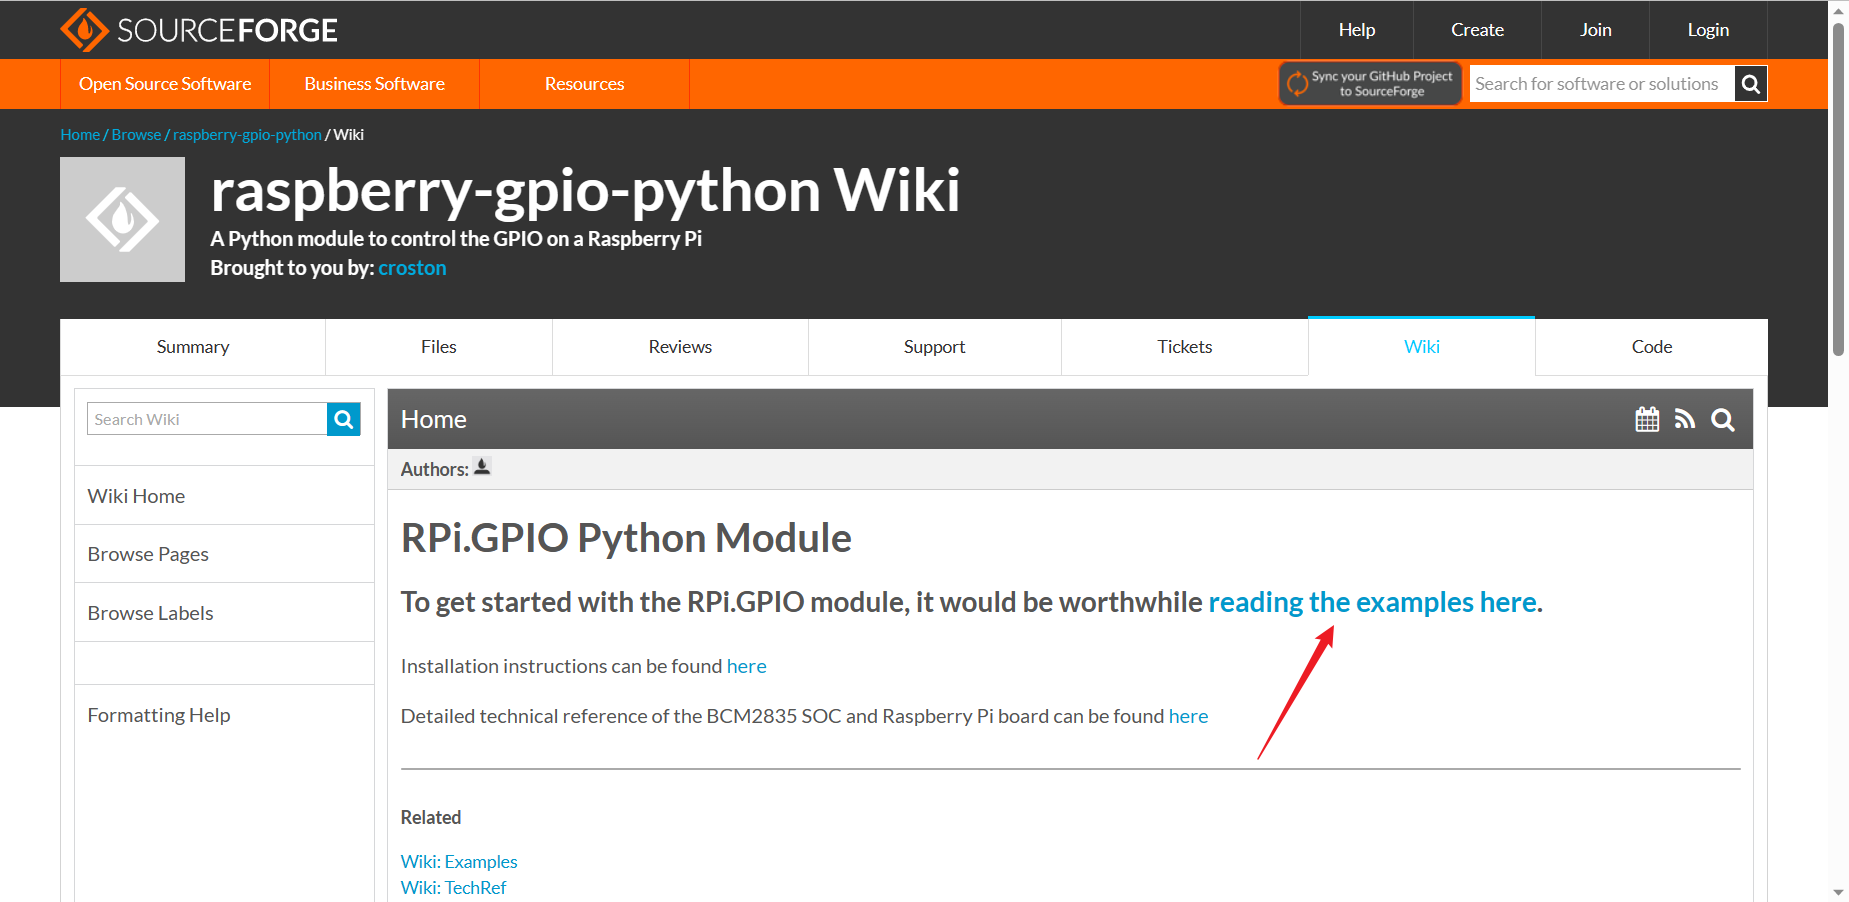
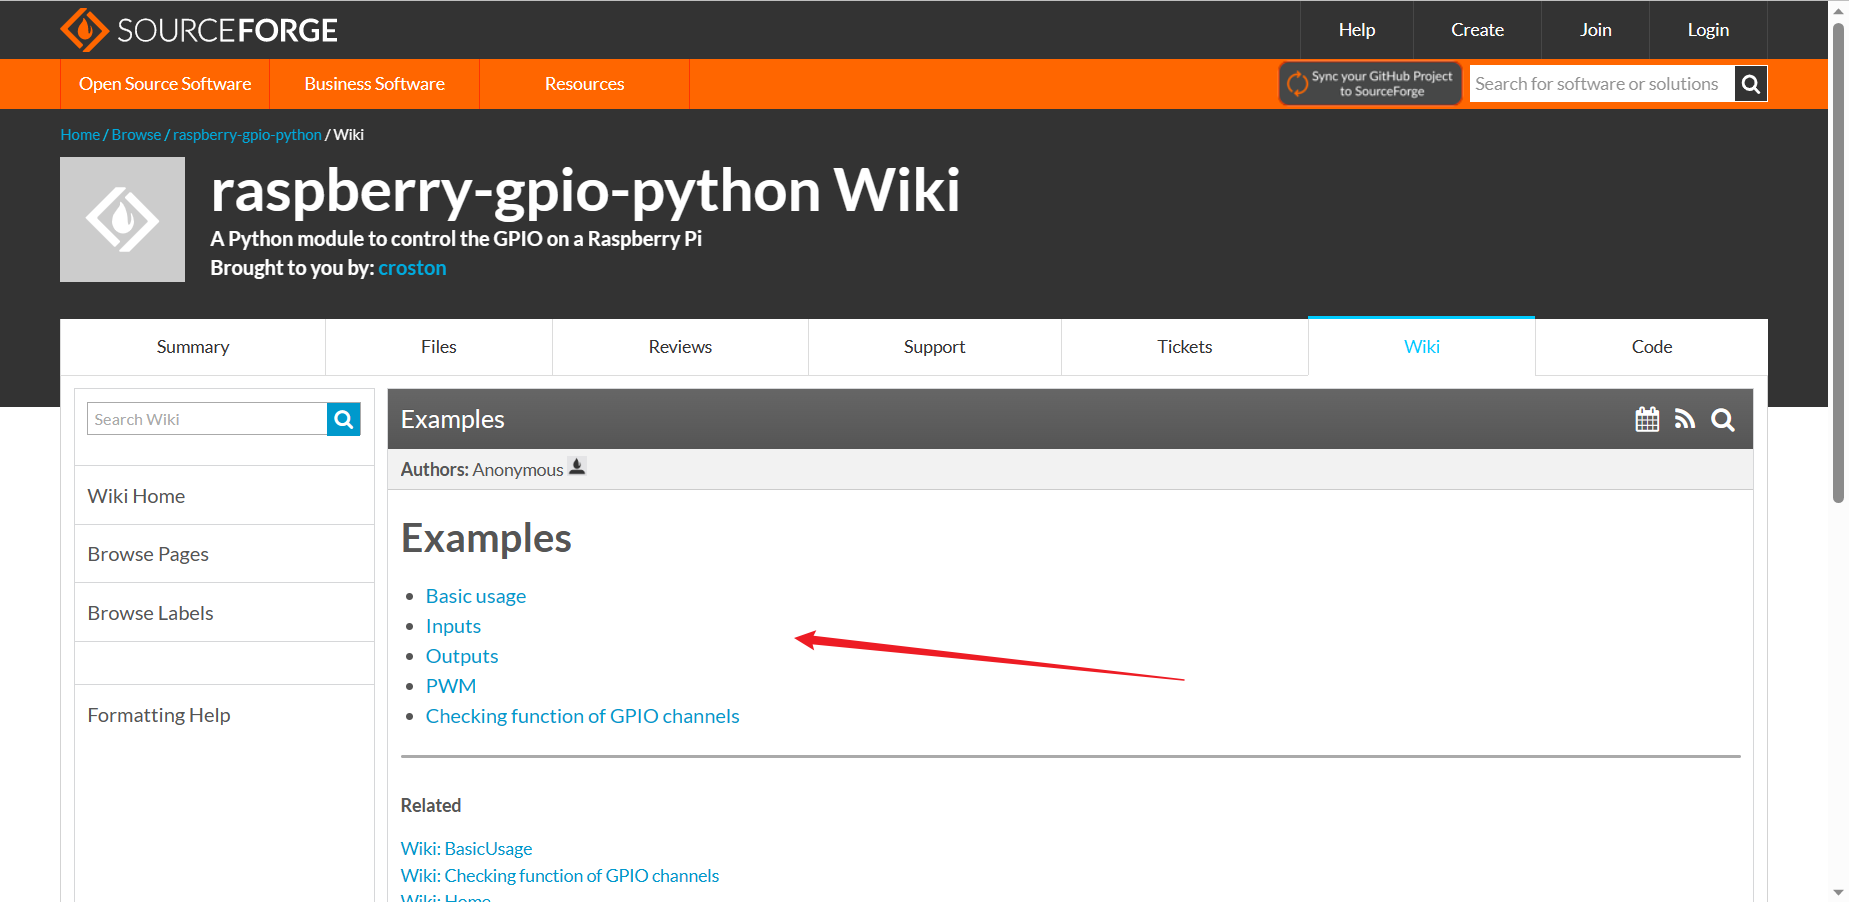
官方的帮助文档的链接:

image-20230412210406116

image-20230412210518012

导入模块

1
import RPi.GPIO as GPIO

通过这样,您可以在脚本的其余部分中将其称为 GPIO。

要导入模块并检查它是否成功,请执行以下操作:

1
2
3
4
try:
import RPi.GPIO as GPIO
except RuntimeError:
print("Error importing RPi.GPIO! This is probably because you need superuser privileges. You can achieve this by using 'sudo' to run your script")
1
2
解释:try except异常捕获处理
RuntimeError是运行时错误,如果触发这个就会打印后面print里面的话

引脚编号

在RPi.GPIO中,有两种方法可以对Raspberry Pi上的IO引脚进行编号。

第一种是使用BOARD编号系统。这是指Raspberry Pi板上P1接头上的引脚号。使用这种编号系统的优点是,无论树莓派的电路板版本如何,您的硬件都能正常工作。你不需要重新连接你的连接器或更改你的代码。

第二个编号系统是BCM号码。这是一种较低级别的工作方式 - 它指的是Broadcom SOC上的通道号码。您必须始终使用那个通道编号所对应的树莓派板上哪个引脚的图表。您的脚本程序可能会在Raspberry Pi板的硬件修订后而不能使用。

我们在使用RPi.GPIO包的时候必须要指定正在使用的(必需):

1
2
3
GPIO.setmode(GPIO.BOARD)
# or
GPIO.setmode(GPIO.BCM)

模式将是GPIO.BOARD则返回10,如果是GPIO.BCM则返回11,如果没有设置则返回None

下面附上GPIO图,适用BCM编码
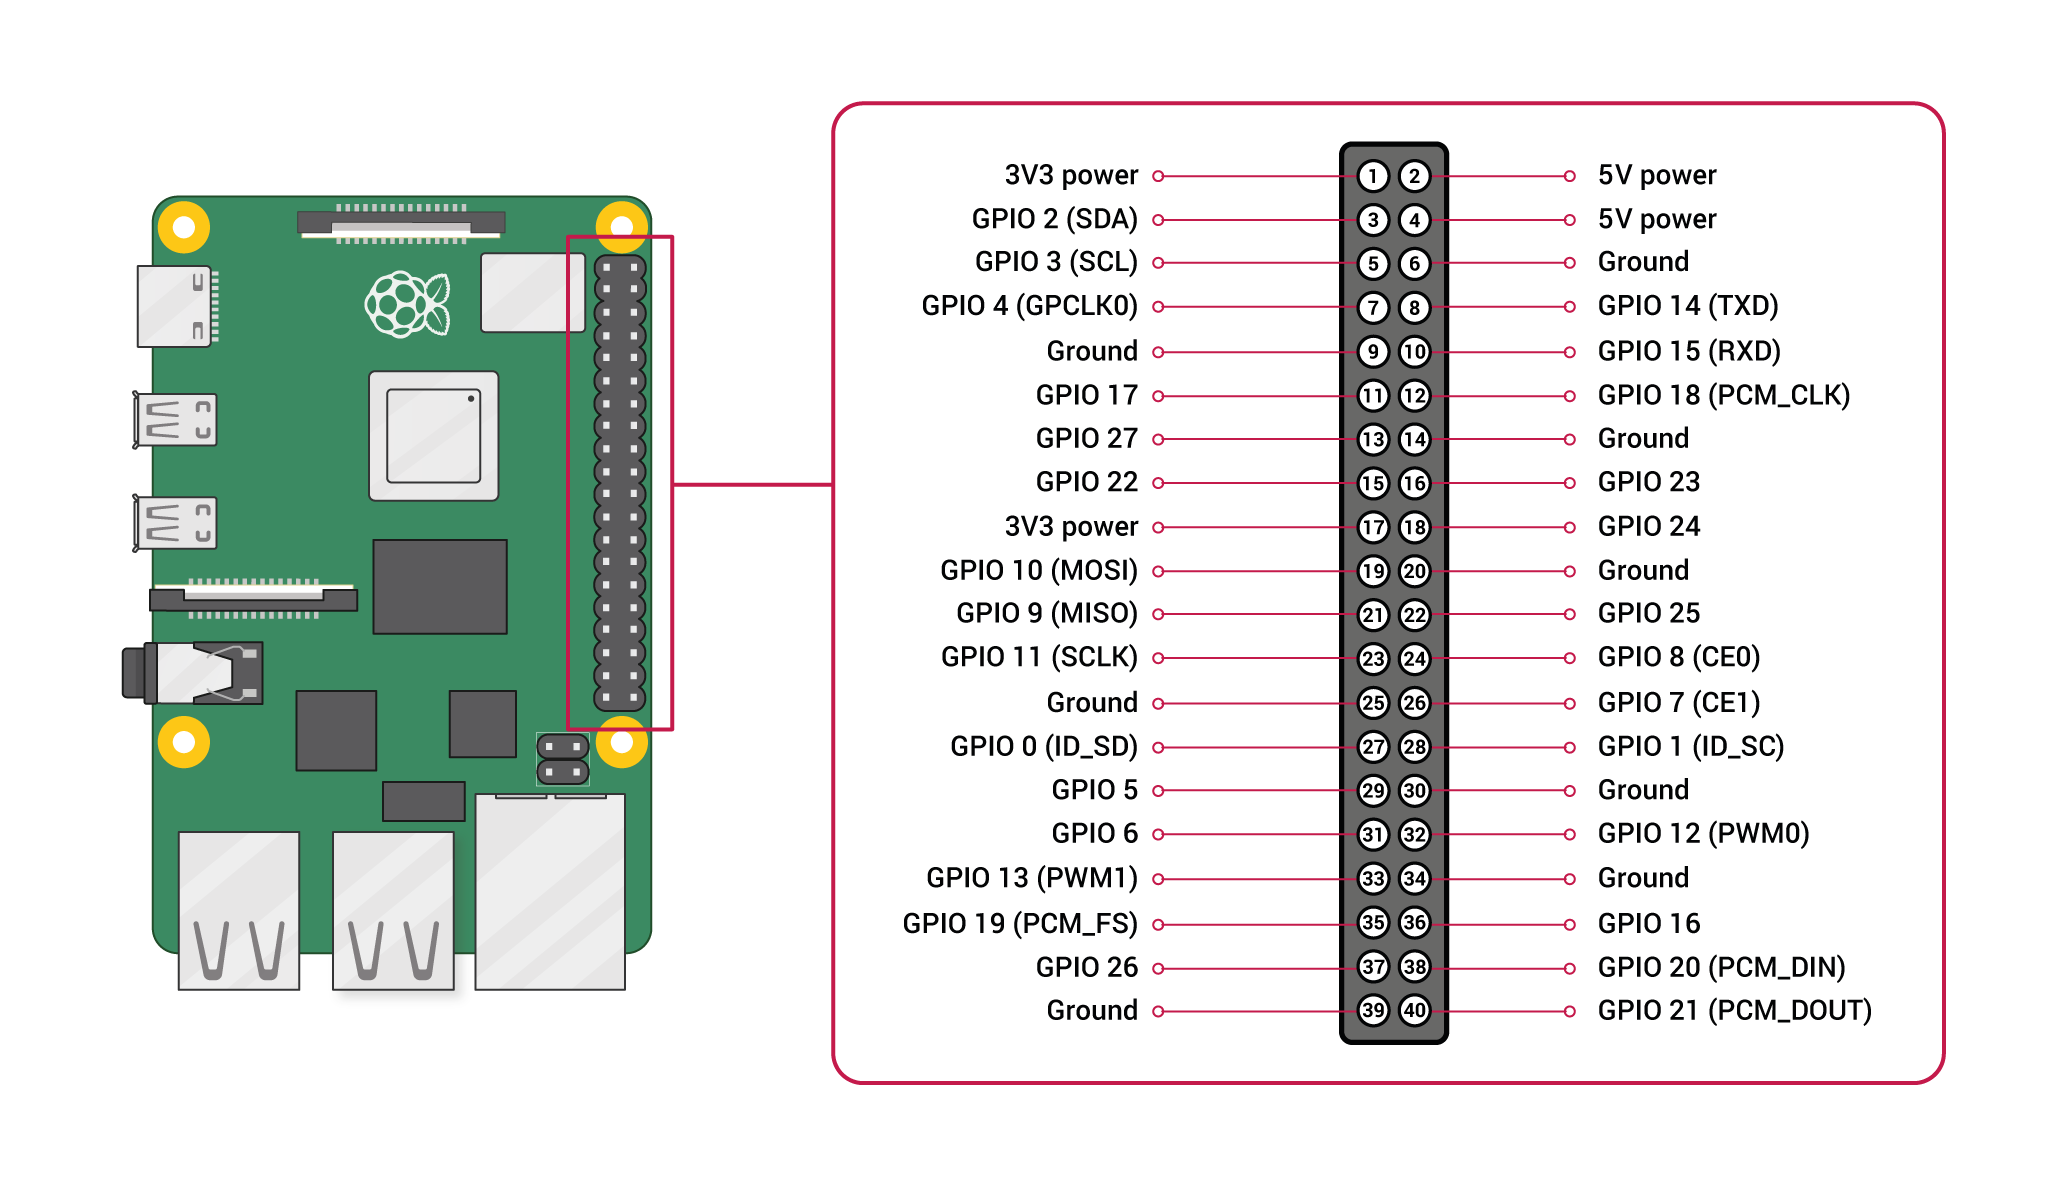
GPIO-Pinout-Diagram-2

image-20230412230626919

交互式引脚排列图:这个网站可以查看GPIO接口作用

警告

你可能在Raspberry Pi的GPIO上有多个脚本/电路。因此,如果RPi.GPIO检测到引脚已被配置为默认(输入)以外的其他引脚,则在尝试配置脚本时会收到警告。要禁用这些警告:

1
GPIO.setwarnings(False)

设置一个通道

你需要设置您用作输入或输出的每个通道。下面是将通道配置为输入:

1
GPIO.setup(channel, GPIO.IN)     #channel是作者定义的通道名,它最终会调用一个数字,即通道编号

(其中通道是基于你指定的编号系统(BOARD或BCM)的通道编号)。

有关设置输入通道的更多高级信息,请参阅此处

要将通道设置为输出:

1
GPIO.setup(channel, GPIO.OUT)

(其中通道是基于您指定的编号系统(BOARD或BCM)的通道编号)。

你还可以为您的输出通道指定一个初始值:

1
GPIO.setup(channel, GPIO.OUT, initial=GPIO.HIGH)

设置多个通道

你可以一次设置多个通道(从版本 0.5.8 及更高版本)。例如:

1
2
3
4
chan_list  =  [ 1112 ]     #添加任意数量的通道!
#你可以用元组代替,即:
#chan_list =(11,12
GPIO.setup(chan_list, GPIO.OUT)

输入

读取GPIO引脚的值:

1
GPIO.input(channel)

(其中通道是基于你指定的编号系统(BOARD 或 BCM)的通道编号)。这将返回0 / GPIO.LOW / False1 / GPIO.HIGH / True

有几种方法可以将GPIO输入到您的程序中。第一种也是最简单的方法是在某个时间点检查输入值。这就是所谓的“轮询”,如果你的程序在错误的时间读取了值,可能会错过输入。轮询在循环中执行,并可能是处理器密集型的。响应GPIO输入的另一种方式是使用’中断’(边沿检测)。边沿是从高电平到低电平(下降沿)或从低电平到高电平(上升沿)的意思。

点亮LED灯珠

实验材料:1.官方说的耐压2.2v的小灯珠(我经过5V测试两颗,果然烧了,然后使用树莓派3.3VGPIO口)、2.色环电阻一颗(27K)3.杜邦线公口若干条、4.GPIO口拓展线一根、5.T型GPIO拓展板一块、6.面包板一块

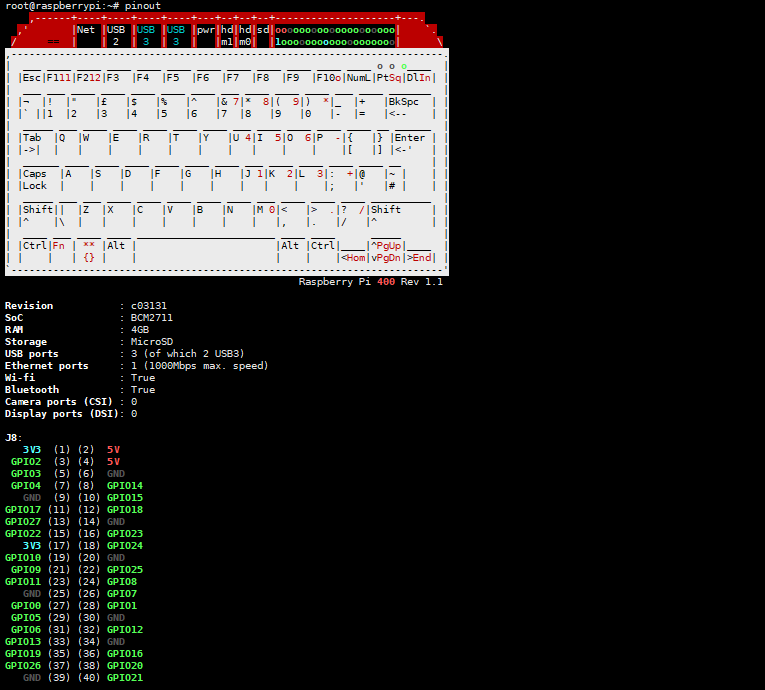
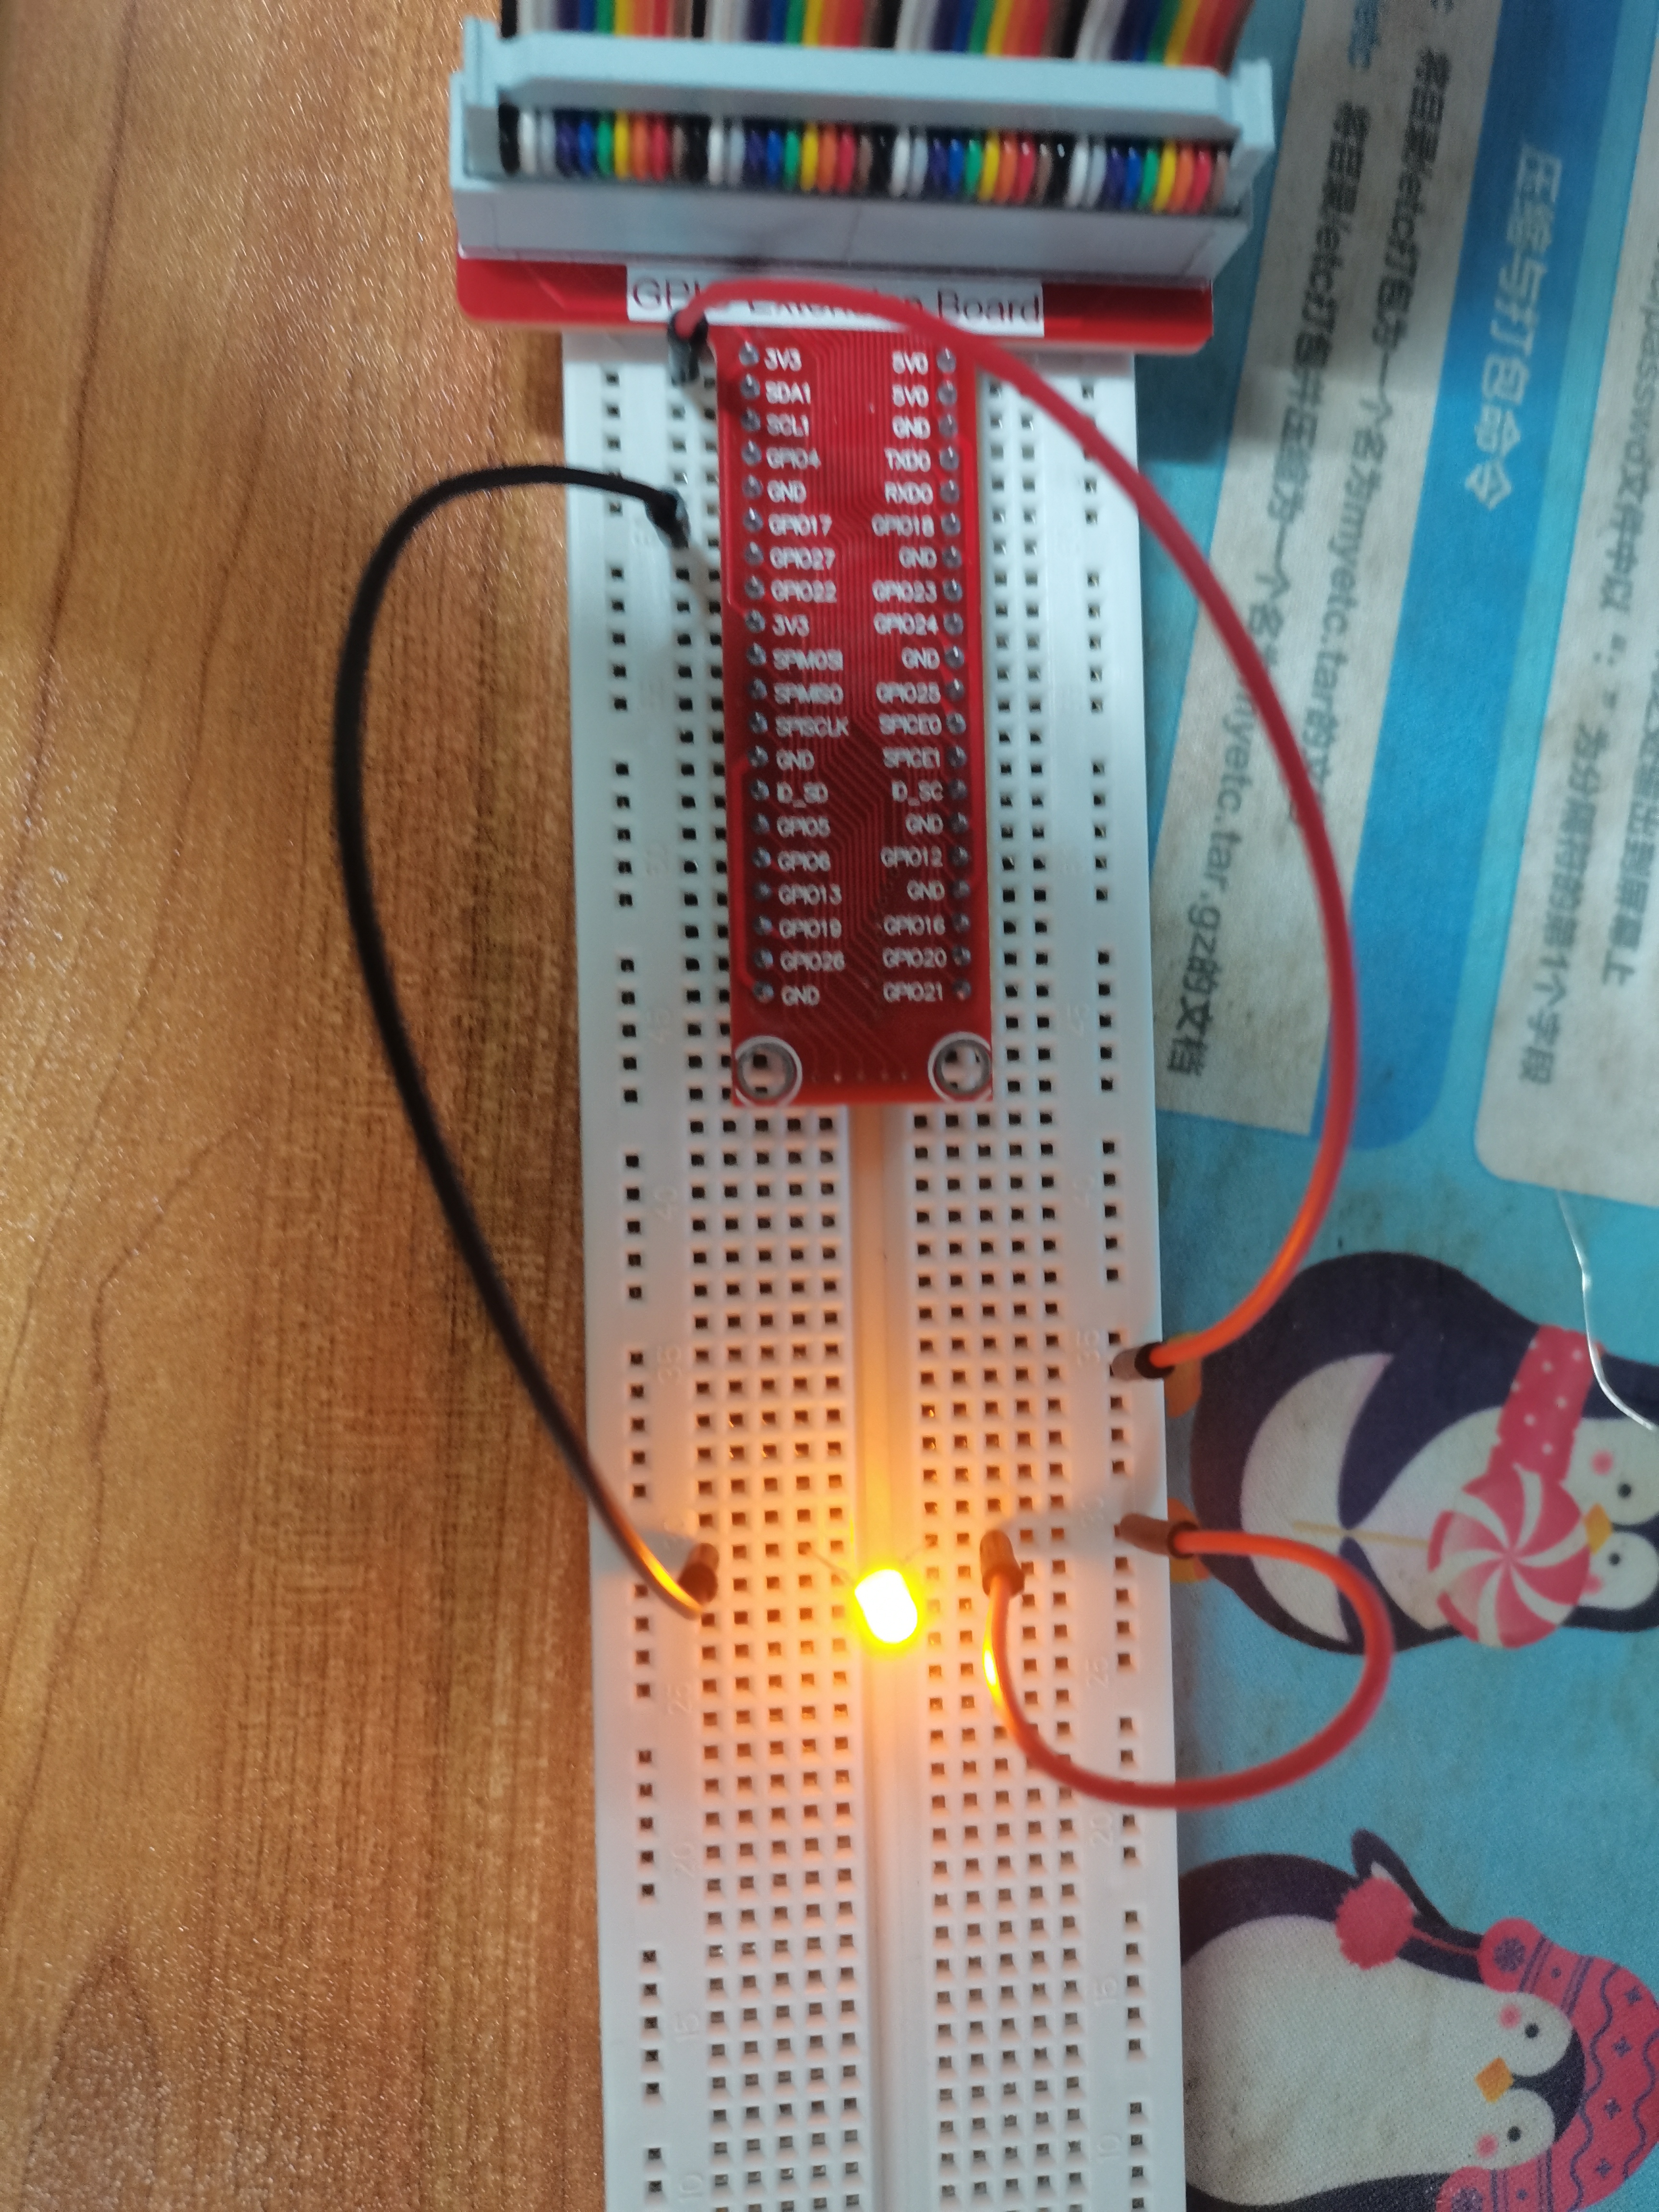
我们使用树莓派GPIO17接面包板的GND,然后树莓派GPIO第1口(3.3V)接面包板VCC,LED和电阻一起接上面包板GND和VCC(注意:LED有正负极,长的是+,短的是-;电阻不分正负),接上去之后可以看到LED灯是亮的,因为GPIO1口是默认3.3V电压,所以灯已经亮起。

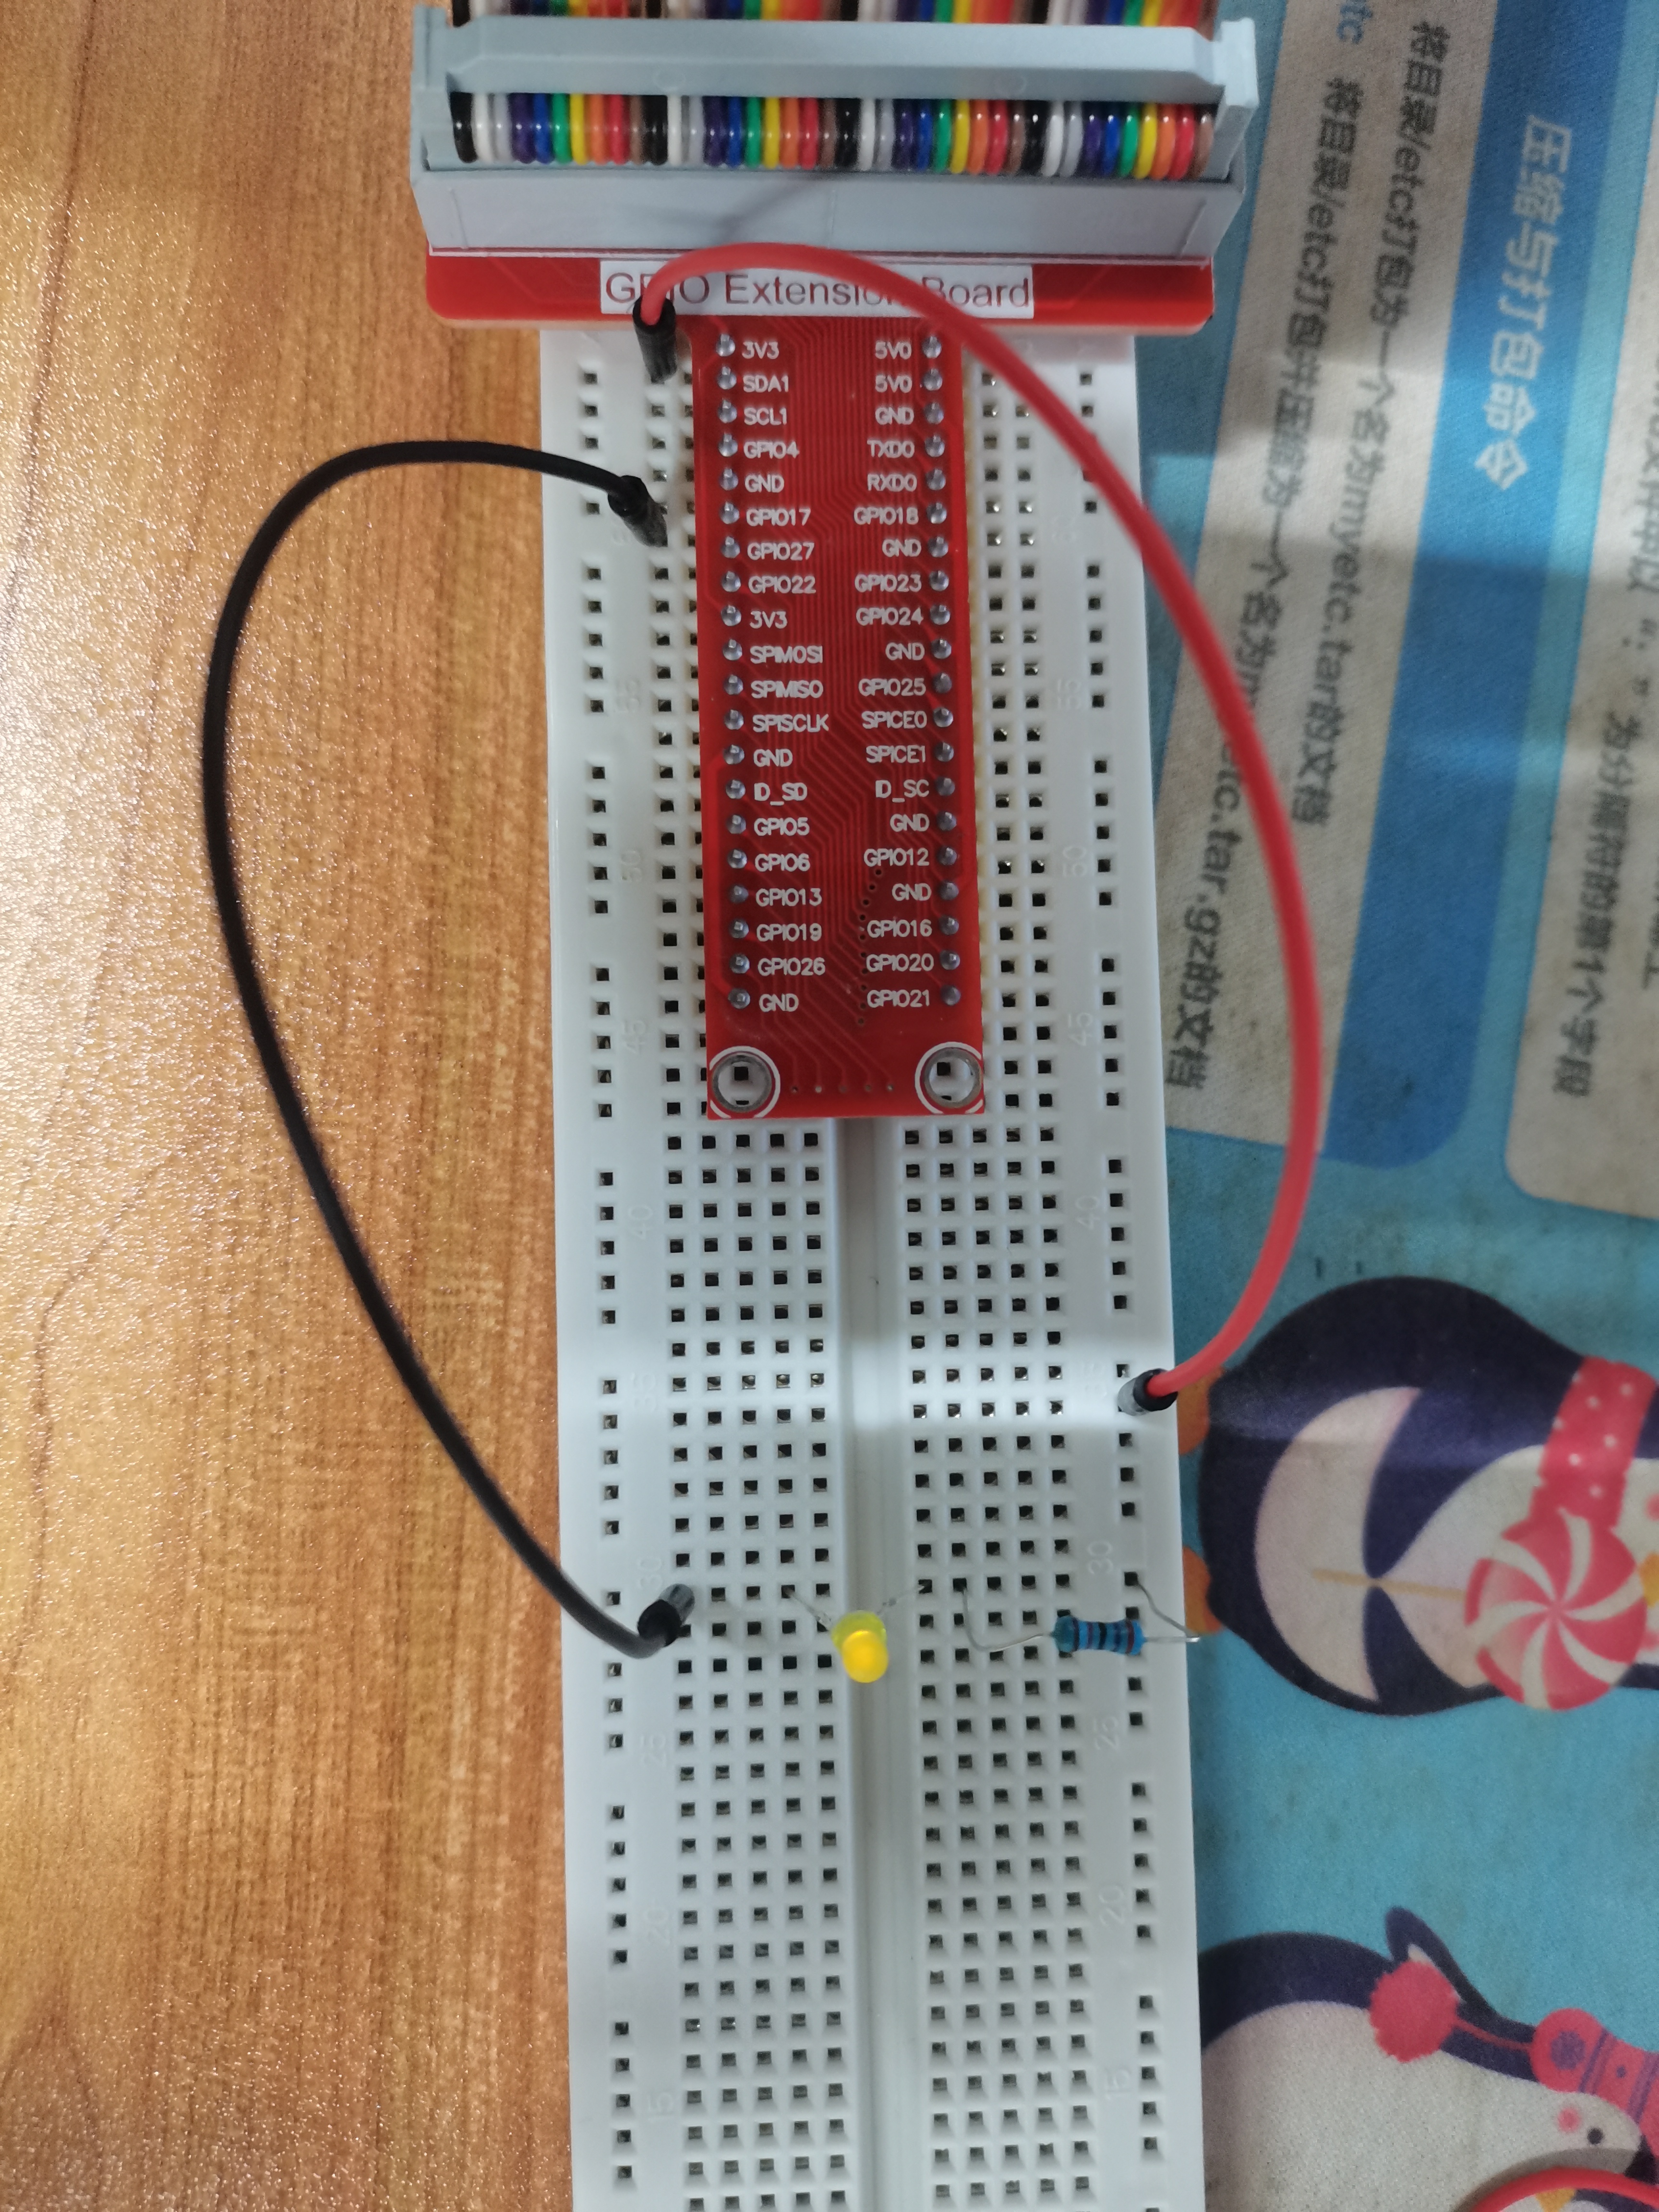
image-20230412230418872

IMG_20230412_184612

那么,由于前面烧了两颗LED,我可以得知,我的LED是能扛得住3.3V电压直接上电的,所以有了下面这个图(电阻去掉,用杜邦线直接连接)
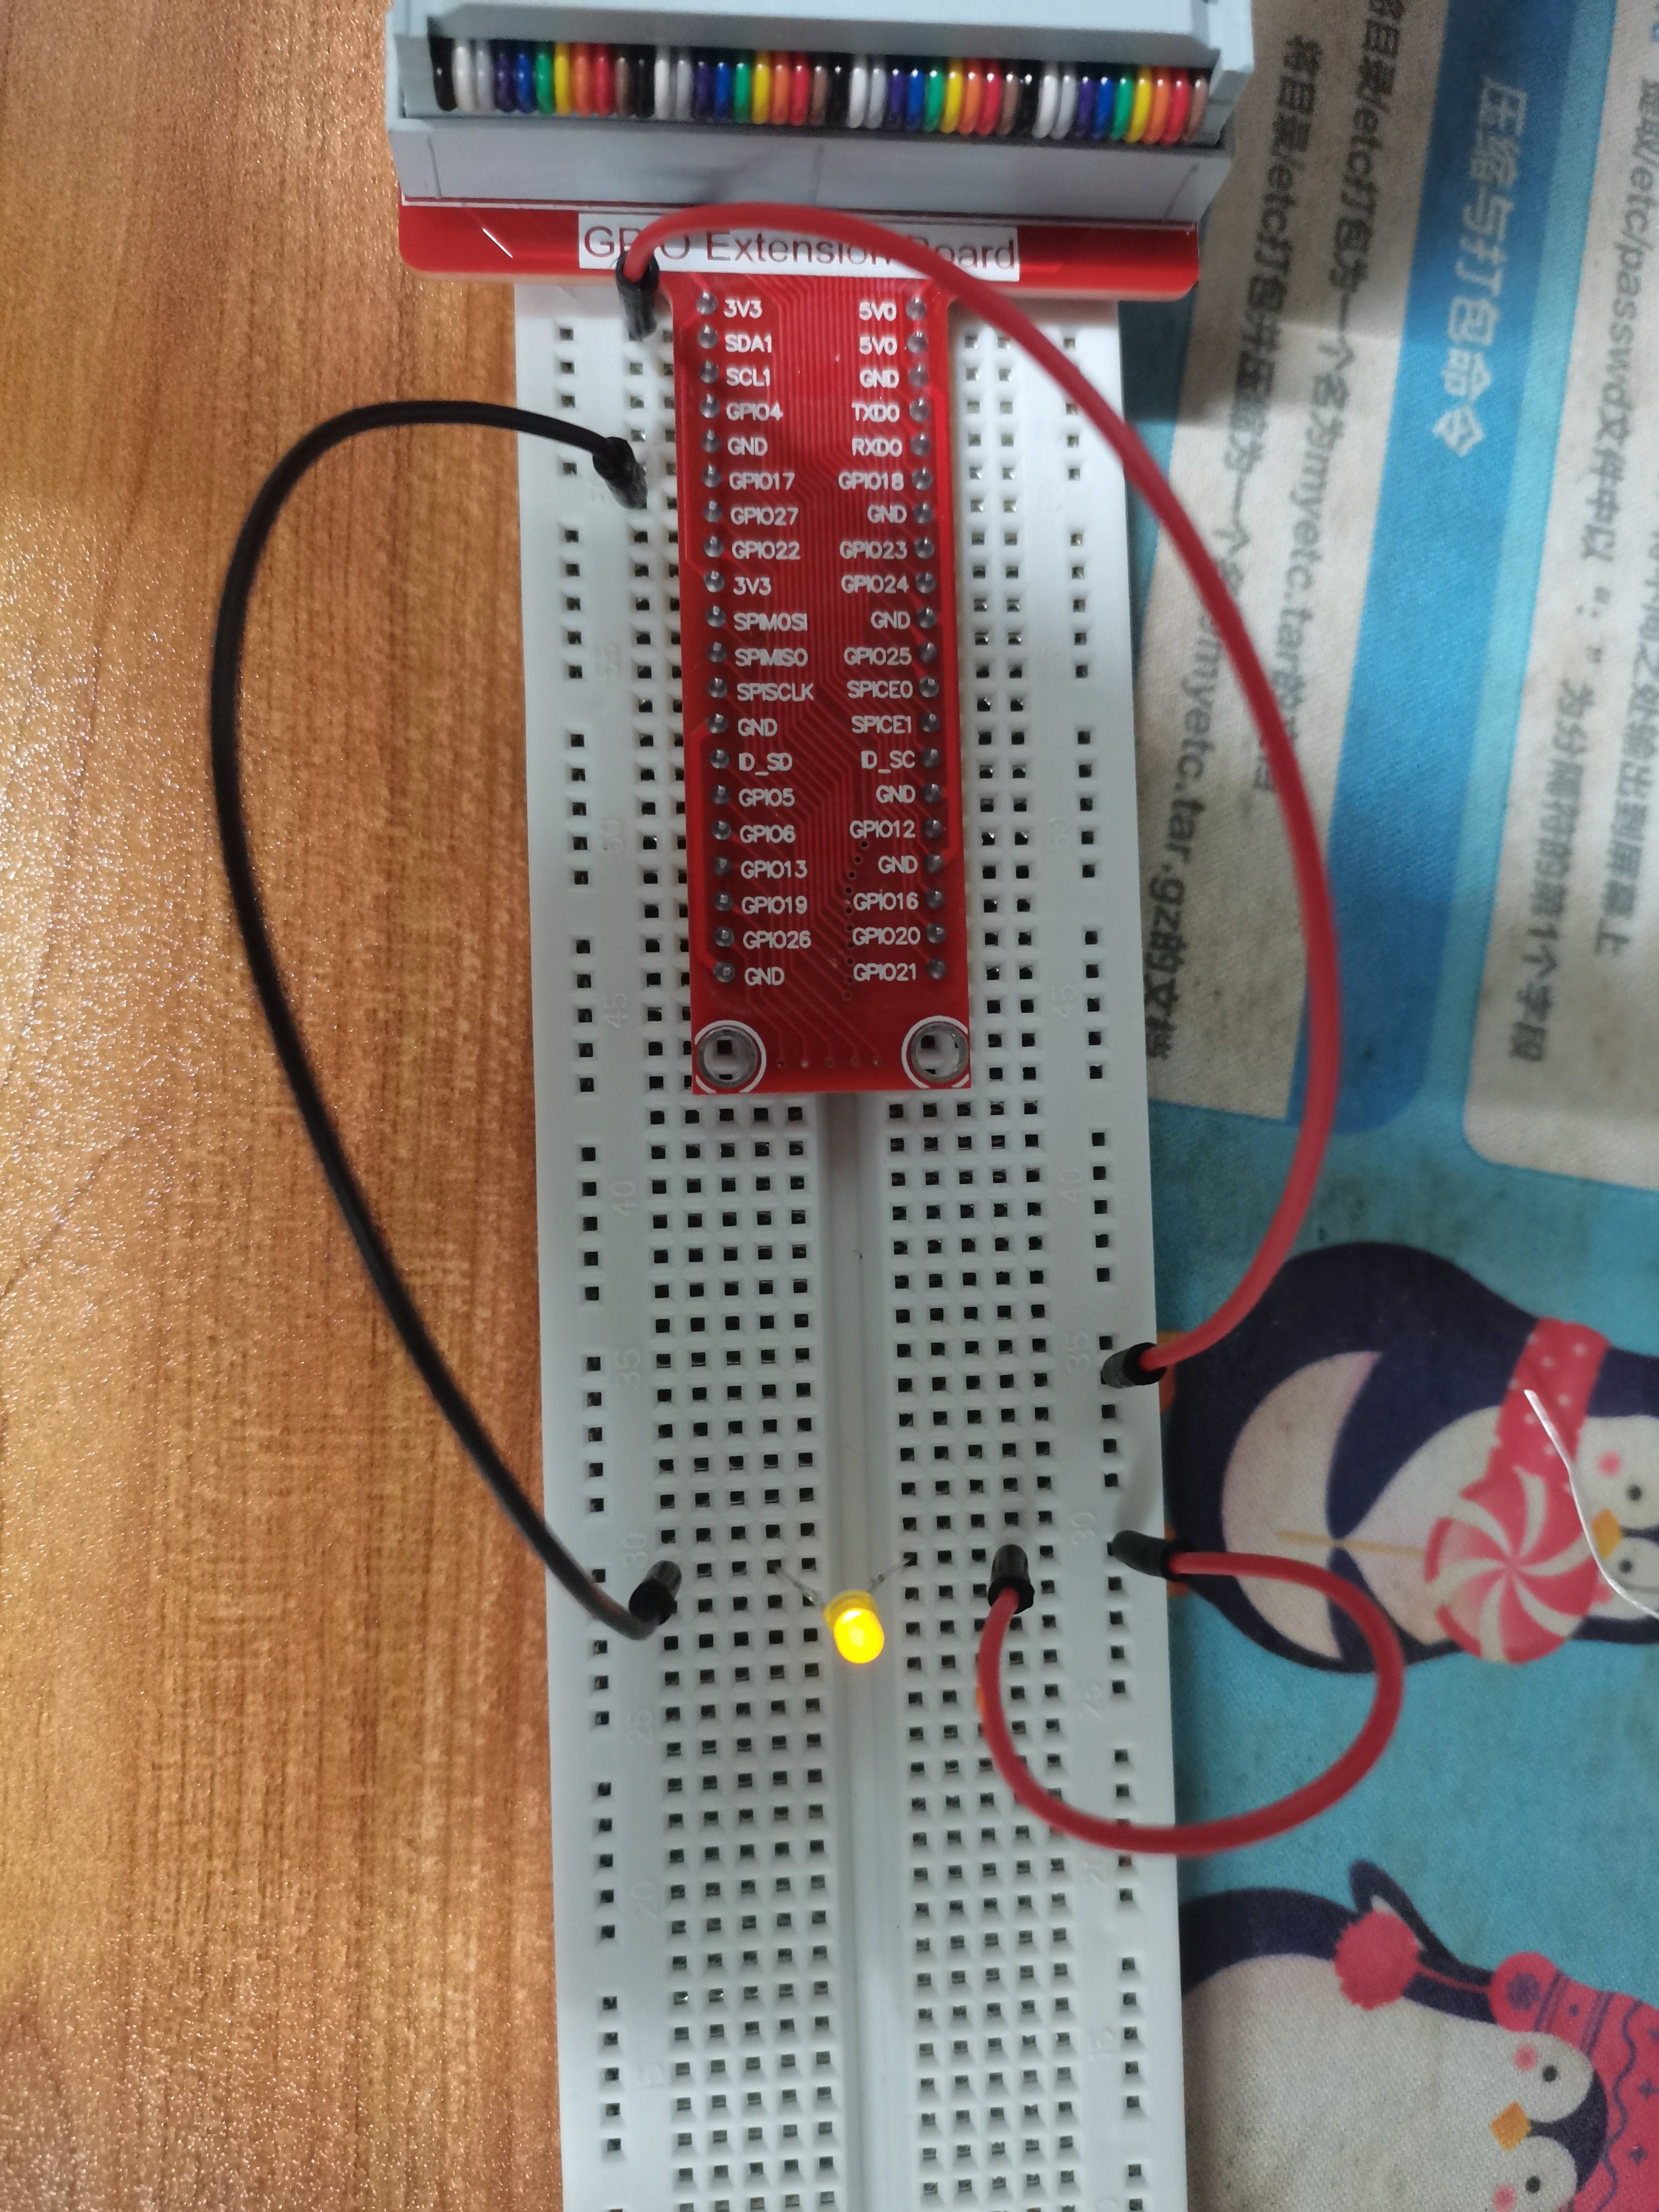
IMG_20230412_184544

一直亮着也不是个好玩的是吧,那我写个python让它闪烁咯

1
2
3
4
5
6
7
8
9
10
11
12
13
14
import RPi.GPIO as GPIO
import time
LED = 17
GPIO.setmode(GPIO.BCM)
GPIO.setup(LED,GPIO.OUT)
try:
while True:
GPIO.output(LED,GPIO.HIGH)
time.sleep(1)
GPIO.output(LED,GPIO.LOW)
time.sleep(1)
except:
print("except")
GPIO.cleanup()

IMG_20230412_184628

可以看出,python控制的HIGHT电平比默认的更加亮,而且能够闪烁(这里由于是图片,所以看不到闪烁)

显示信息在LCD_1602

实验材料:1.LCD1602显示面板、2.可调电阻(也叫可变电阻)3.杜邦线公口若干条、4.GPIO口拓展线一根、5.T型GPIO拓展板一块、6.面包板一块

我们要根据BCM编码来接线

1
2
3
4
5
6
7
8
9
10
11
12
13
14
15
16
17
18
19
20
21
22
23
24
25
26
27
28
root@raspberrypi:/share/raspberry# gpio readall
+-----+-----+---------+------+---+---Pi 3B+-+---+------+---------+-----+-----+
| BCM | wPi | Name | Mode | V | Physical | V | Mode | Name | wPi | BCM |
+-----+-----+---------+------+---+----++----+---+------+---------+-----+-----+
| | | 3.3v | | | 1 || 2 | | | 5v | | |
| 2 | 8 | SDA.1 | IN | 1 | 3 || 4 | | | 5v | | |
| 3 | 9 | SCL.1 | IN | 1 | 5 || 6 | | | 0v | | |
| 4 | 7 | GPIO. 7 | OUT | 0 | 7 || 8 | 0 | IN | TxD | 15 | 14 |
| | | 0v | | | 9 || 10 | 1 | IN | RxD | 16 | 15 |
| 17 | 0 | GPIO. 0 | IN | 0 | 11 || 12 | 0 | IN | GPIO. 1 | 1 | 18 |
| 27 | 2 | GPIO. 2 | IN | 0 | 13 || 14 | | | 0v | | |
| 22 | 3 | GPIO. 3 | IN | 0 | 15 || 16 | 0 | IN | GPIO. 4 | 4 | 23 |
| | | 3.3v | | | 17 || 18 | 0 | IN | GPIO. 5 | 5 | 24 |
| 10 | 12 | MOSI | IN | 0 | 19 || 20 | | | 0v | | |
| 9 | 13 | MISO | IN | 0 | 21 || 22 | 0 | IN | GPIO. 6 | 6 | 25 |
| 11 | 14 | SCLK | IN | 0 | 23 || 24 | 1 | IN | CE0 | 10 | 8 |
| | | 0v | | | 25 || 26 | 1 | IN | CE1 | 11 | 7 |
| 0 | 30 | SDA.0 | IN | 1 | 27 || 28 | 1 | IN | SCL.0 | 31 | 1 |
| 5 | 21 | GPIO.21 | IN | 1 | 29 || 30 | | | 0v | | |
| 6 | 22 | GPIO.22 | IN | 1 | 31 || 32 | 0 | IN | GPIO.26 | 26 | 12 |
| 13 | 23 | GPIO.23 | IN | 0 | 33 || 34 | | | 0v | | |
| 19 | 24 | GPIO.24 | IN | 0 | 35 || 36 | 0 | IN | GPIO.27 | 27 | 16 |
| 26 | 25 | GPIO.25 | IN | 0 | 37 || 38 | 0 | IN | GPIO.28 | 28 | 20 |
| | | 0v | | | 39 || 40 | 0 | IN | GPIO.29 | 29 | 21 |
+-----+-----+---------+------+---+----++----+---+------+---------+-----+-----+
| BCM | wPi | Name | Mode | V | Physical | V | Mode | Name | wPi | BCM |
+-----+-----+---------+------+---+---Pi 3B+-+---+------+---------+-----+-----+

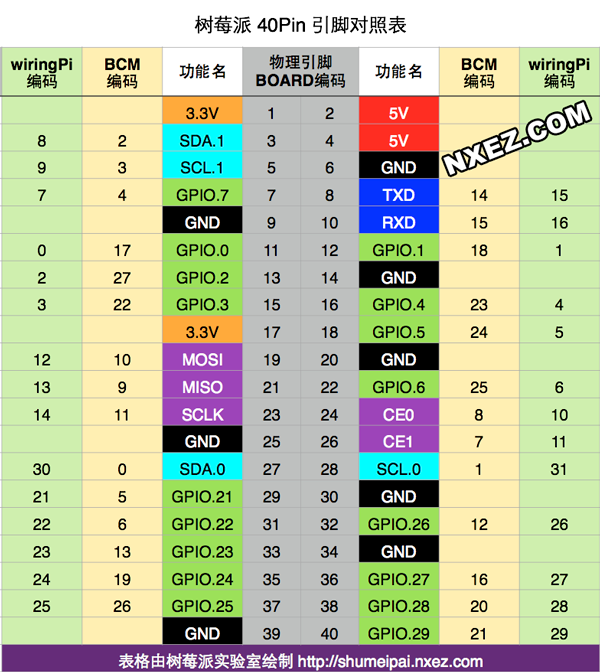
这个图不够直观的话,可以看看下面这个图:

rpi-pins-40-0

根据python代码接好线路

1
2
3
4
5
6
LCD_RS = 7
LCD_E = 8
LCD_D4 = 25
LCD_D5 = 24
LCD_D6 = 23
LCD_D7 = 18
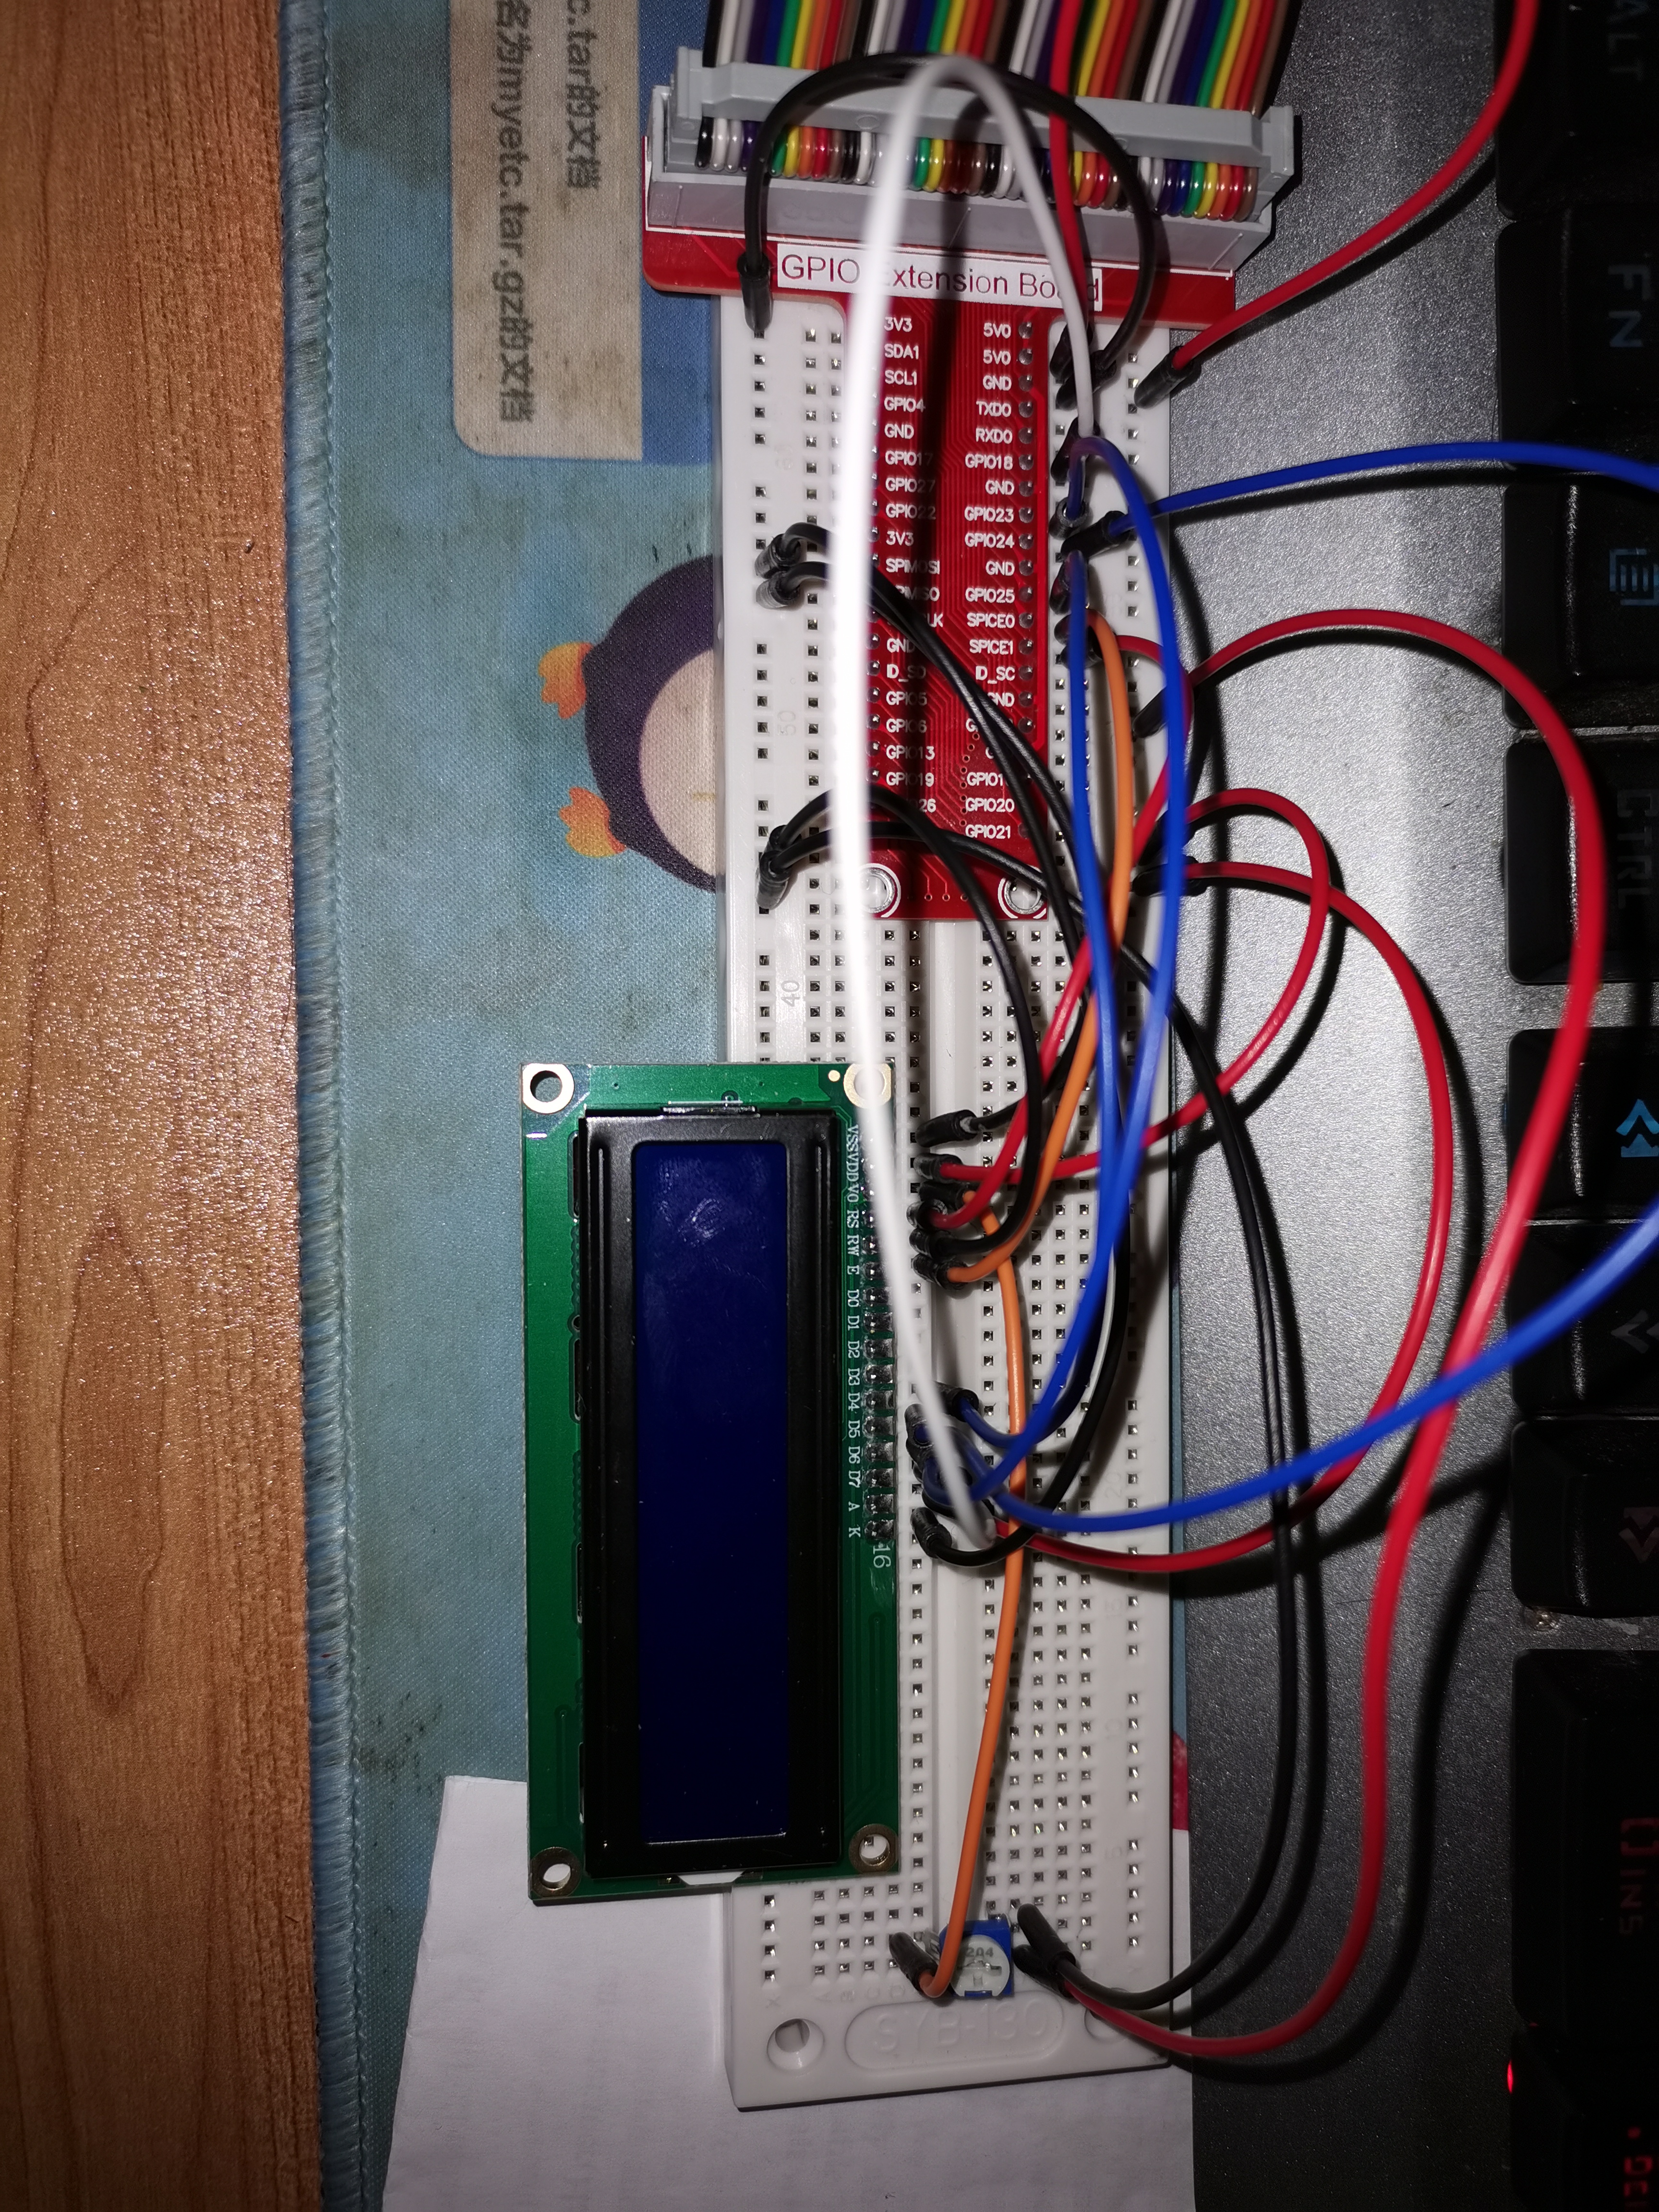
  • LCE1602的VSS和K接口要接地,
  • VDD和A要接上正极(+),
  • V0是调节液晶显示的偏压信号,可接10K的可调电阻,V0接可调电阻中间脚位,可调电阻另外两个脚位一个接地一个接正极,
  • RS接树莓派BCM7号位,
  • RW接地(接地表示是写入模式),
  • E使能接树莓派BCM8号位,
  • D4接树莓派BCM25号位,
  • D5接树莓派BCM24号位,
  • D6接树莓派BCM23号位,
  • D7接树莓派BCM18号位

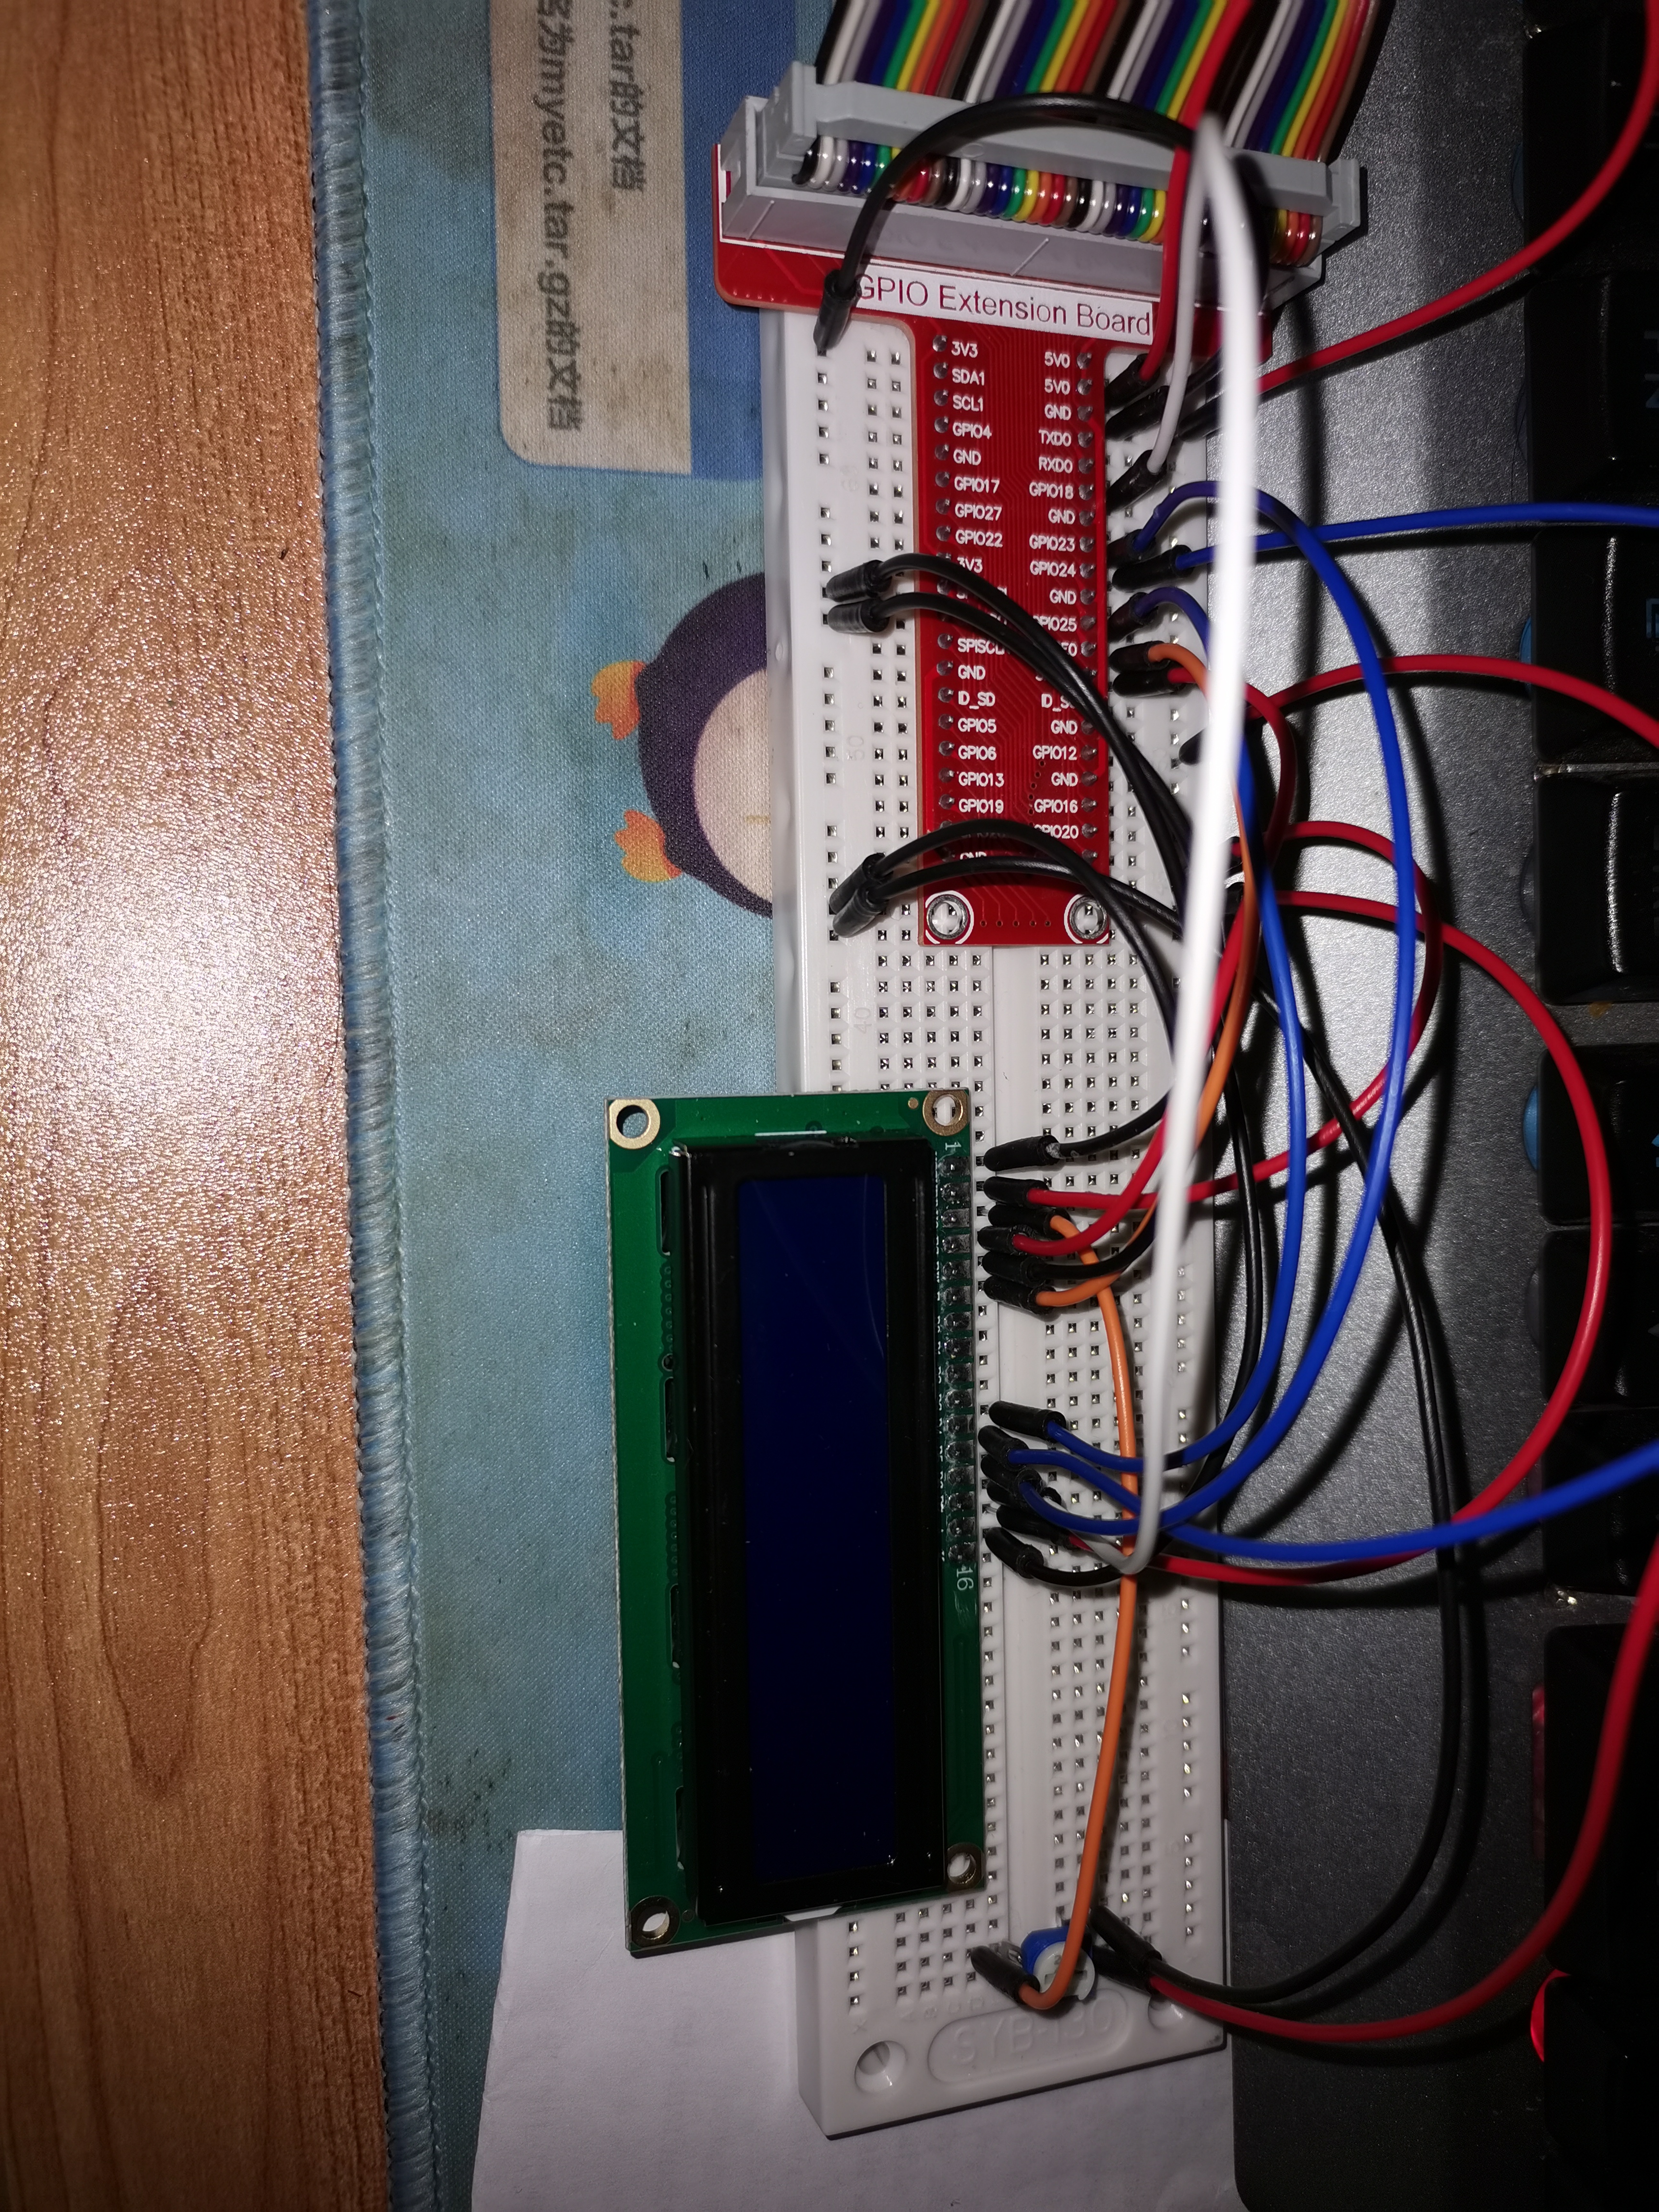
下面是接完线之后的样子:

IMG_20230418_154545IMG_20230418_154550

给树莓派执行下面python脚本

1
2
3
4
5
6
7
8
9
10
11
12
13
14
15
16
17
18
19
20
21
22
23
24
25
26
27
28
29
30
31
32
33
34
35
36
37
38
39
40
41
42
43
44
45
46
47
48
49
50
51
52
53
54
55
56
57
58
59
60
61
62
63
64
65
66
67
68
69
70
71
72
73
74
75
76
77
78
79
80
81
82
83
84
85
import RPi.GPIO as GPIO
import time

LCD_RS = 7
LCD_E = 8
LCD_D4 = 25
LCD_D5 = 24
LCD_D6 = 23
LCD_D7 = 18
LCD_CHR = True
LCD_CMD = False
LCD_LINE_1 = 0x80
LCD_LINE_2 = 0xc0
E_PULSE = 0.0005
E_DELAY = 0.0005

like = 'I love raspberry'
lu = ' orange'

def lcd_toggle_enable():
time.sleep(E_DELAY)
GPIO.output(LCD_E,True)
time.sleep(E_PULSE)
GPIO.output(LCD_E,False)
time.sleep(E_DELAY)
def lcd_byte(bits,mode):
GPIO.output(LCD_RS,mode)
GPIO.output(LCD_D4,False)
GPIO.output(LCD_D5,False)
GPIO.output(LCD_D6,False)
GPIO.output(LCD_D7,False)

if bits & 0x10 == 0x10:
GPIO.output(LCD_D4,True)
if bits & 0x20 == 0x20:
GPIO.output(LCD_D5,True)
if bits & 0x40 == 0x40:
GPIO.output(LCD_D6,True)
if bits & 0x80 == 0x80:
GPIO.output(LCD_D7,True)
lcd_toggle_enable()

GPIO.output(LCD_D4,False)
GPIO.output(LCD_D5,False)
GPIO.output(LCD_D6,False)
GPIO.output(LCD_D7,False)

if bits & 0x01 == 0x01:
GPIO.output(LCD_D4,True)
if bits & 0x02 == 0x02:
GPIO.output(LCD_D5,True)
if bits & 0x04 == 0x04:
GPIO.output(LCD_D6,True)
if bits & 0x08 == 0x08:
GPIO.output(LCD_D7,True)
lcd_toggle_enable()

def lcd_init():
lcd_byte(0x33,LCD_CMD)
lcd_byte(0x32,LCD_CMD)
lcd_byte(0x01,LCD_CMD)
lcd_byte(0x0f,LCD_CMD)
lcd_byte(0x06,LCD_CMD)
lcd_byte(LCD_LINE_1,LCD_CMD)
time.sleep(E_DELAY)

def main():
GPIO.setwarnings(False)
GPIO.setmode(GPIO.BCM)
GPIO.setup(LCD_E,GPIO.OUT)
GPIO.setup(LCD_RS,GPIO.OUT)
GPIO.setup(LCD_D4,GPIO.OUT)
GPIO.setup(LCD_D5,GPIO.OUT)
GPIO.setup(LCD_D6,GPIO.OUT)
GPIO.setup(LCD_D7,GPIO.OUT)
lcd_init()
for i in range(len(like)):
lcd_byte(ord(like[i]),LCD_CHR)
time.sleep(0.05)
lcd_byte(LCD_LINE_2,LCD_CMD)
for i in range(len(lu)):
lcd_byte(ord(lu[i]),LCD_CHR)
time.sleep(0.05)

main()

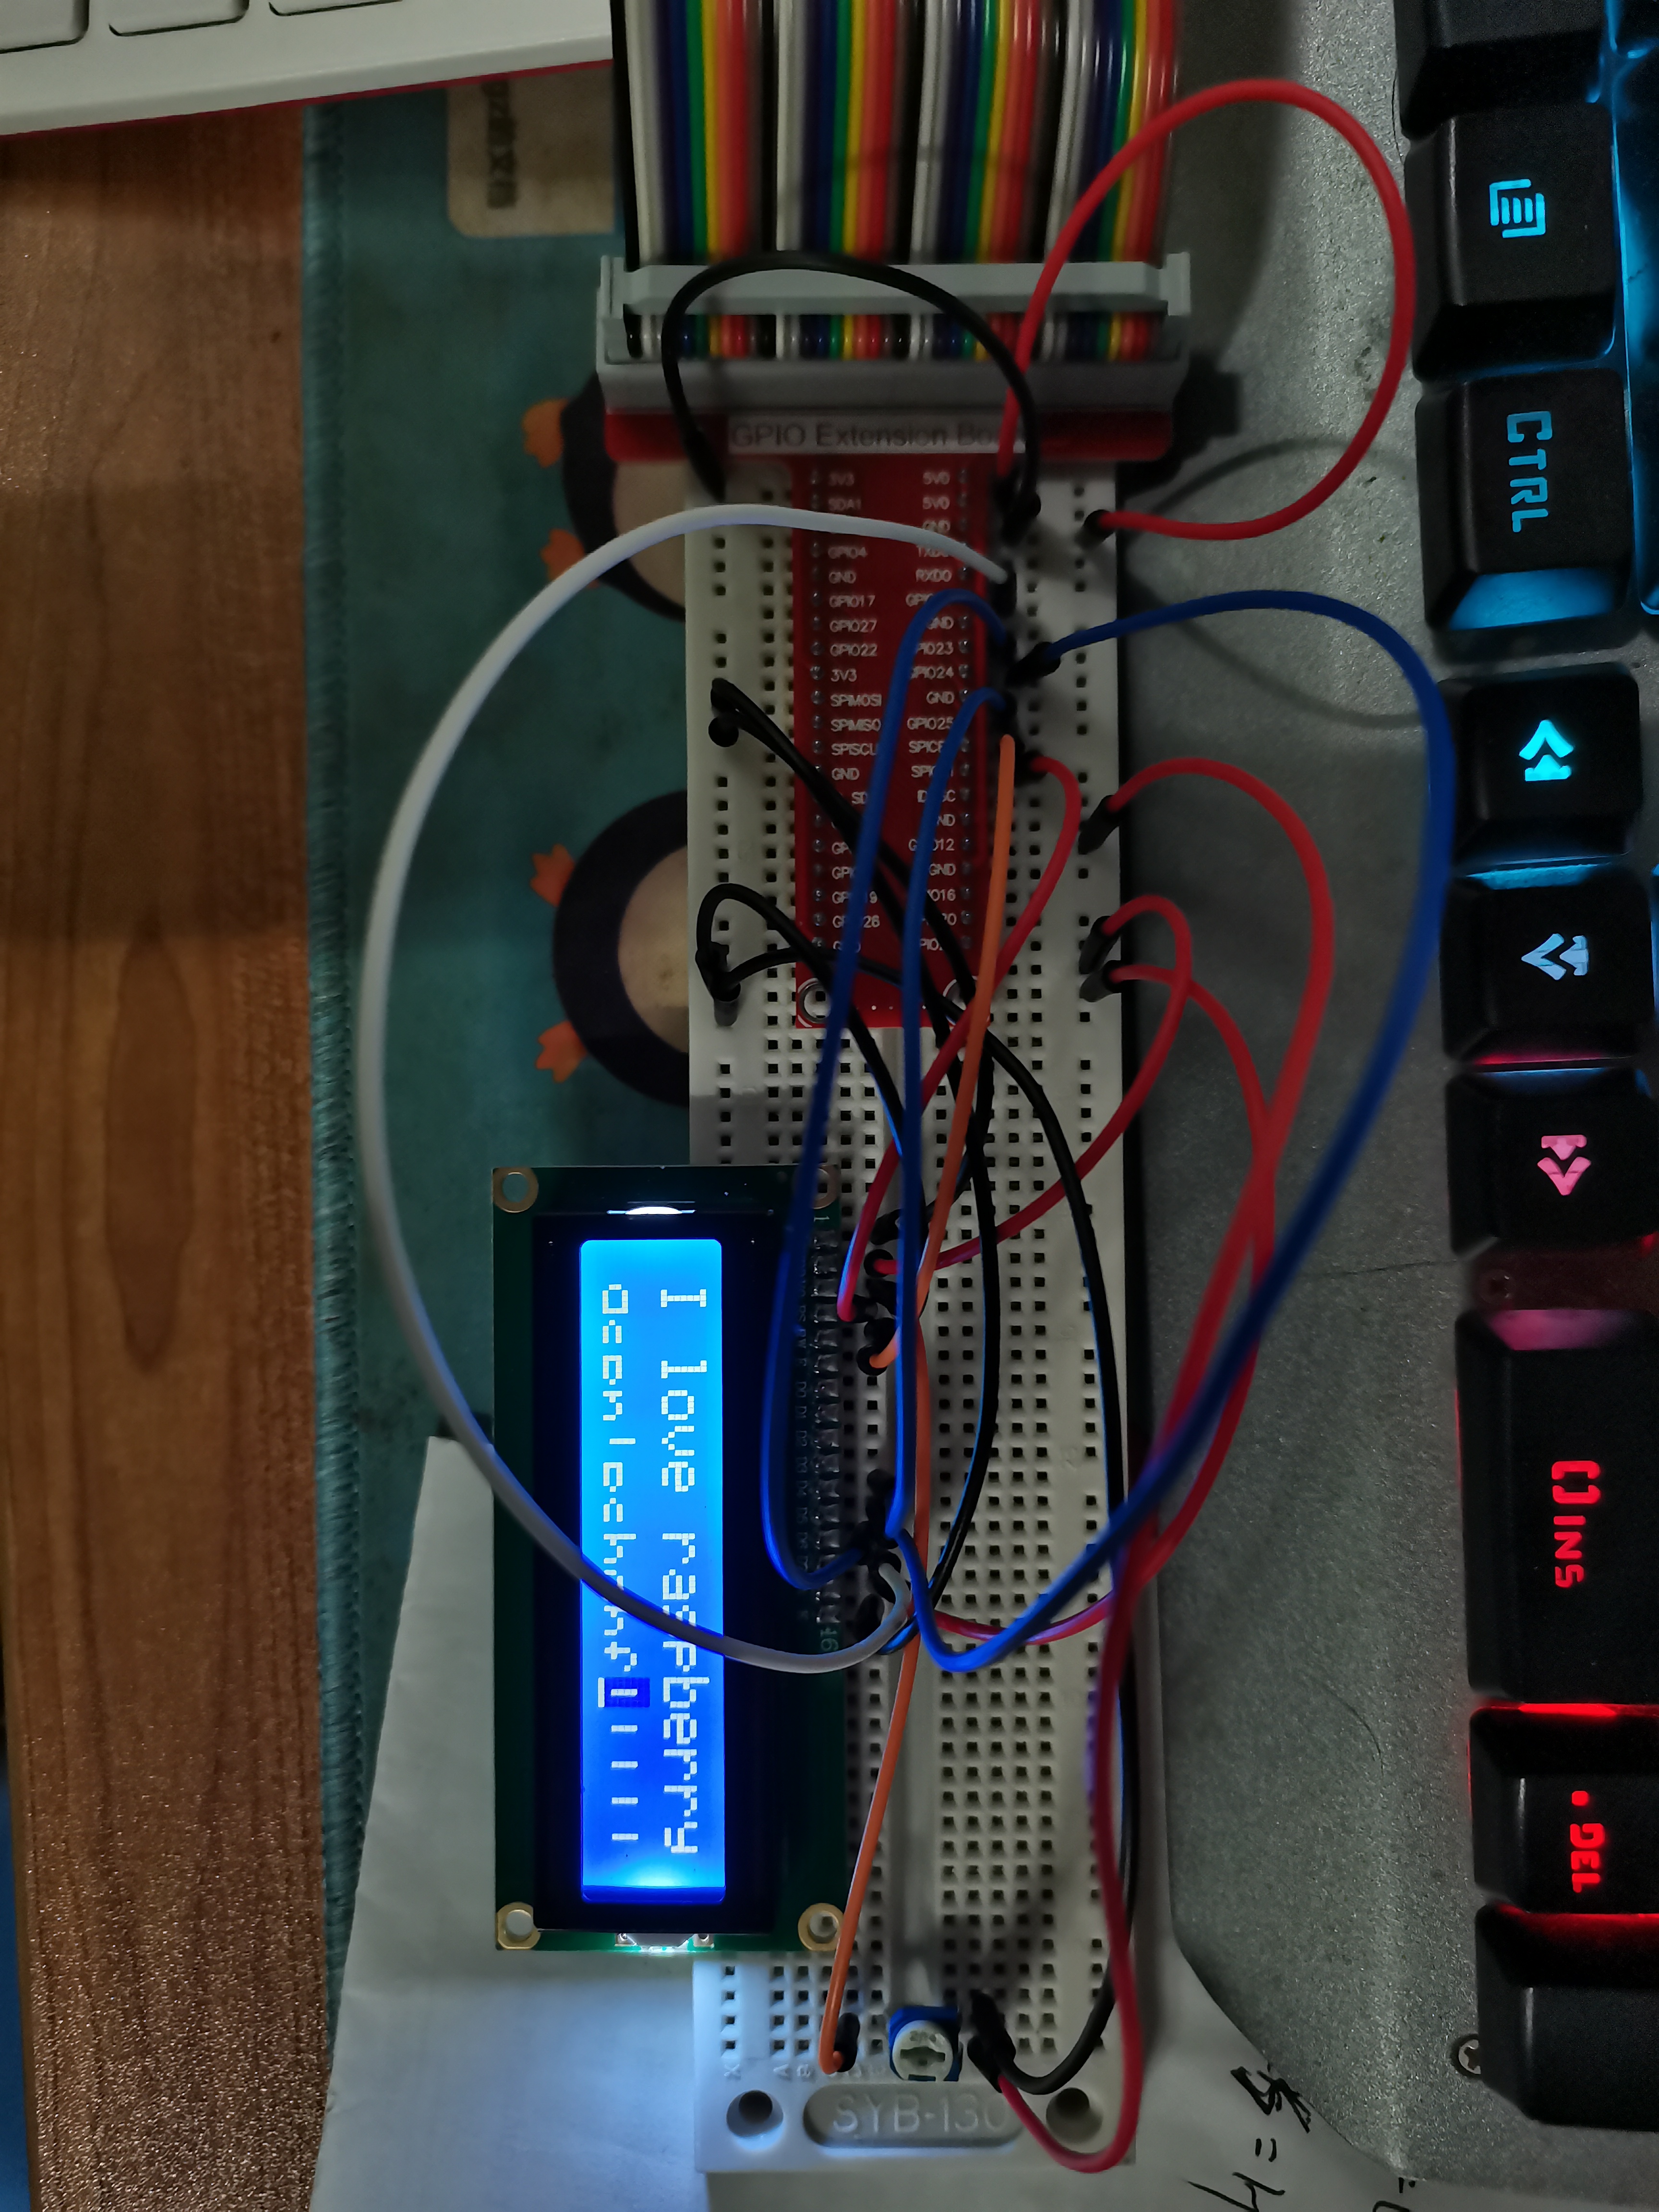
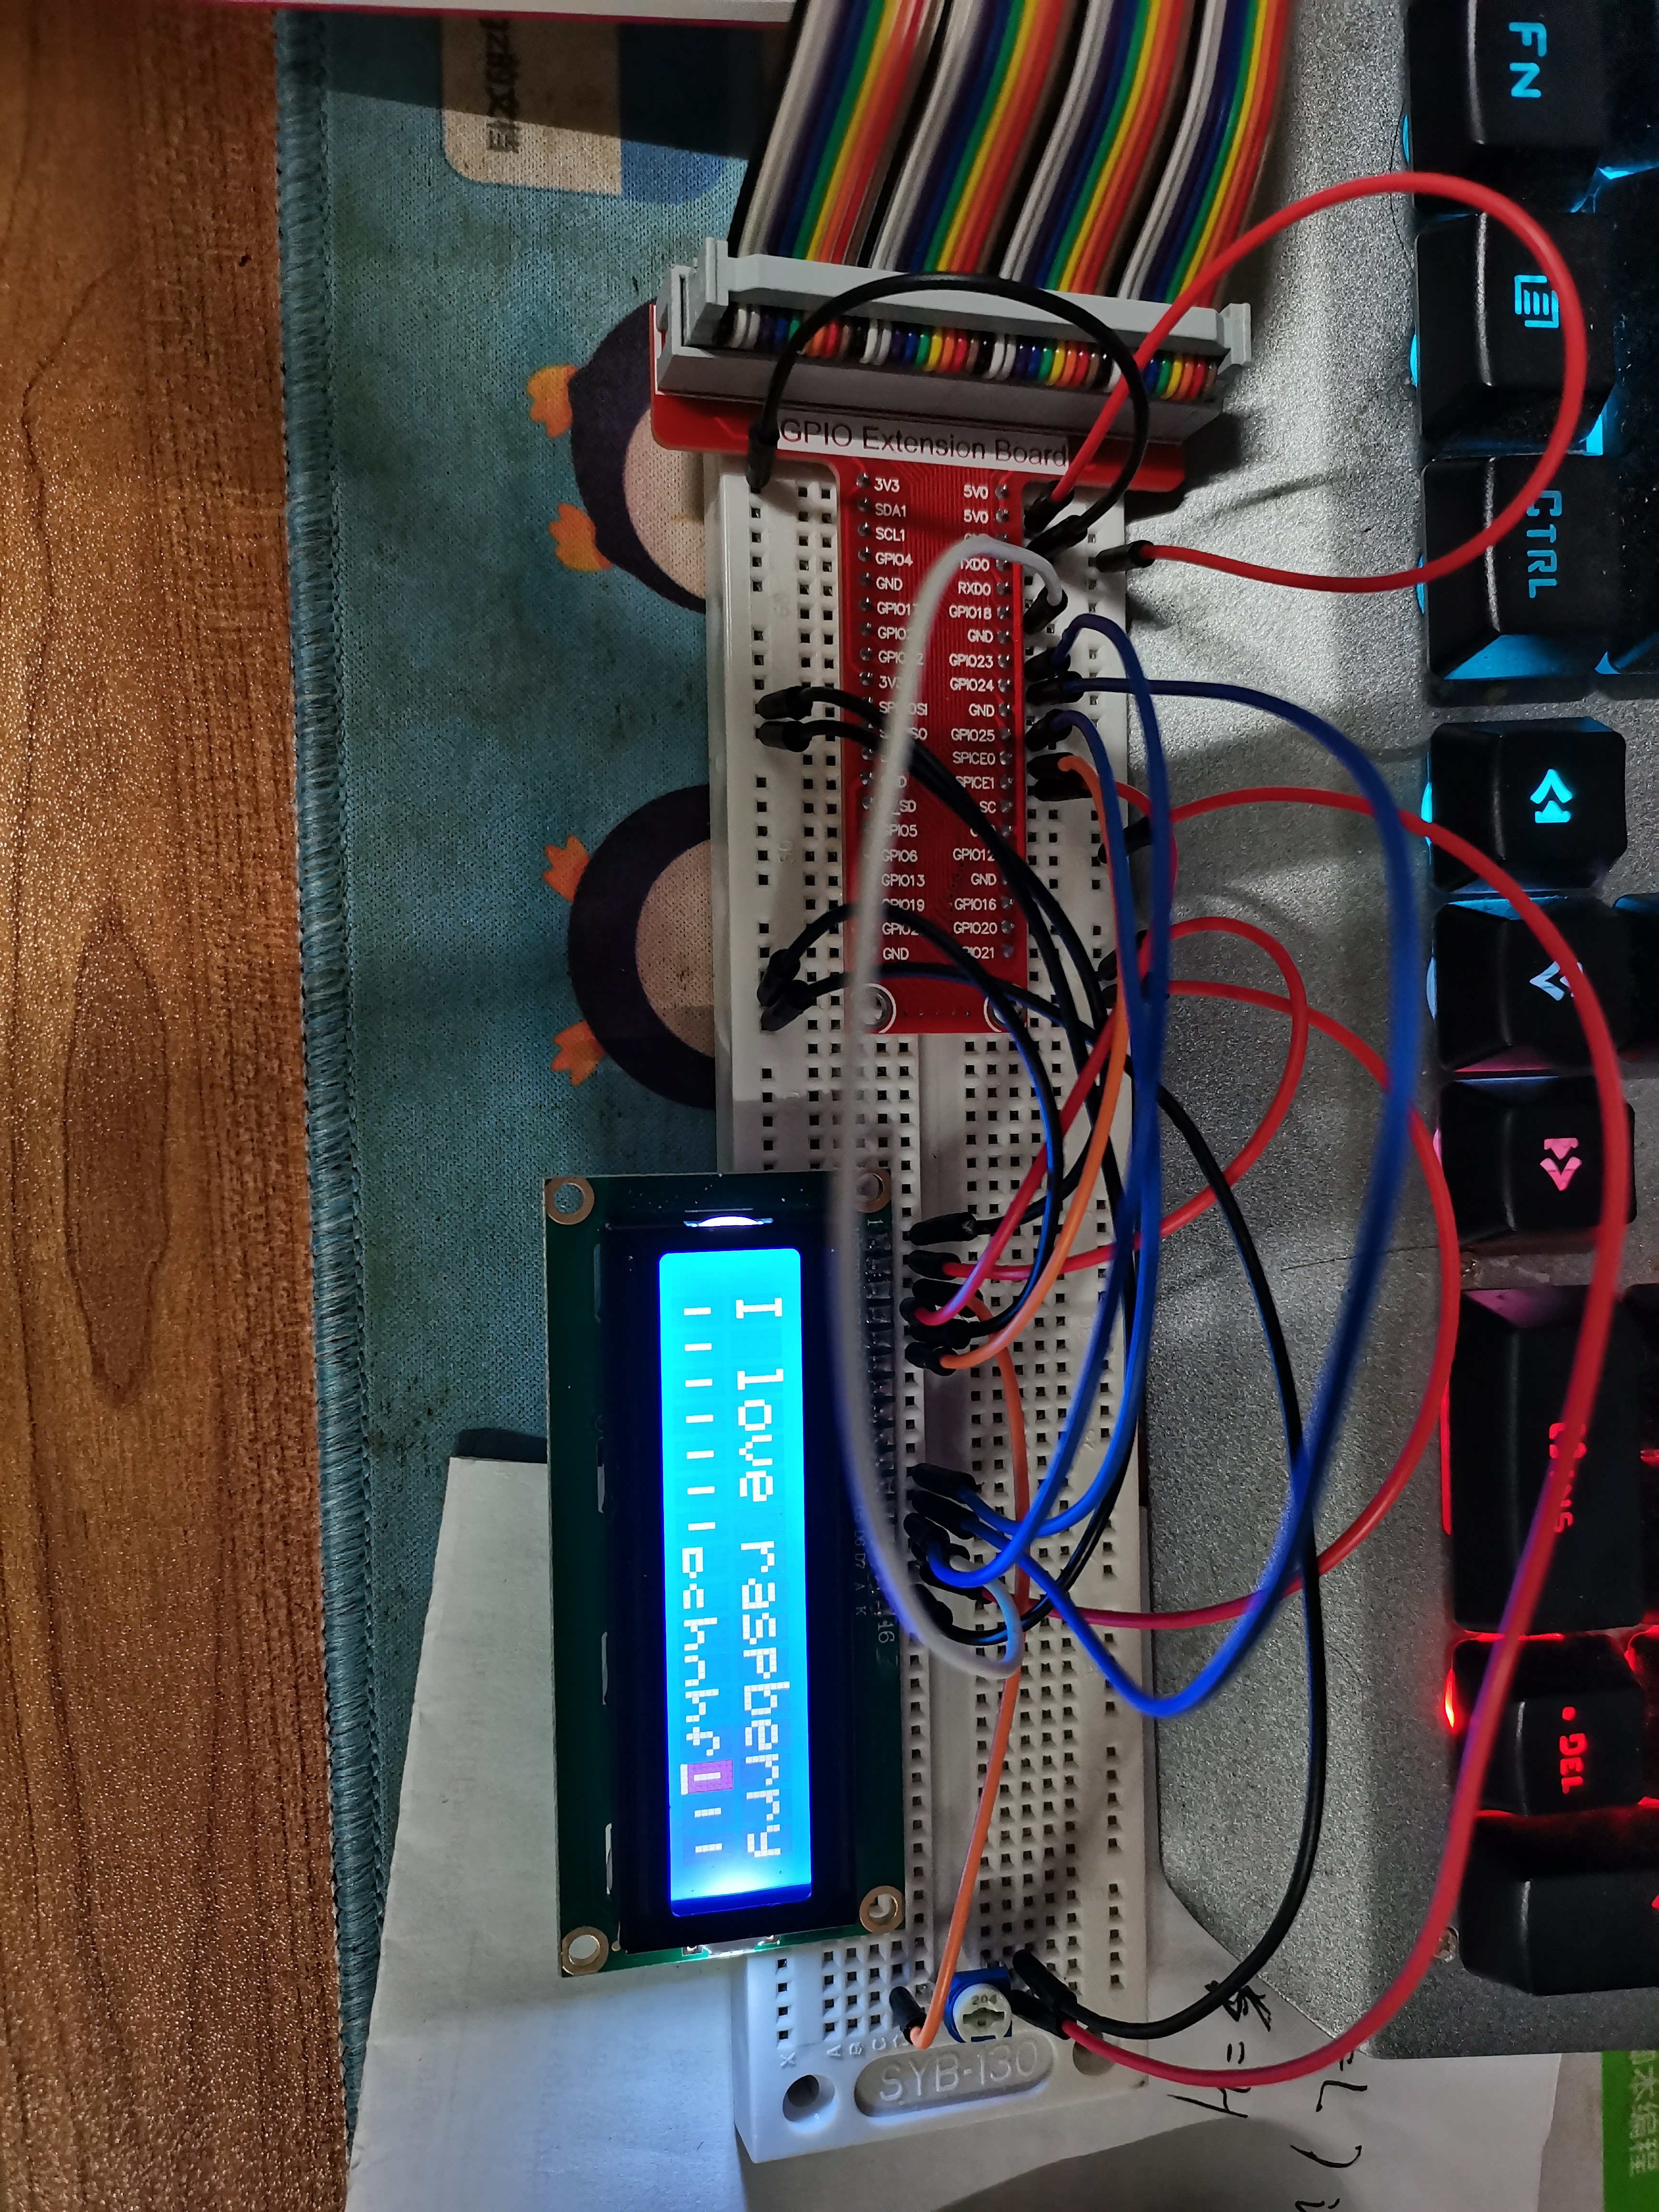
看看效果吧

IMG_20230418_143304

开头的显示没有问题,但是第二行出现了乱码。

IMG_20230418_142443

[toc]

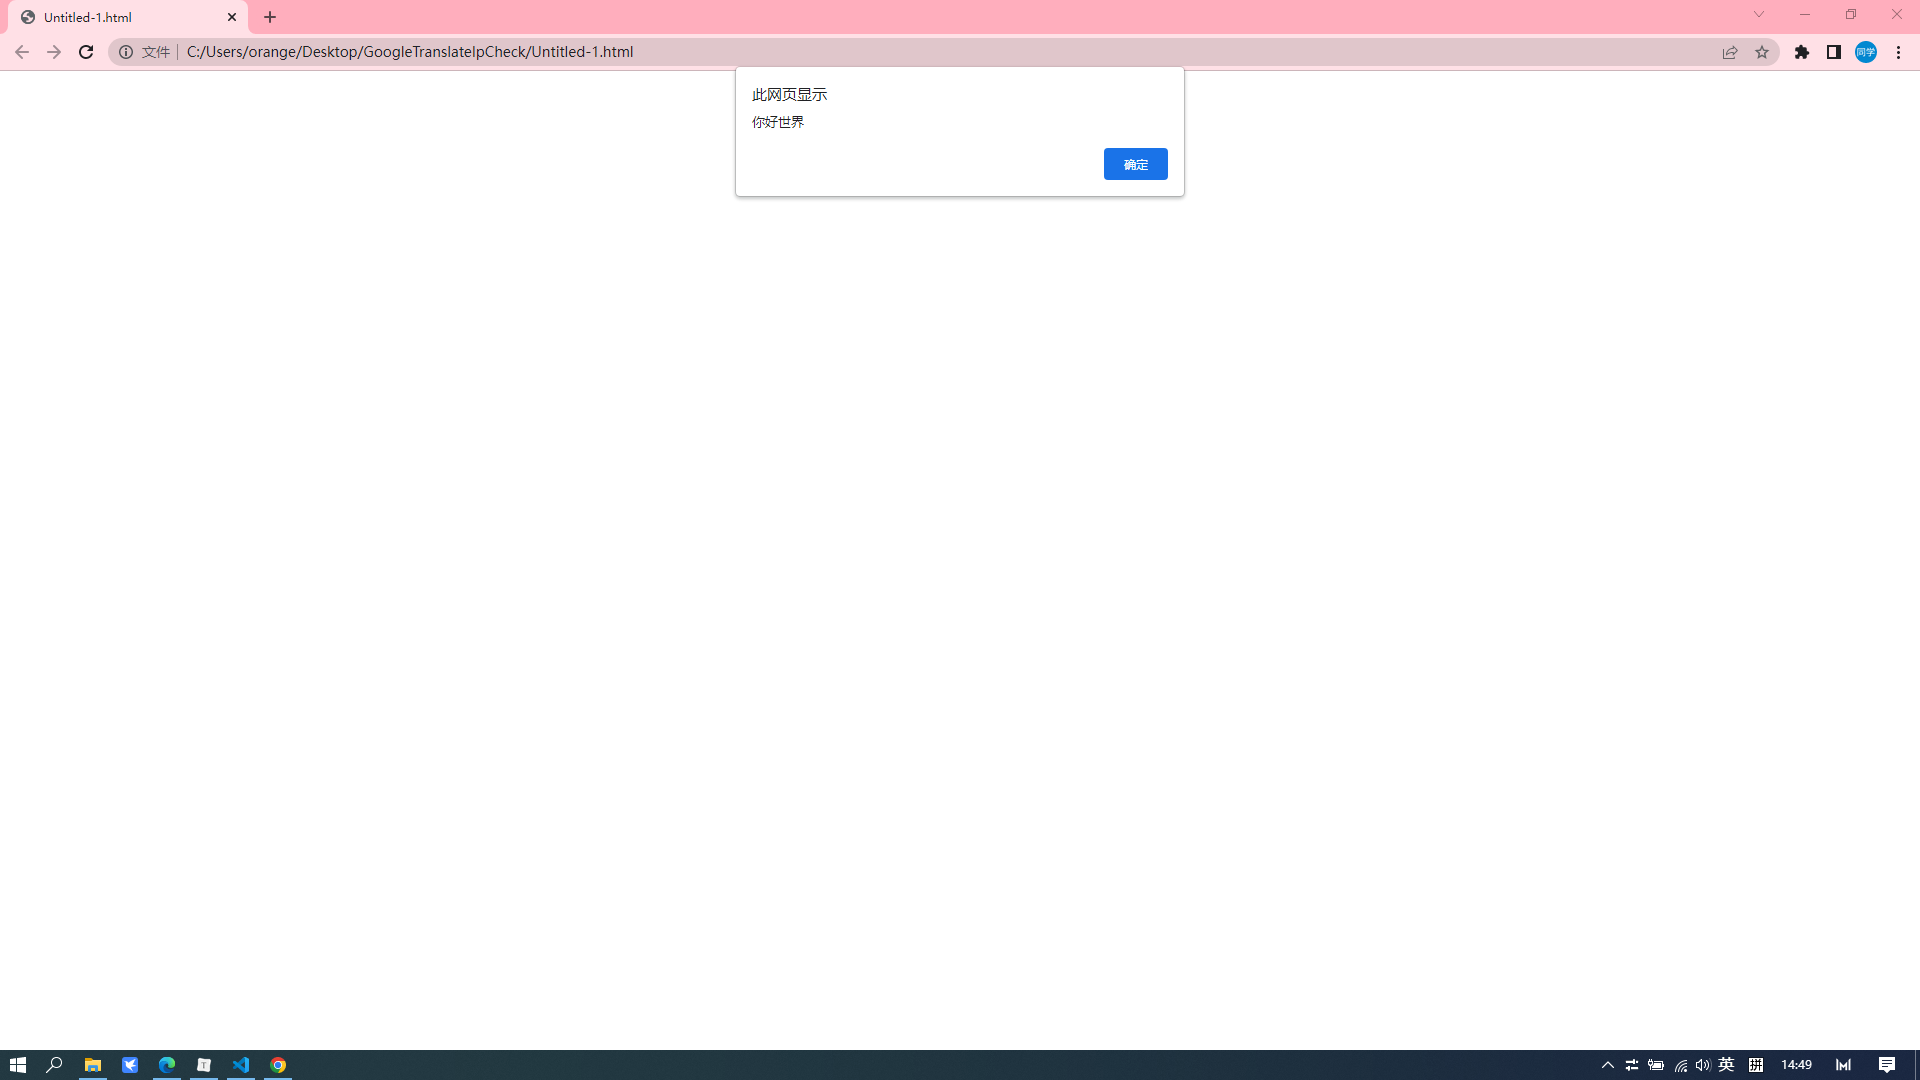
alert—控制浏览器弹出警告框

1
2
3
4
5
6
7
8
9
10
11
12
13
<!DOCTYPE html>
<html>
<head>
<meta charset="UTF-8">
<title></title>

<script type="text/javascript">
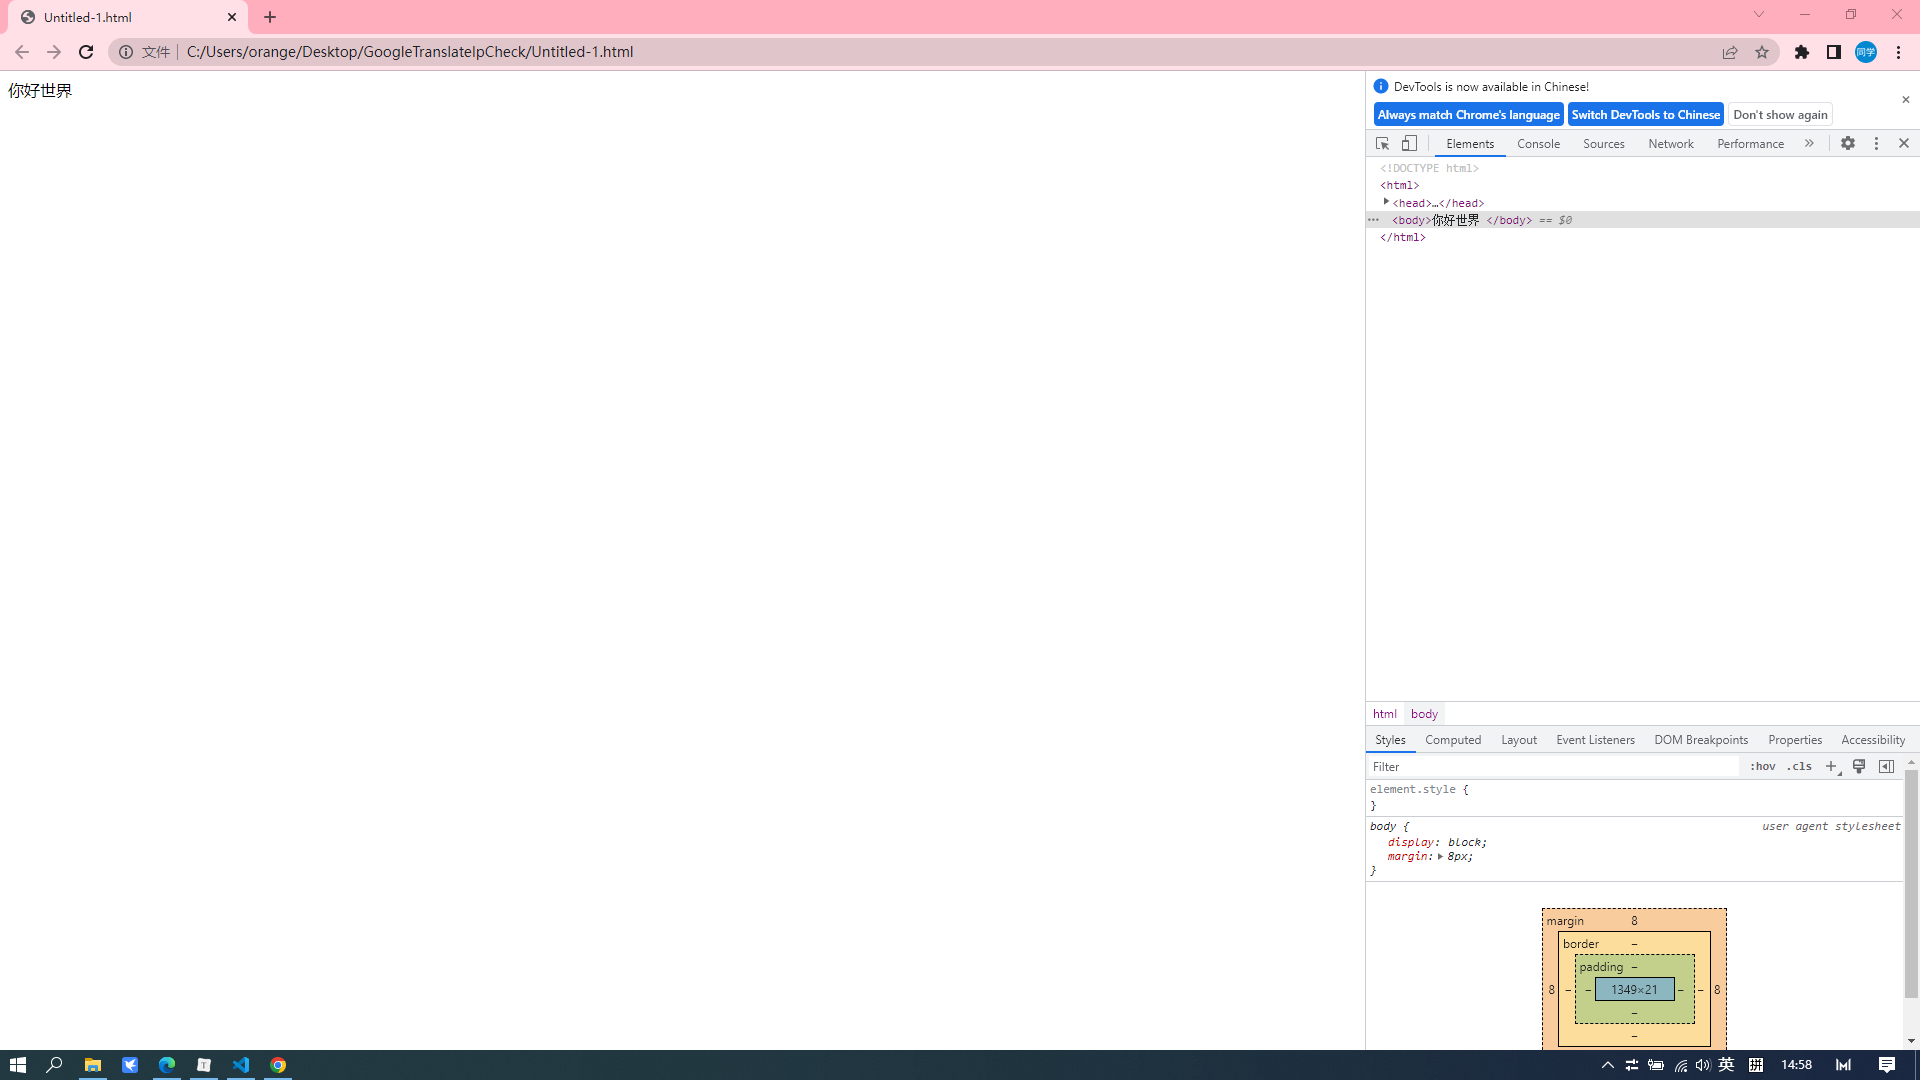
alert("你好世界")
</script>
</head>
<body>
</body>
</html>

image-20230127144935599

document.write—向body中输出一个内容

1
2
3
4
5
6
7
8
9
10
11
12
13
<!DOCTYPE html>
<html>
<head>
<meta charset="UTF-8">
<title></title>

<script type="text/javascript">
document.write("你好世界")
</script>
</head>
<body>
</body>
</html>

image-20230127145807827

console.log—向控制台输出内容

1
2
3
4
5
6
7
8
9
10
11
12
13
<!DOCTYPE html>
<html>
<head>
<meta charset="UTF-8">
<title></title>

<script type="text/javascript">
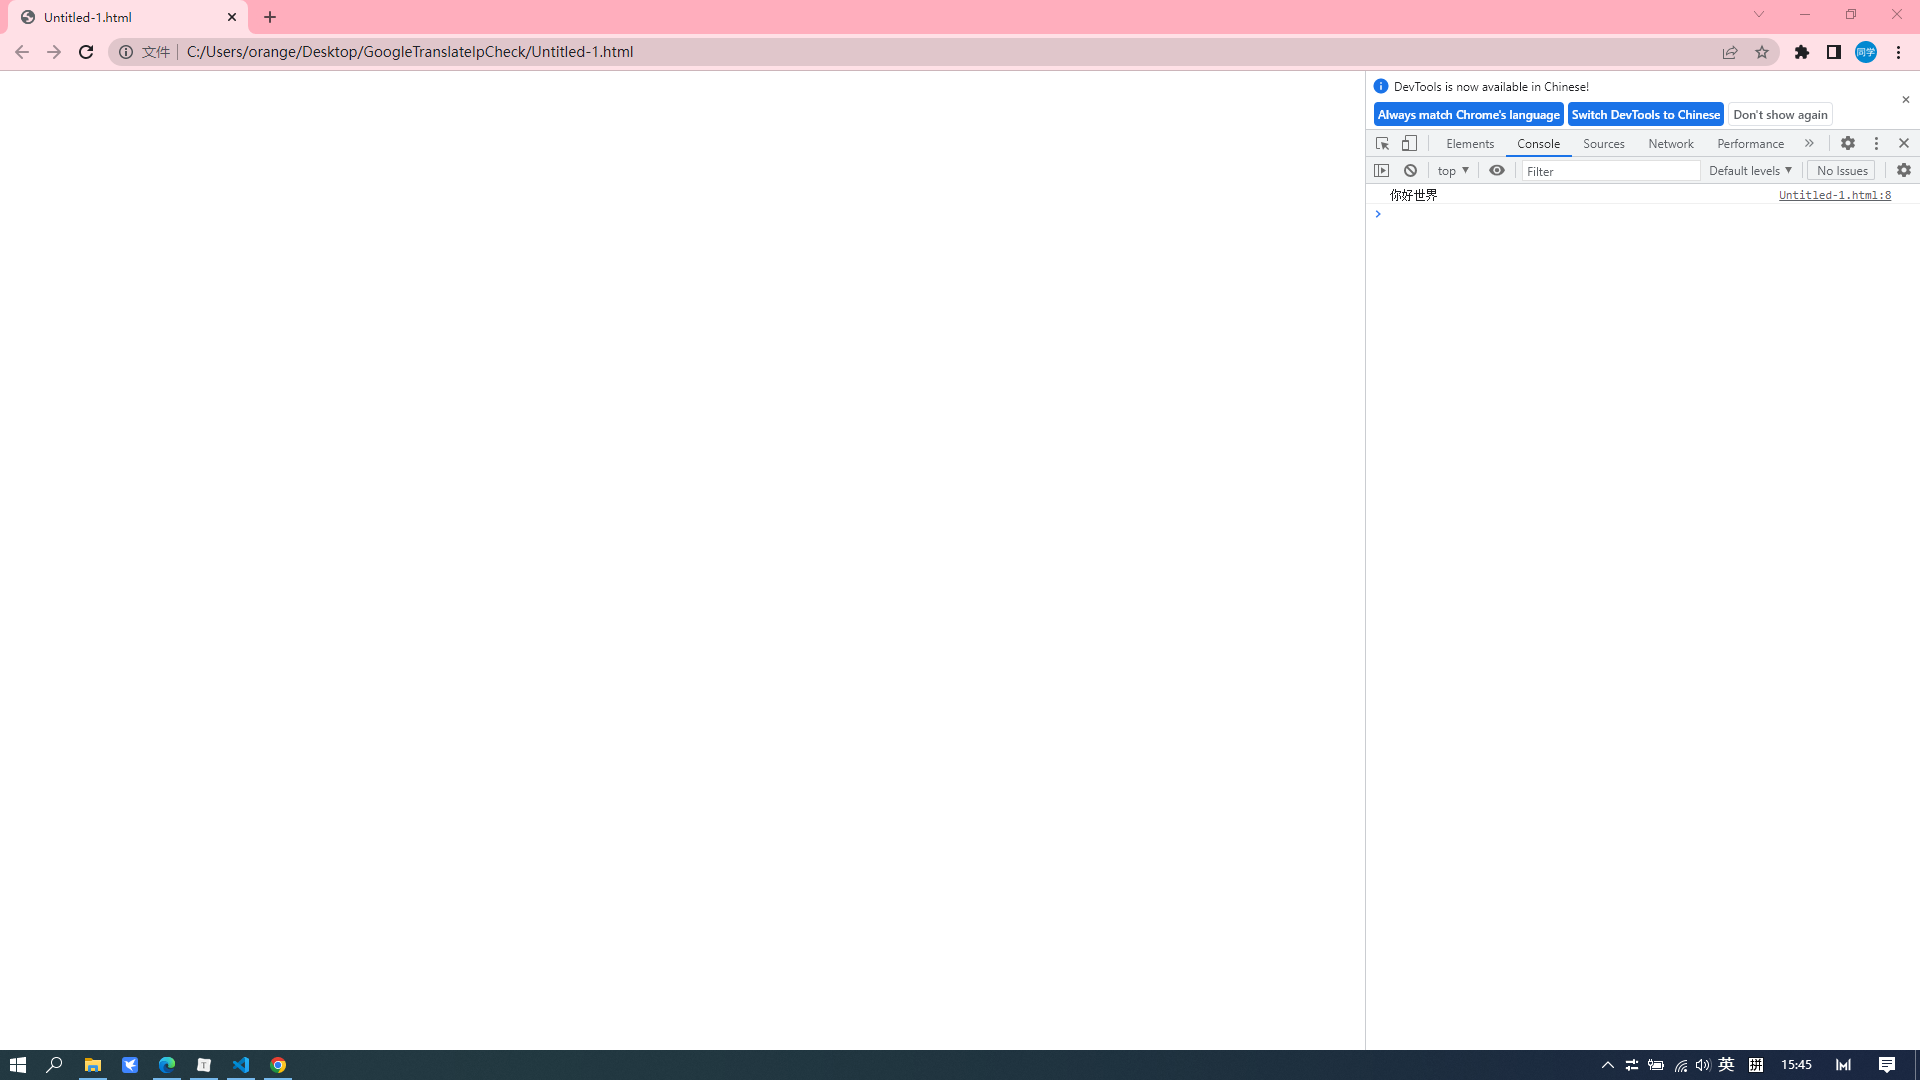
console.log("你好世界")
</script>
</head>
<body>
</body>
</html>

image-20230127154535686

button—按钮

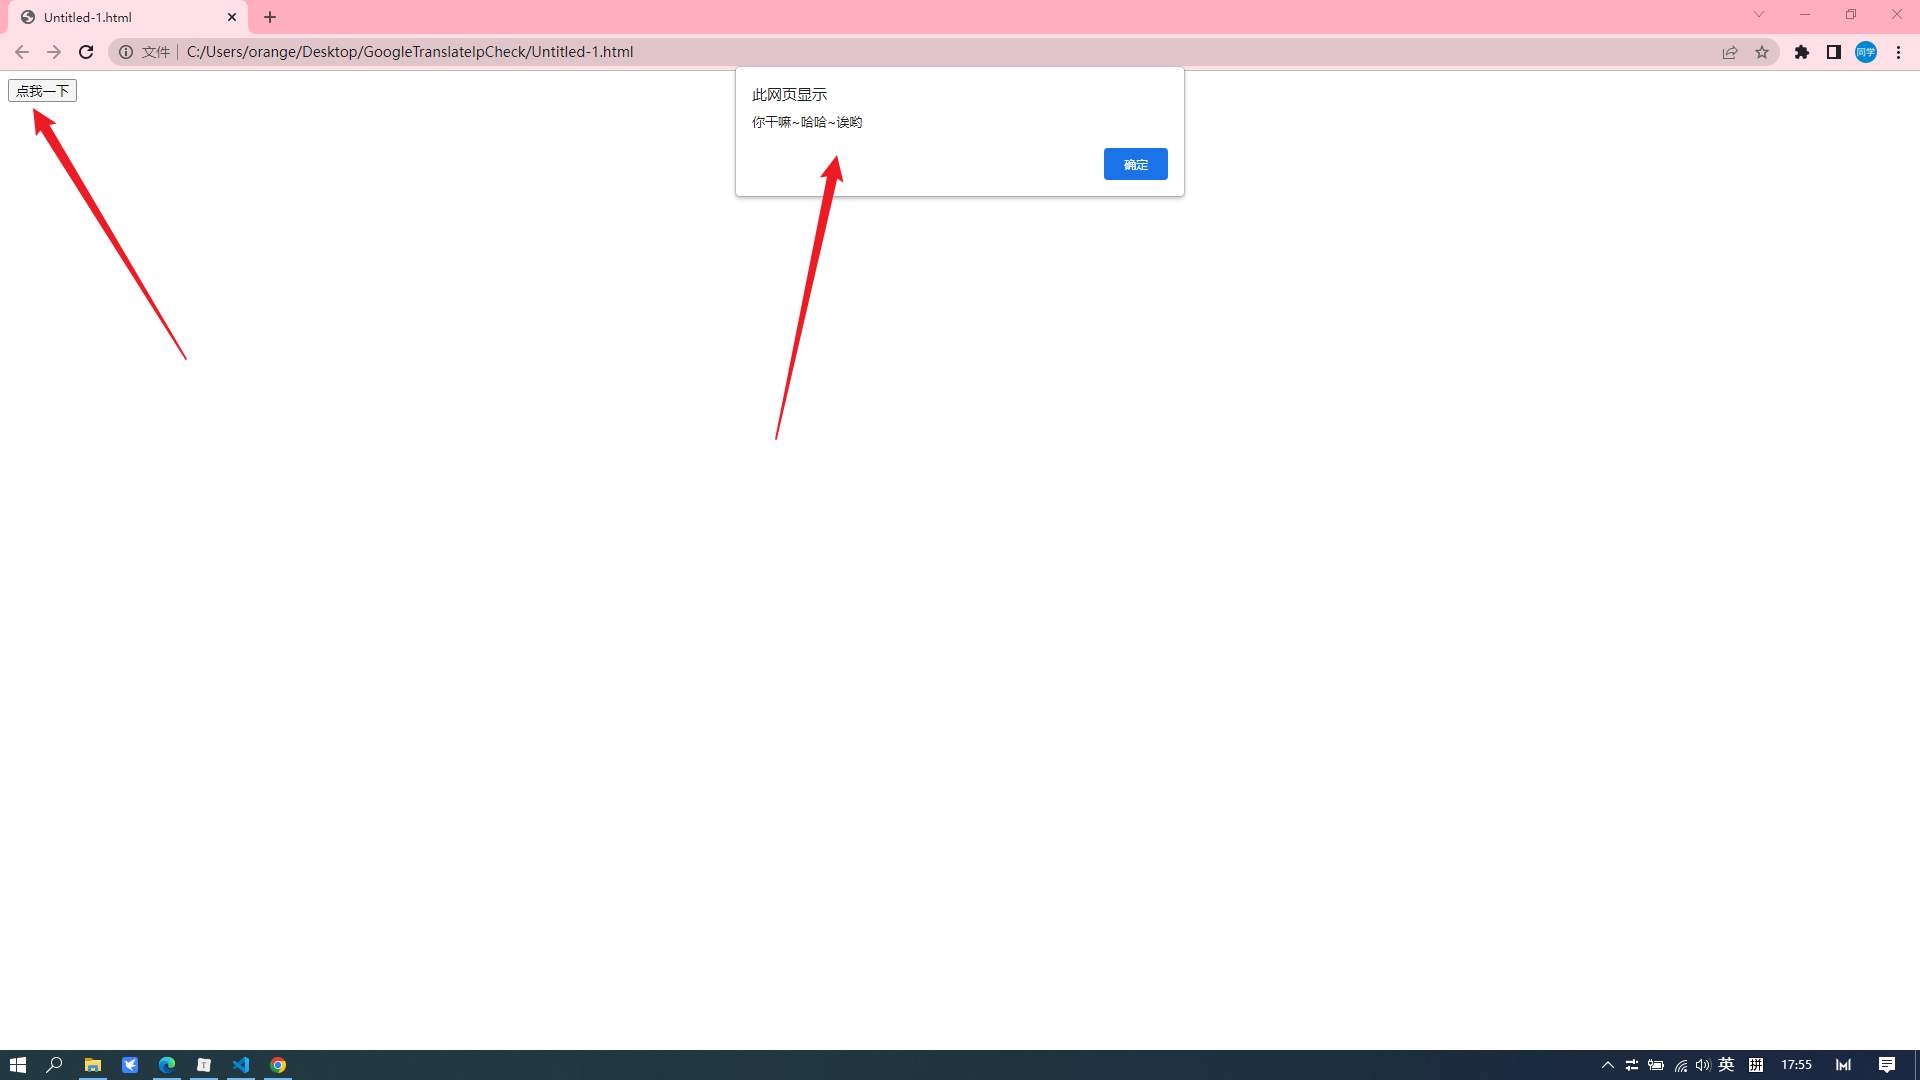
可以将js编写到button标签的onlick属性中,当我们点击按钮时候,js代码才会执行

1
2
3
4
5
6
7
8
9
10
11
<!DOCTYPE html>
<html>
<head>
<meta charset="UTF-8">
<title></title>

</head>
<body>
<button onclick="alert('你干嘛~哈哈~诶哟')">点我一下</button>
</body>
</html>

image-20230127175516056

href—可以把js代码写入href属性中

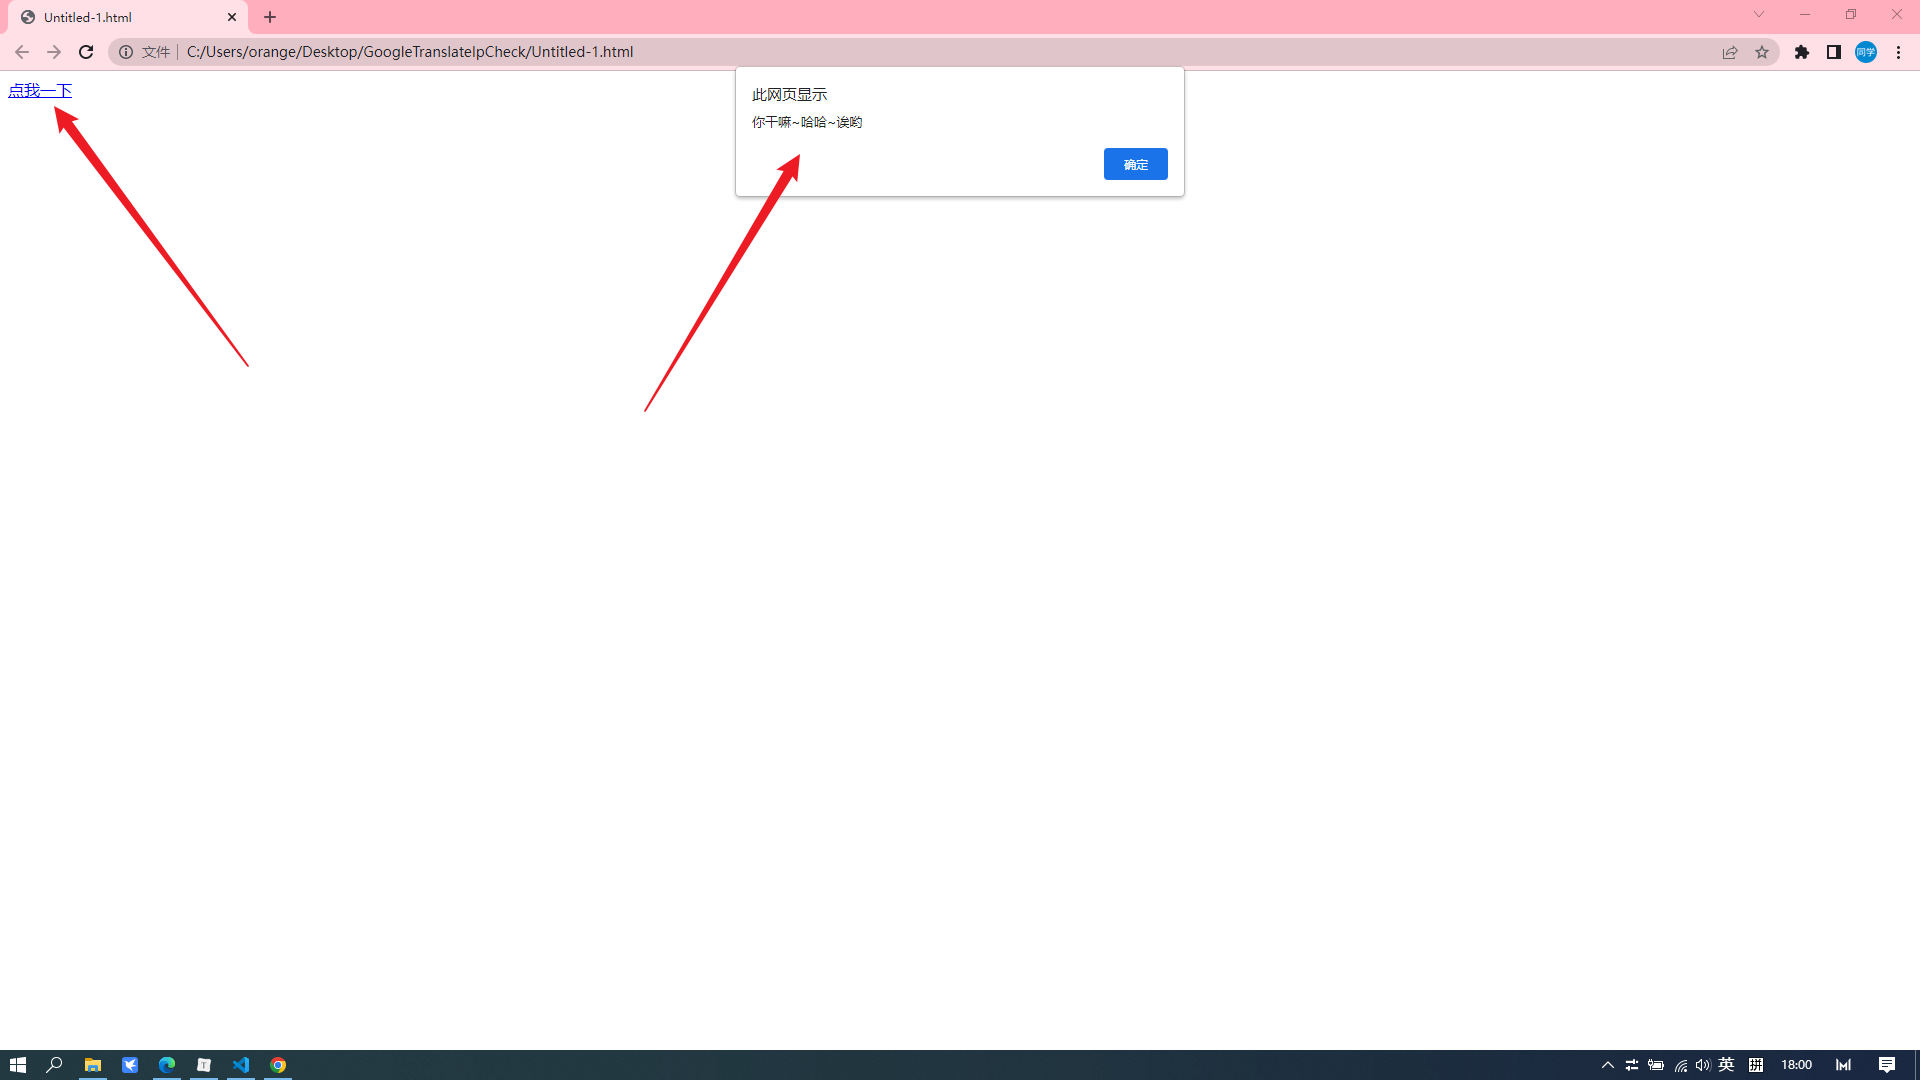
这样点击超链接,就会执行js代码

1
2
3
4
5
6
7
8
9
10
11
<!DOCTYPE html>
<html>
<head>
<meta charset="UTF-8">
<title></title>
</head>

<body>
<a href="javascript:alert('你干嘛~哈哈~诶哟');">点我一下</a>
</body>
</html>

image-20230127180038954

script—标签引入外部js文件

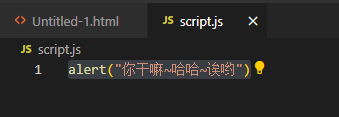
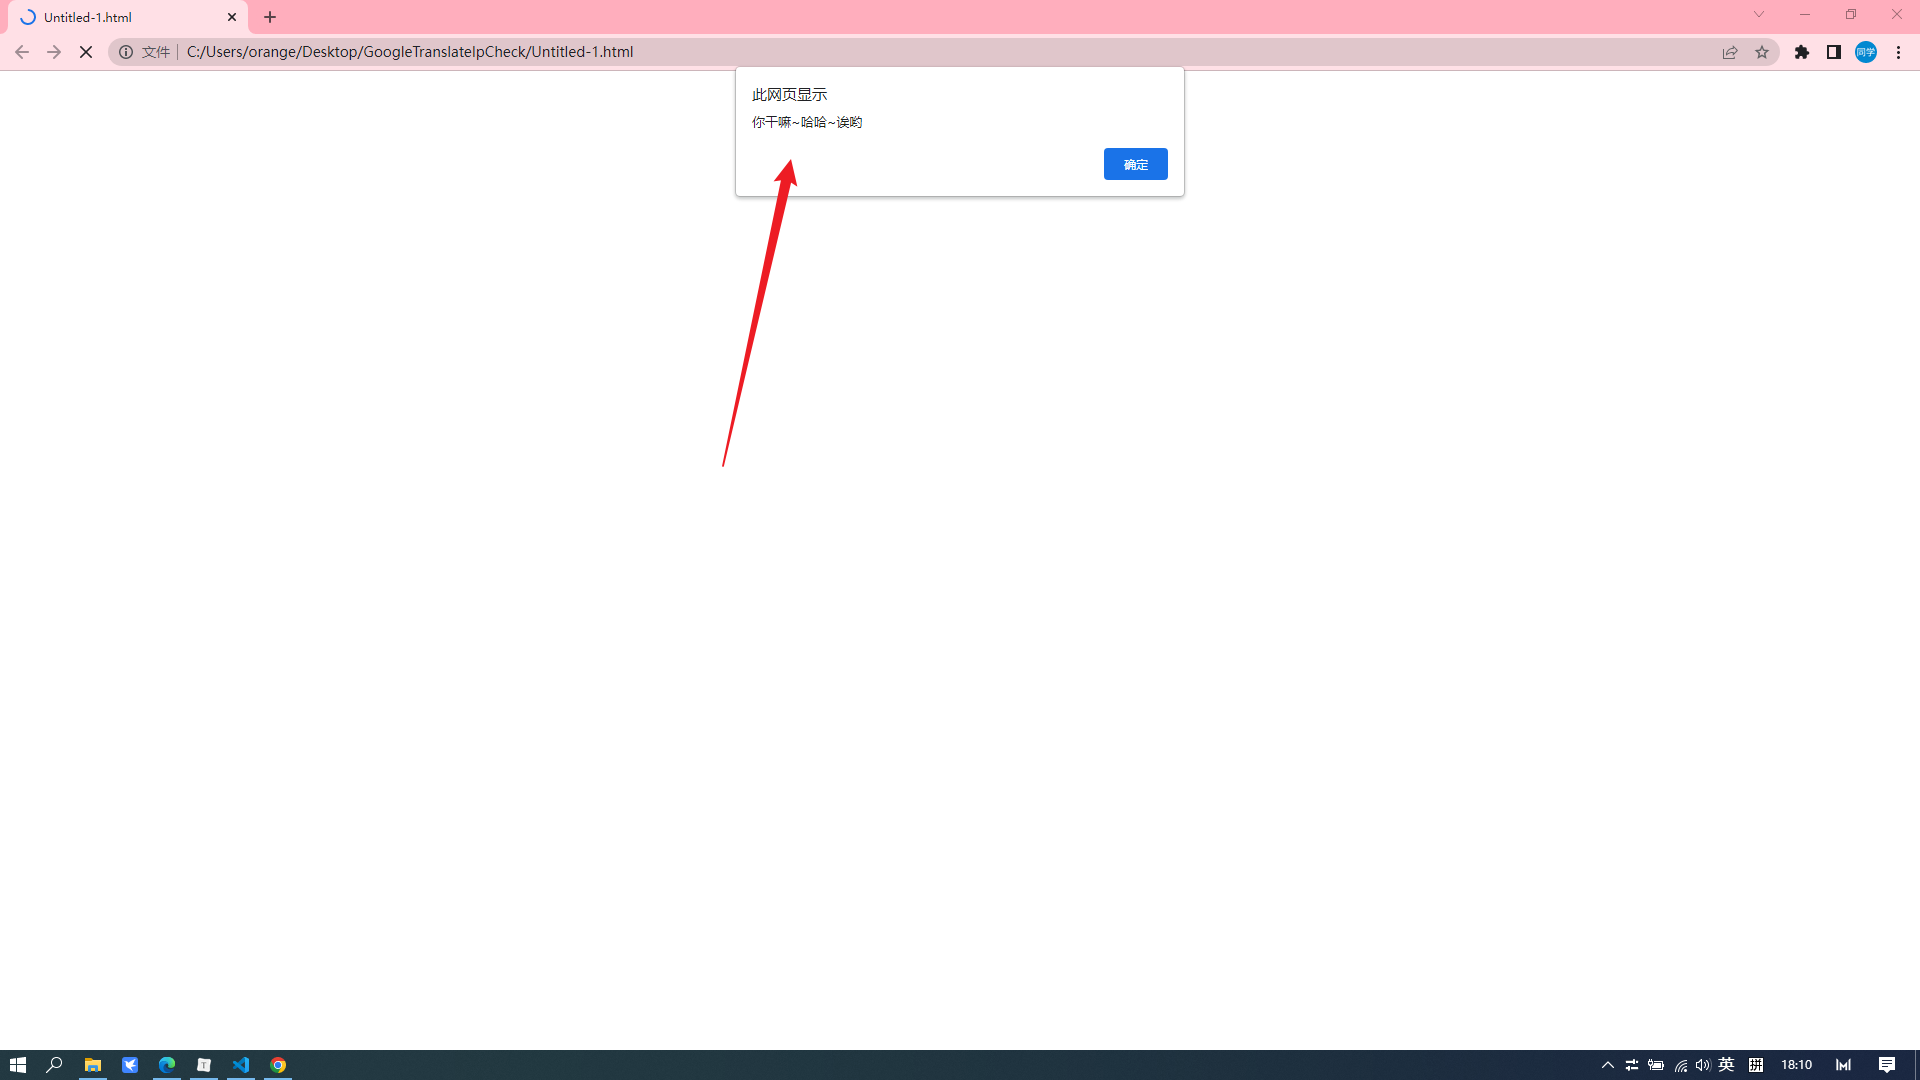
写到外部文件中可以在不同的页面中同时引用,也可以利用到浏览器的缓存机制,推荐使用

1
2
3
4
5
6
7
8
9
10
<!DOCTYPE html>
<html>
<head>
<meta charset="UTF-8">
<title></title>
<script type="text/javascript" src="script.js"></script>
</head>
<body>
</body>
</html>

image-20230127181115462

image-20230127181039767

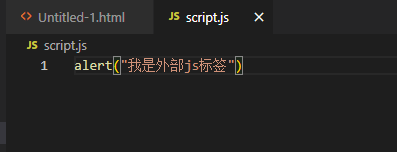
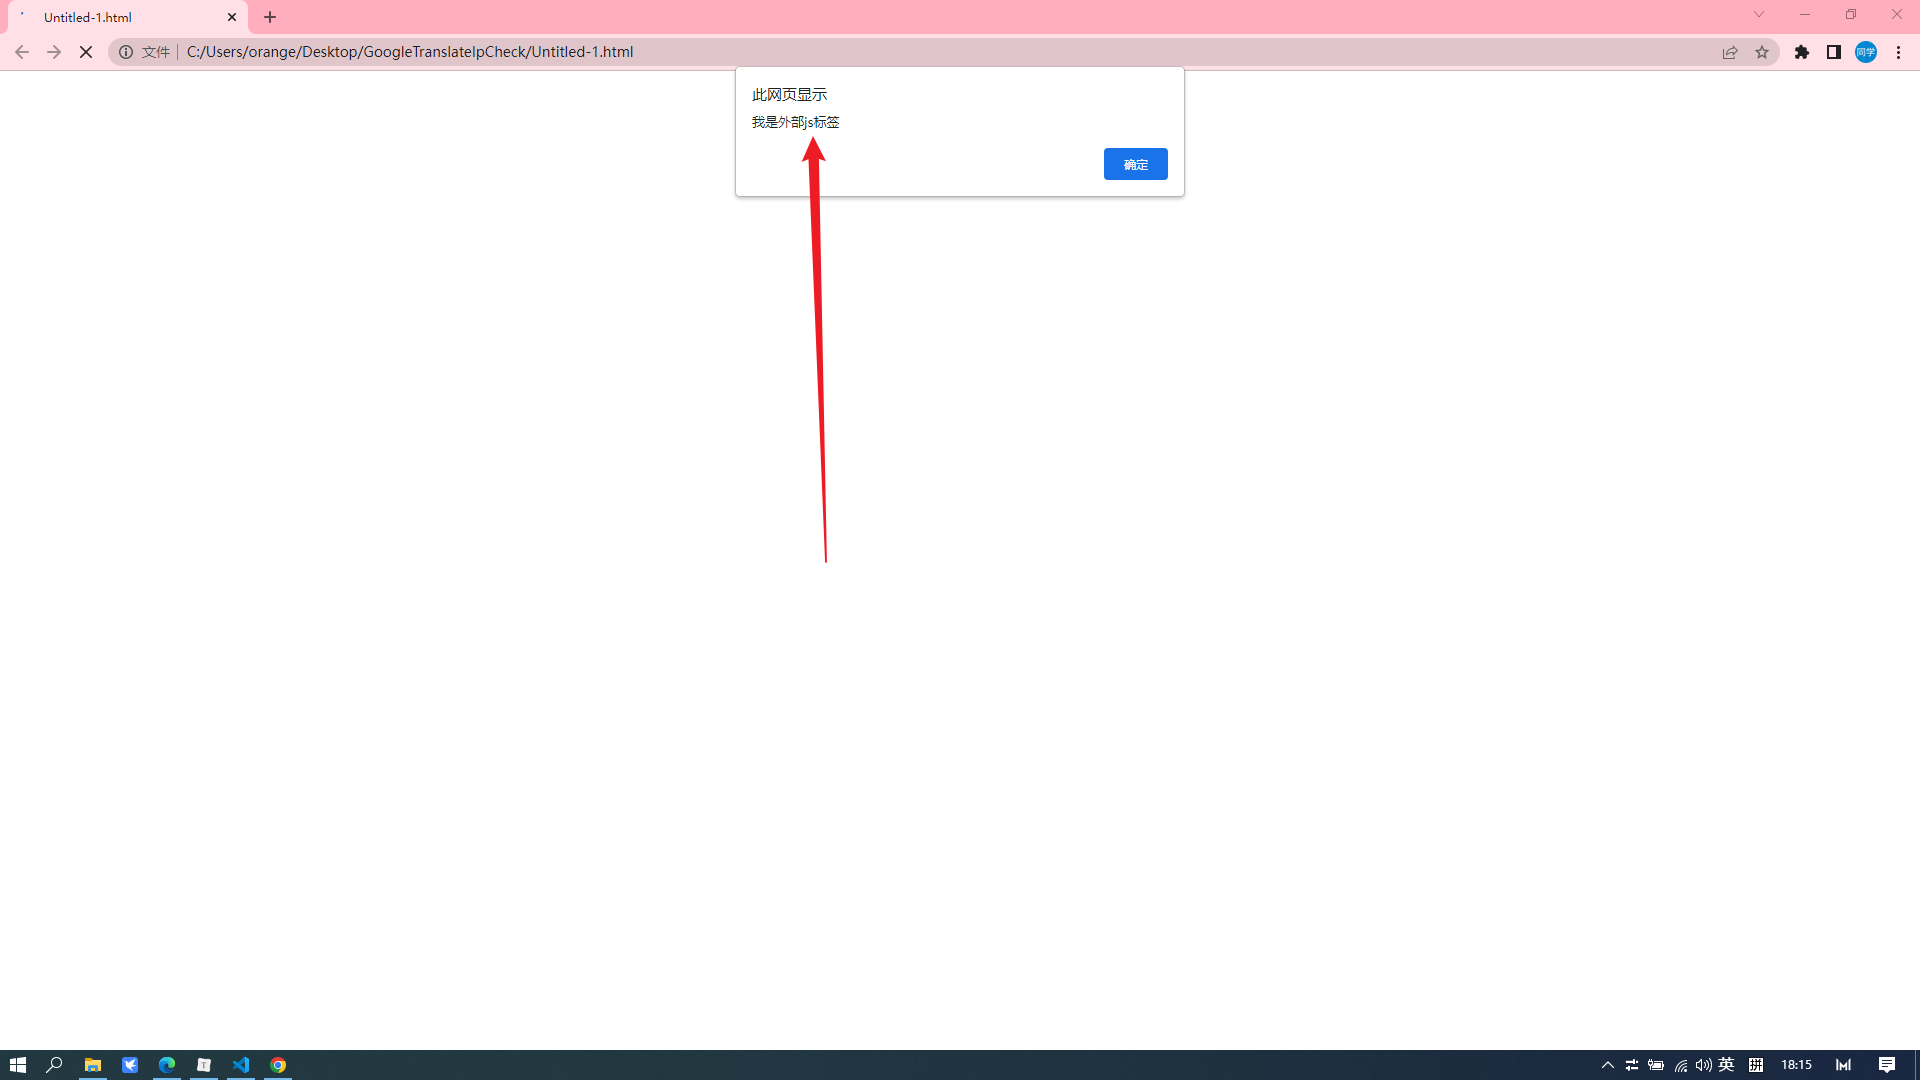
script标签一旦用于引入外部文件,就不能编写内部代码了,即使有也会被浏览器忽略,如果需要则可以再创建一个新的script标签用于编写内部代码

1
2
3
4
5
6
7
8
9
10
11
12
<!DOCTYPE html>
<html>
<head>
<meta charset="UTF-8">
<title></title>
<script type="text/javascript" src="script.js">
alert("我是内部js标签")
</script>
</head>
<body>
</body>
</html>

image-20230127181828388

image-20230127181549688

toString—调用数据类型的方法

1
2
3
4
5
6
7
8
9
10
11
12
13
14
15
16
<!DOCTYPE html>
<html>
<head>
<meta charset="UTF-8">
<title></title>
<script type="text/javascript">
var a = 123;
console.log(a);
var b = a.toString();
console.log(b);
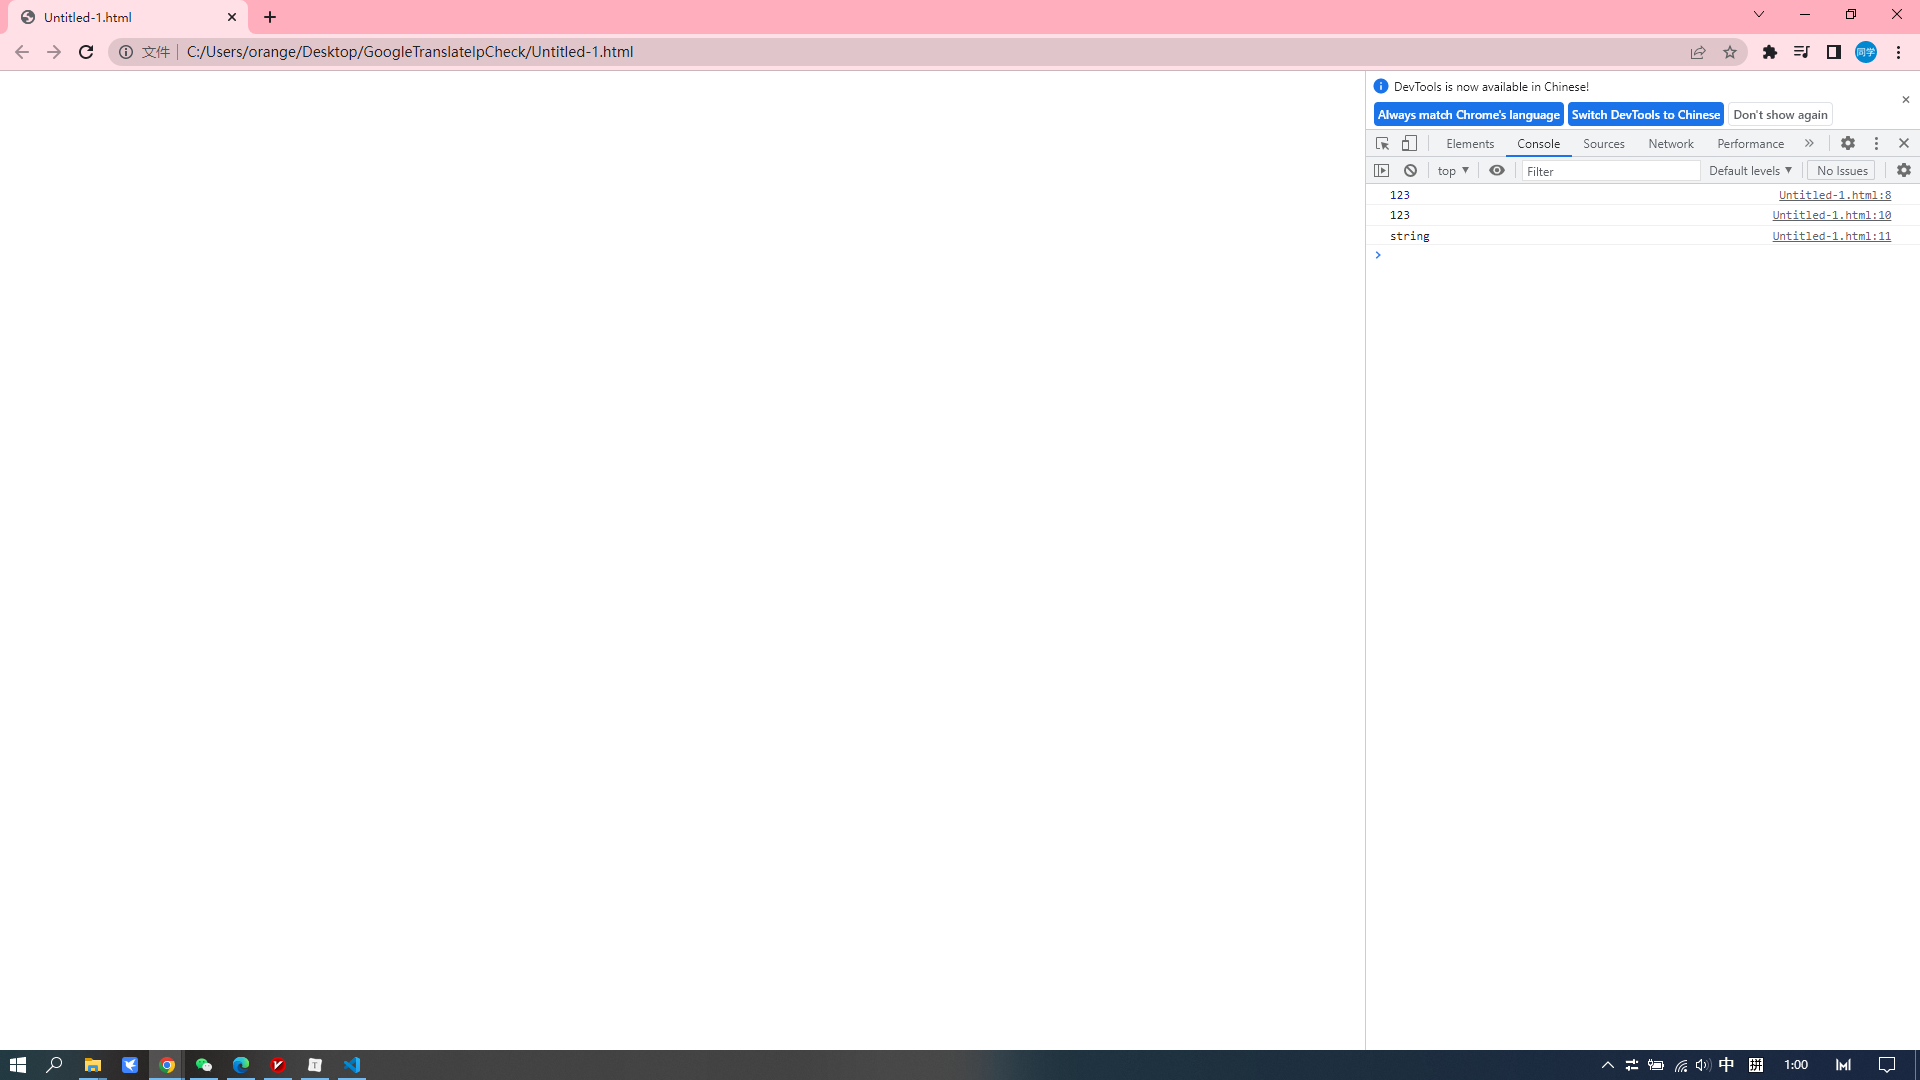
console.log(typeof b);
</script>
</head>
<body>
</body>
</html>

image-20230129010048594

string()—直接调用函数

1
2
3
4
5
6
7
8
9
10
11
12
13
14
15
16
<!DOCTYPE html>
<html>
<head>
<meta charset="UTF-8">
<title></title>
<script type="text/javascript">
var a = 123;
console.log(a);
var b = String(a);
console.log(b);
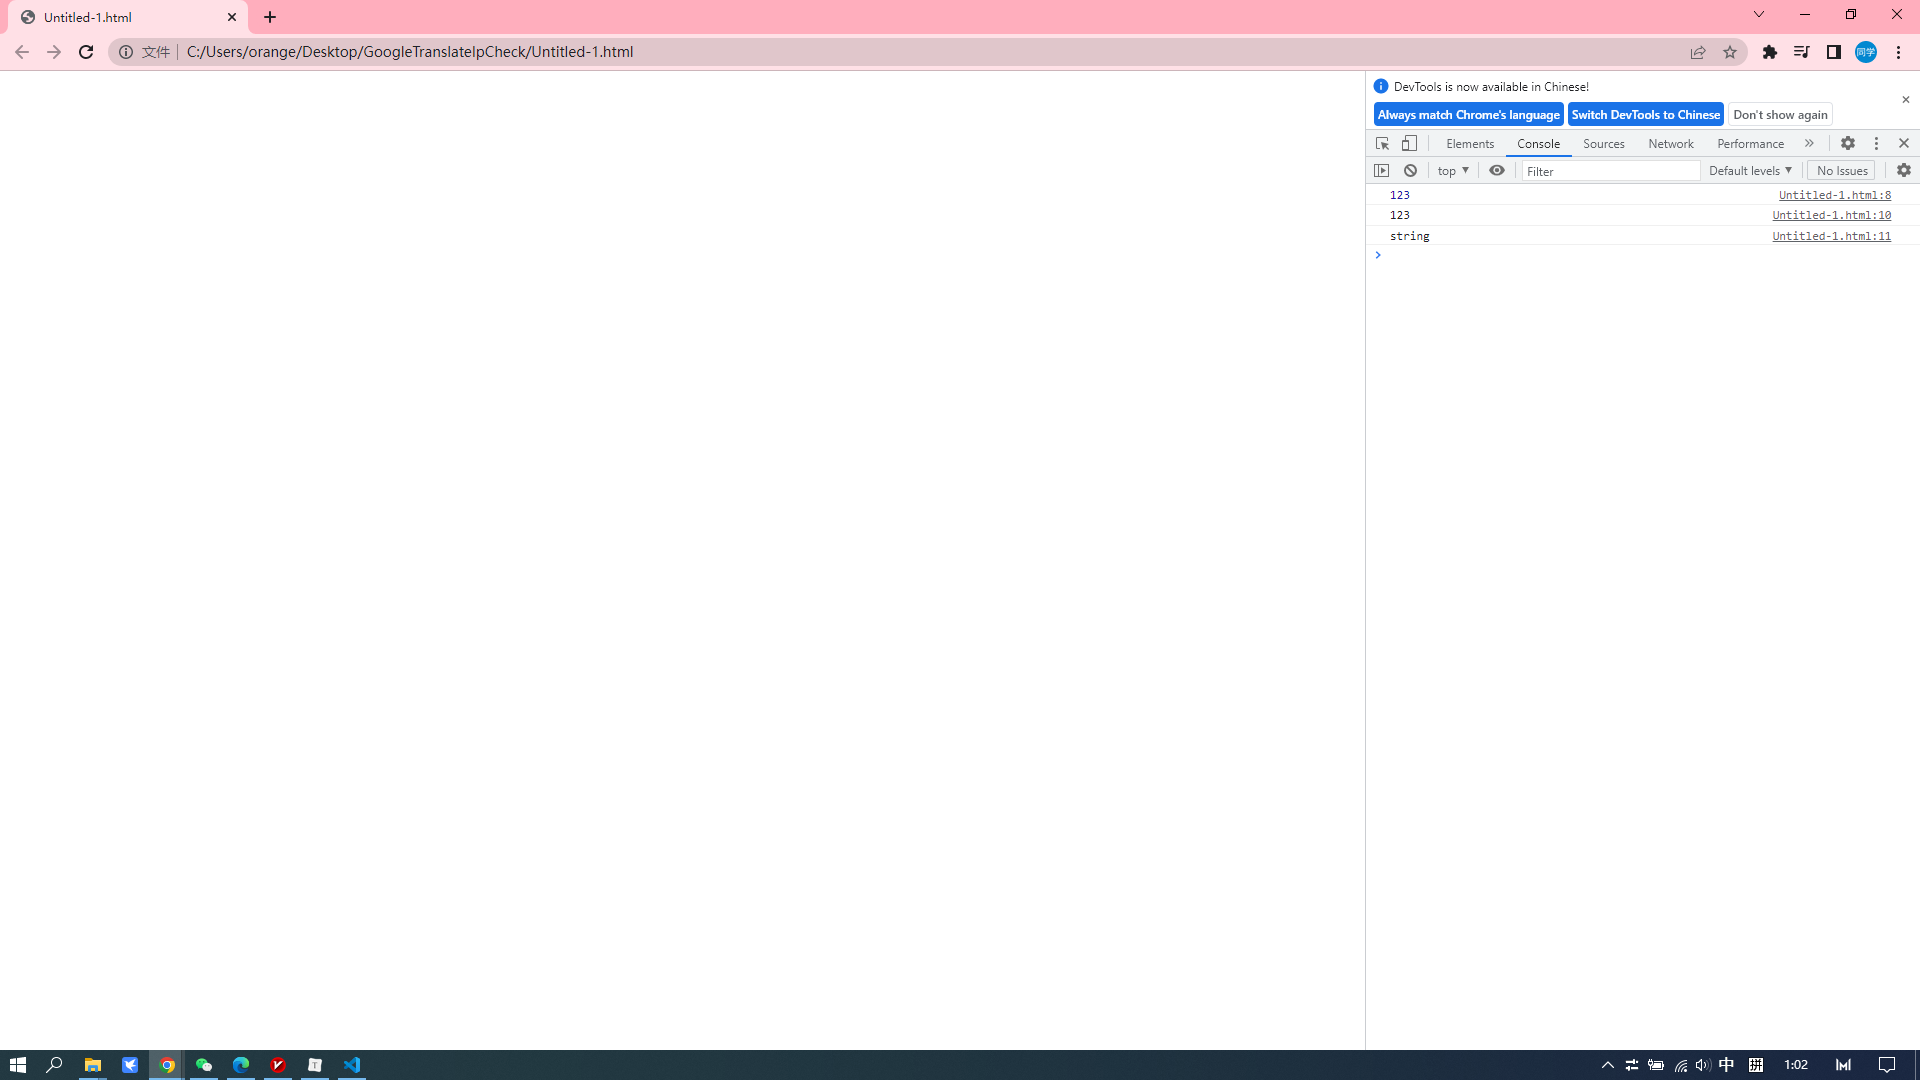
console.log(typeof b);
</script>
</head>
<body>
</body>
</html>

image-20230129010239358

Number()—直接调用函数

1
2
3
4
5
6
7
8
9
10
11
12
13
14
15
16
<!DOCTYPE html>
<html>
<head>
<meta charset="UTF-8">
<title></title>
<script type="text/javascript">
var a = "123";
console.log(a);
var b = Number(a);
console.log(b);
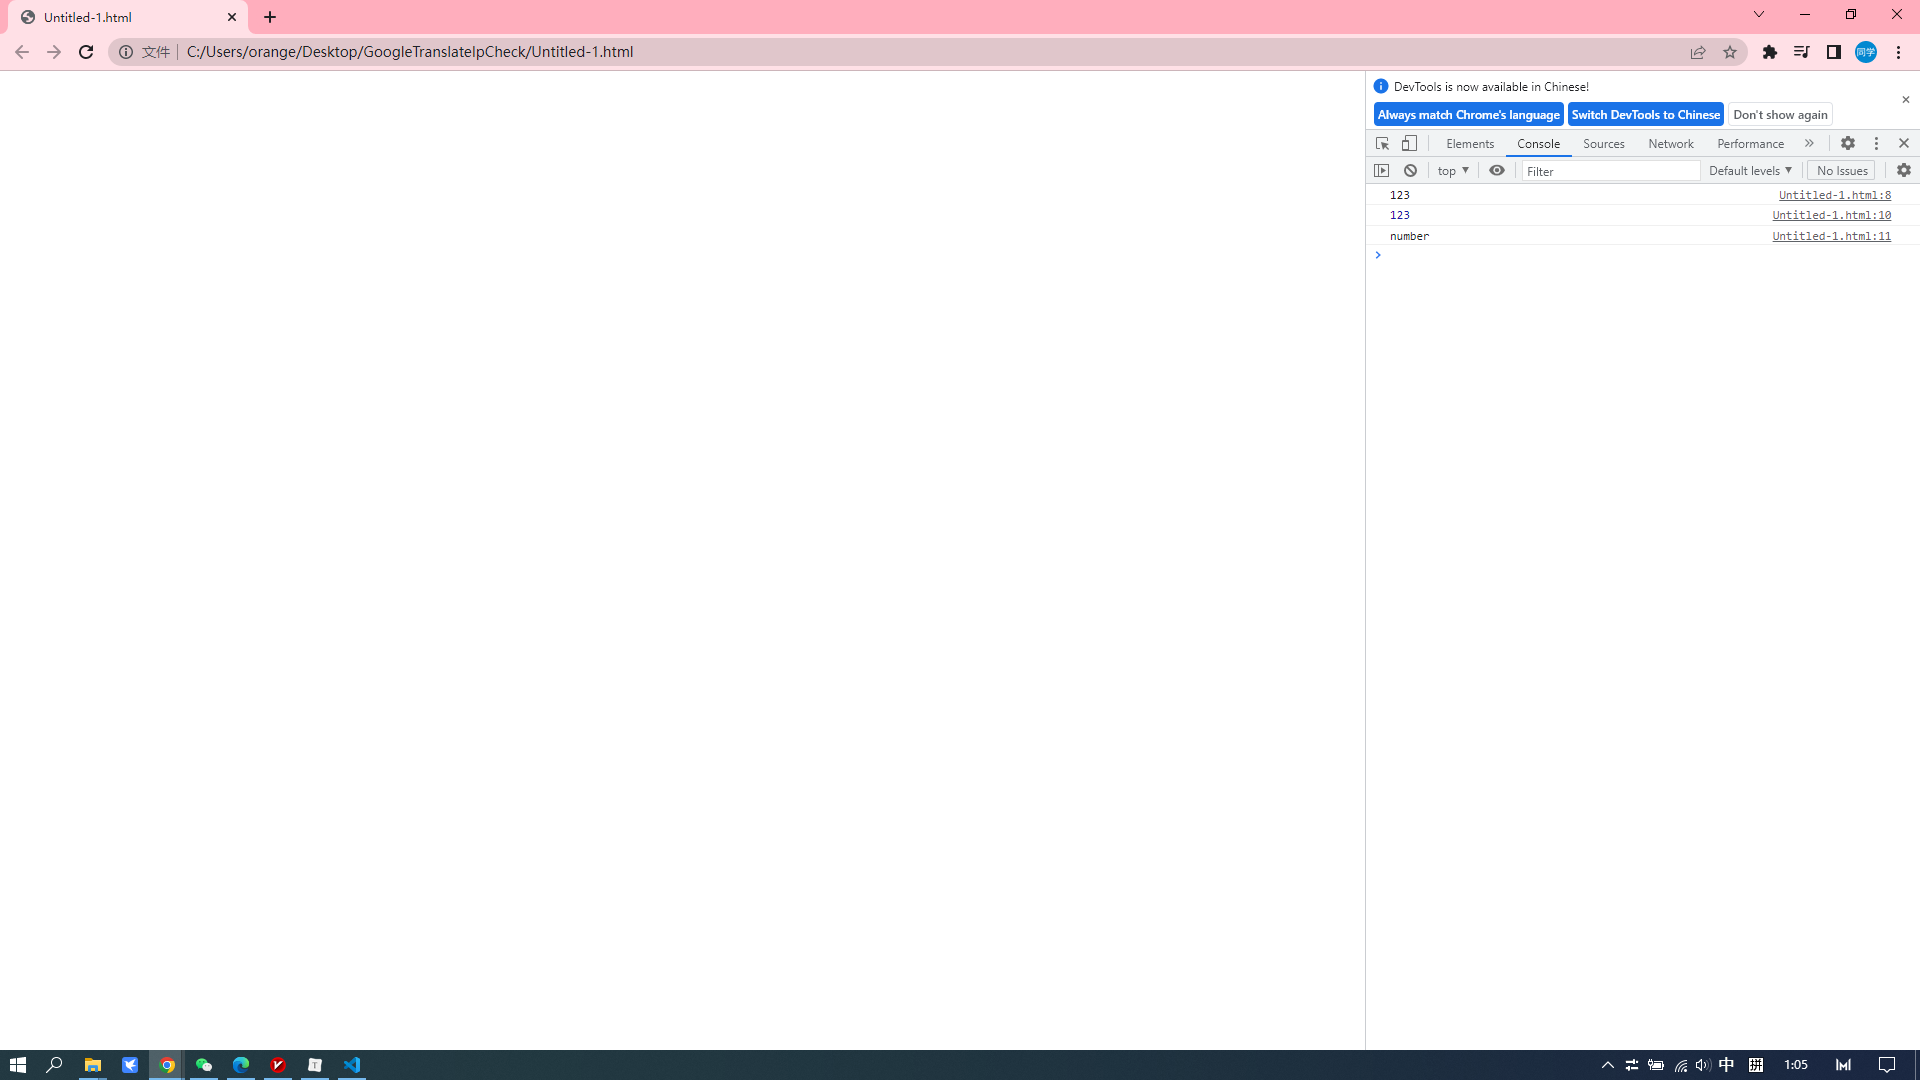
console.log(typeof b);
</script>
</head>
<body>
</body>
</html>

image-20230129010534088

parseInt()—该函数将字符串的有效的整数提取出来

1
2
3
4
5
6
7
8
9
10
11
12
13
14
15
16
<!DOCTYPE html>
<html>
<head>
<meta charset="UTF-8">
<title></title>
<script type="text/javascript">
var a = "123.ab";
console.log(a);
var b = parseInt(a);
console.log(b);
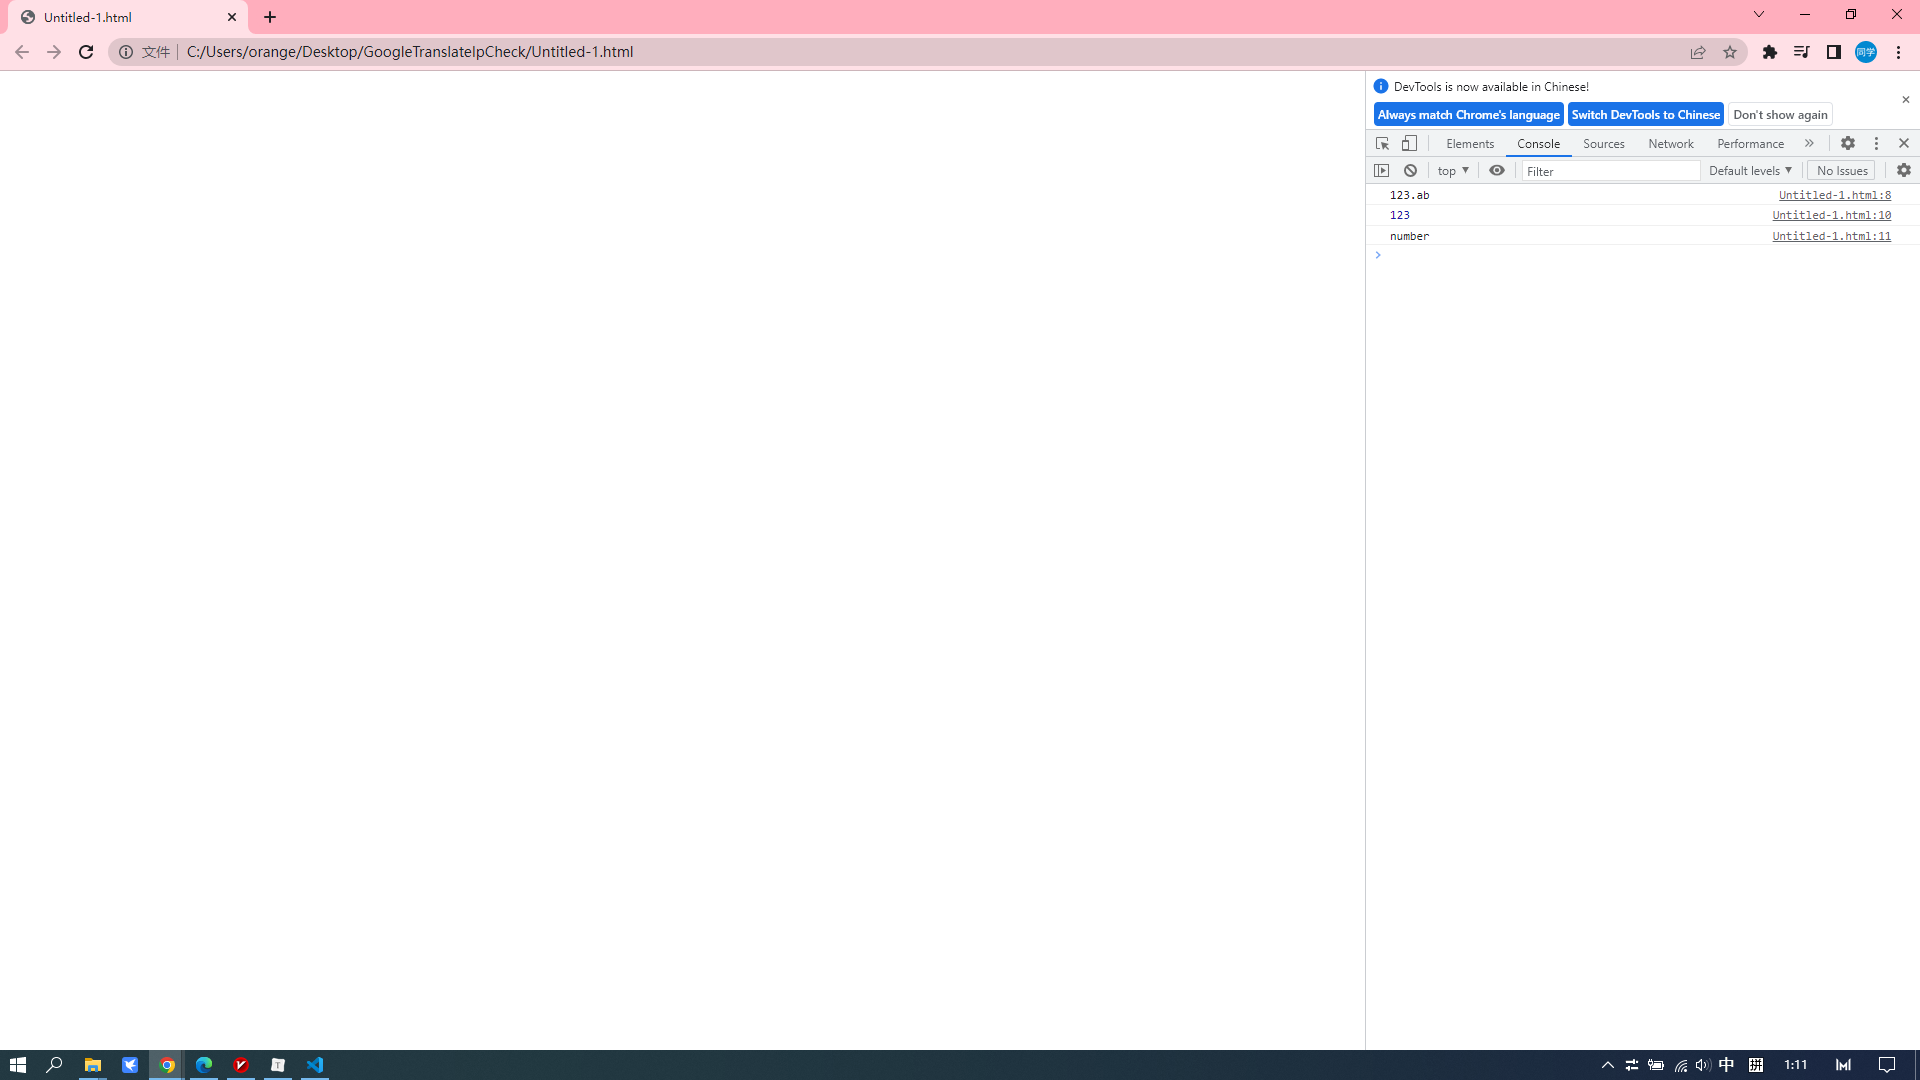
console.log(typeof b);
</script>
</head>
<body>
</body>
</html>

image-20230129011133454

parseFloat()—取有效的小数

1
2
3
4
5
6
7
8
9
10
11
12
13
14
15
16
<!DOCTYPE html>
<html>
<head>
<meta charset="UTF-8">
<title></title>
<script type="text/javascript">
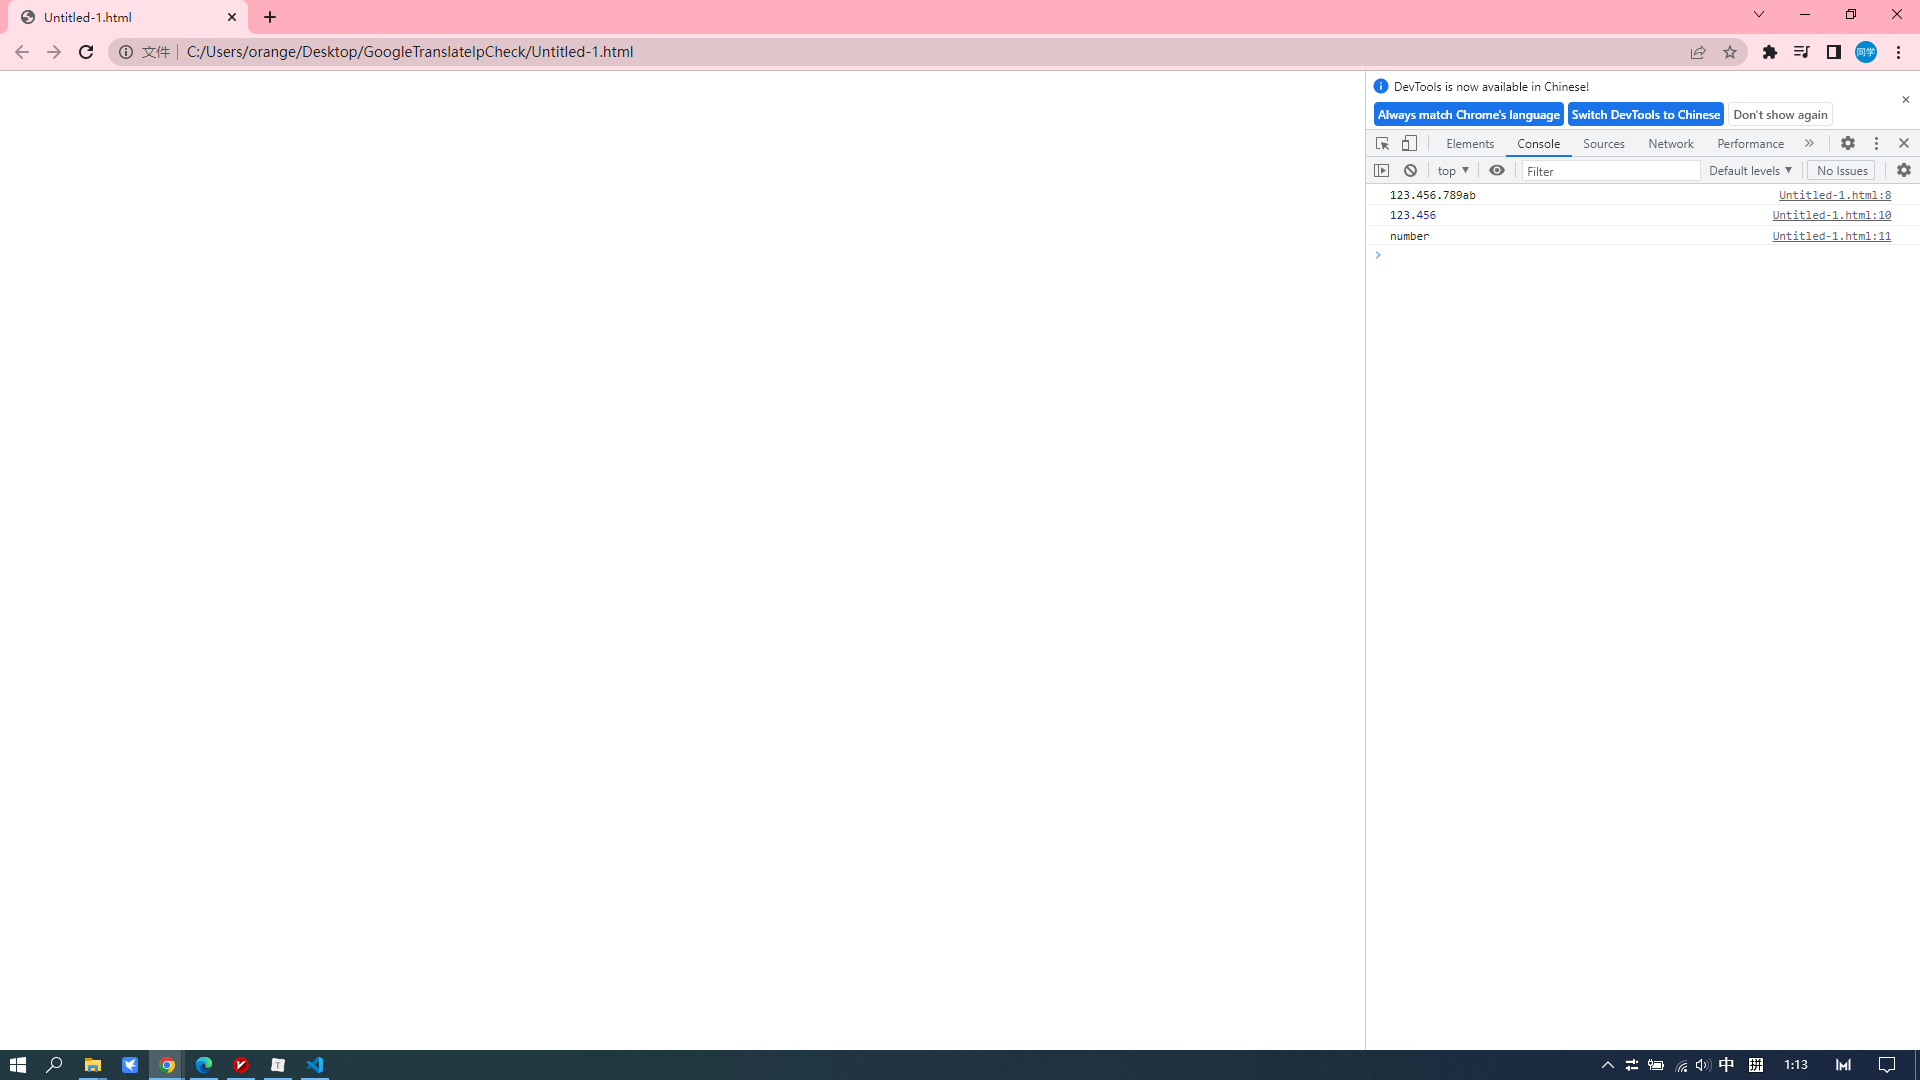
var a = "123.456.789ab";
console.log(a);
var b = parseFloat(a);
console.log(b);
console.log(typeof b);
</script>
</head>
<body>
</body>
</html>

image-20230129011328896

Boolean()—该函数可以转成字符串

1
2
3
4
5
6
7
8
9
10
11
12
13
14
15
16
<!DOCTYPE html>
<html>
<head>
<meta charset="UTF-8">
<title></title>
<script type="text/javascript">
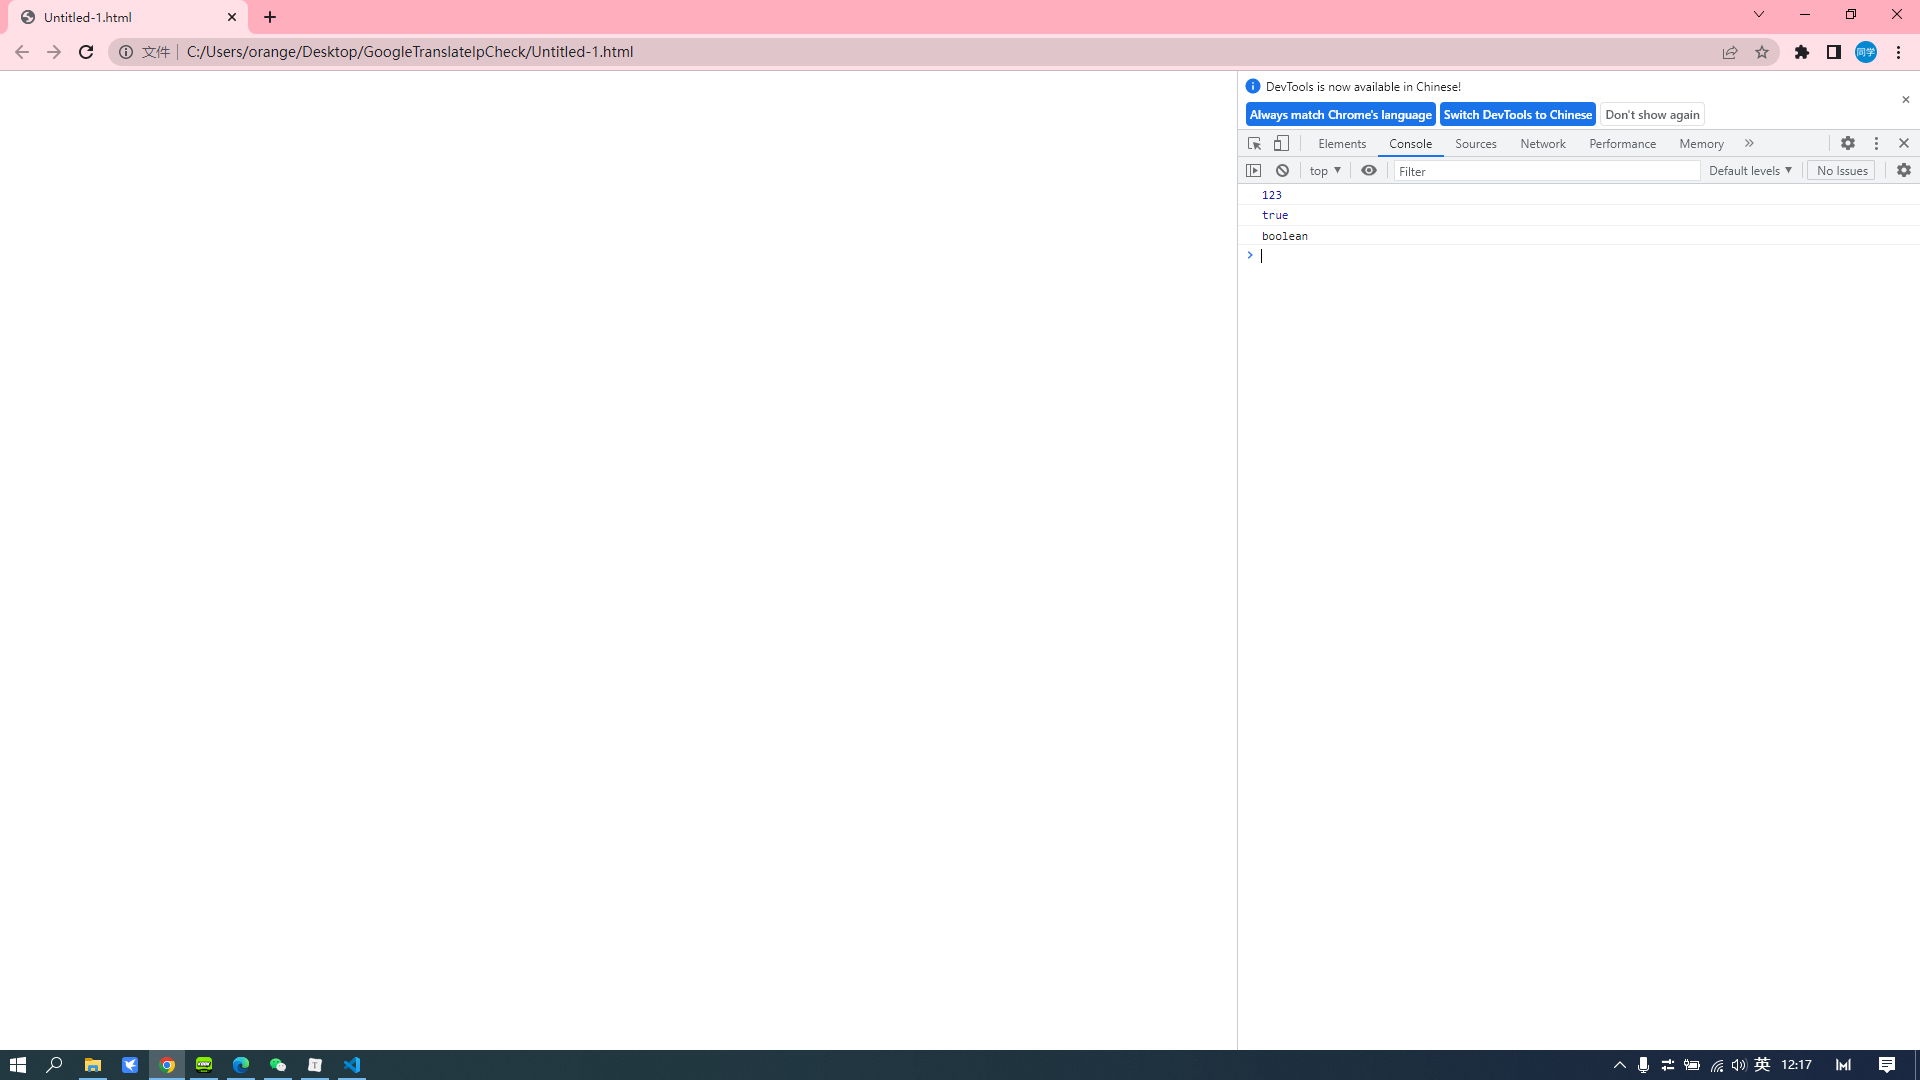
var a = 123;
console.log(a);
var b = Boolean(a);
console.log(b);
console.log(typeof b);
</script>
</head>
<body>
</body>
</html>

image-20230129121729902

Unicode

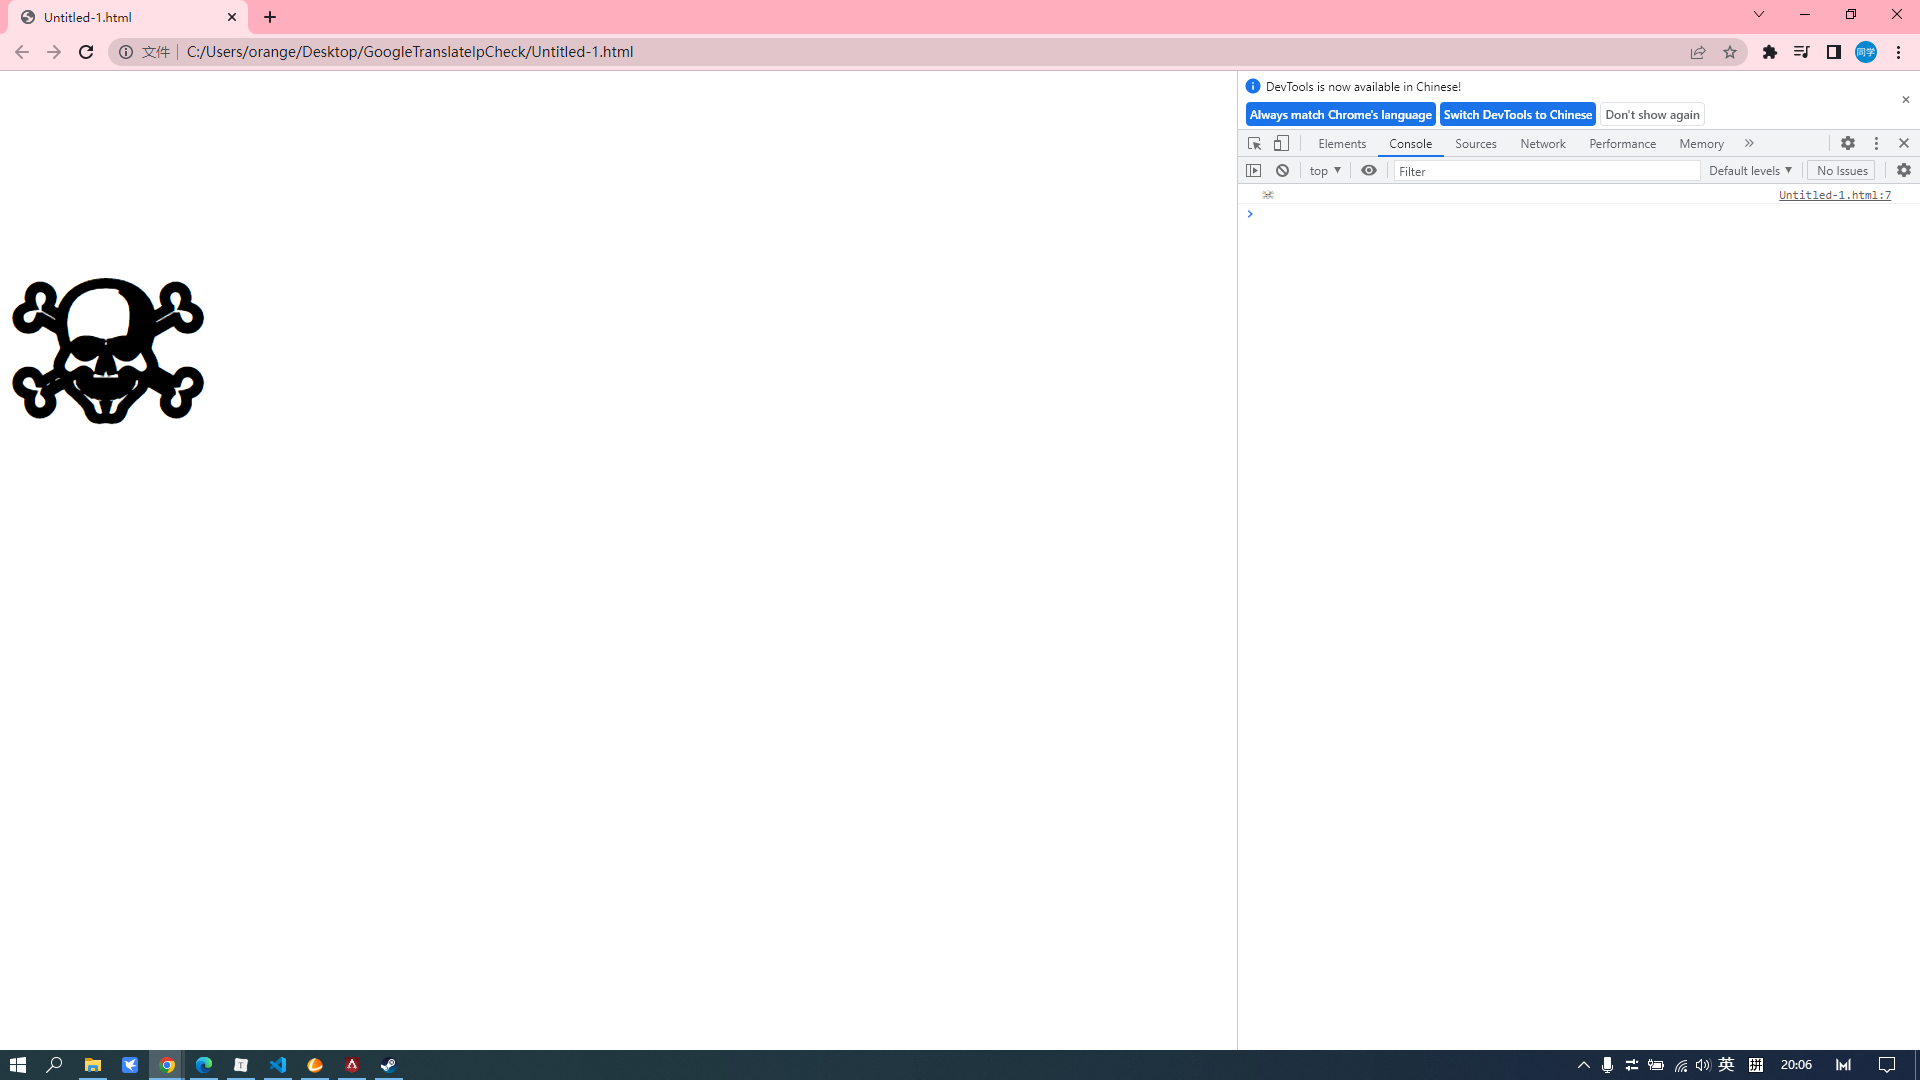
js里面可以直接使用Unicode编码,在html里面需要换算成为10进制而且用放在&#后面

1
2
3
4
5
6
7
8
9
10
11
12
13
<!DOCTYPE html>
<html>
<head>
<meta charset="UTF-8">
<title></title>
<script type="text/javascript">
console.log("\u2620")
</script>
</head>
<body>
<h1 style="font-size: 200px;">&#9760</h1>
</body>
</html>

image-20230129200707329

isNaN()—使用该函数判断是不是NaN

如果是NaN,则返回true

1
2
3
4
5
6
7
8
9
10
11
12
13
14
<!DOCTYPE html>
<html>
<head>
<meta charset="UTF-8">
<title></title>
<script type="text/javascript">
var a = NaN;
console.log(isNaN(a));
</script>
</head>
<body>

</body>
</html>

image-20230129203436249

prompt()—接收键盘输入

1
2
3
4
5
6
7
8
9
10
11
12
13
14
<!DOCTYPE html>
<html>
<head>
<meta charset="UTF-8">
<title></title>
<script type="text/javascript">
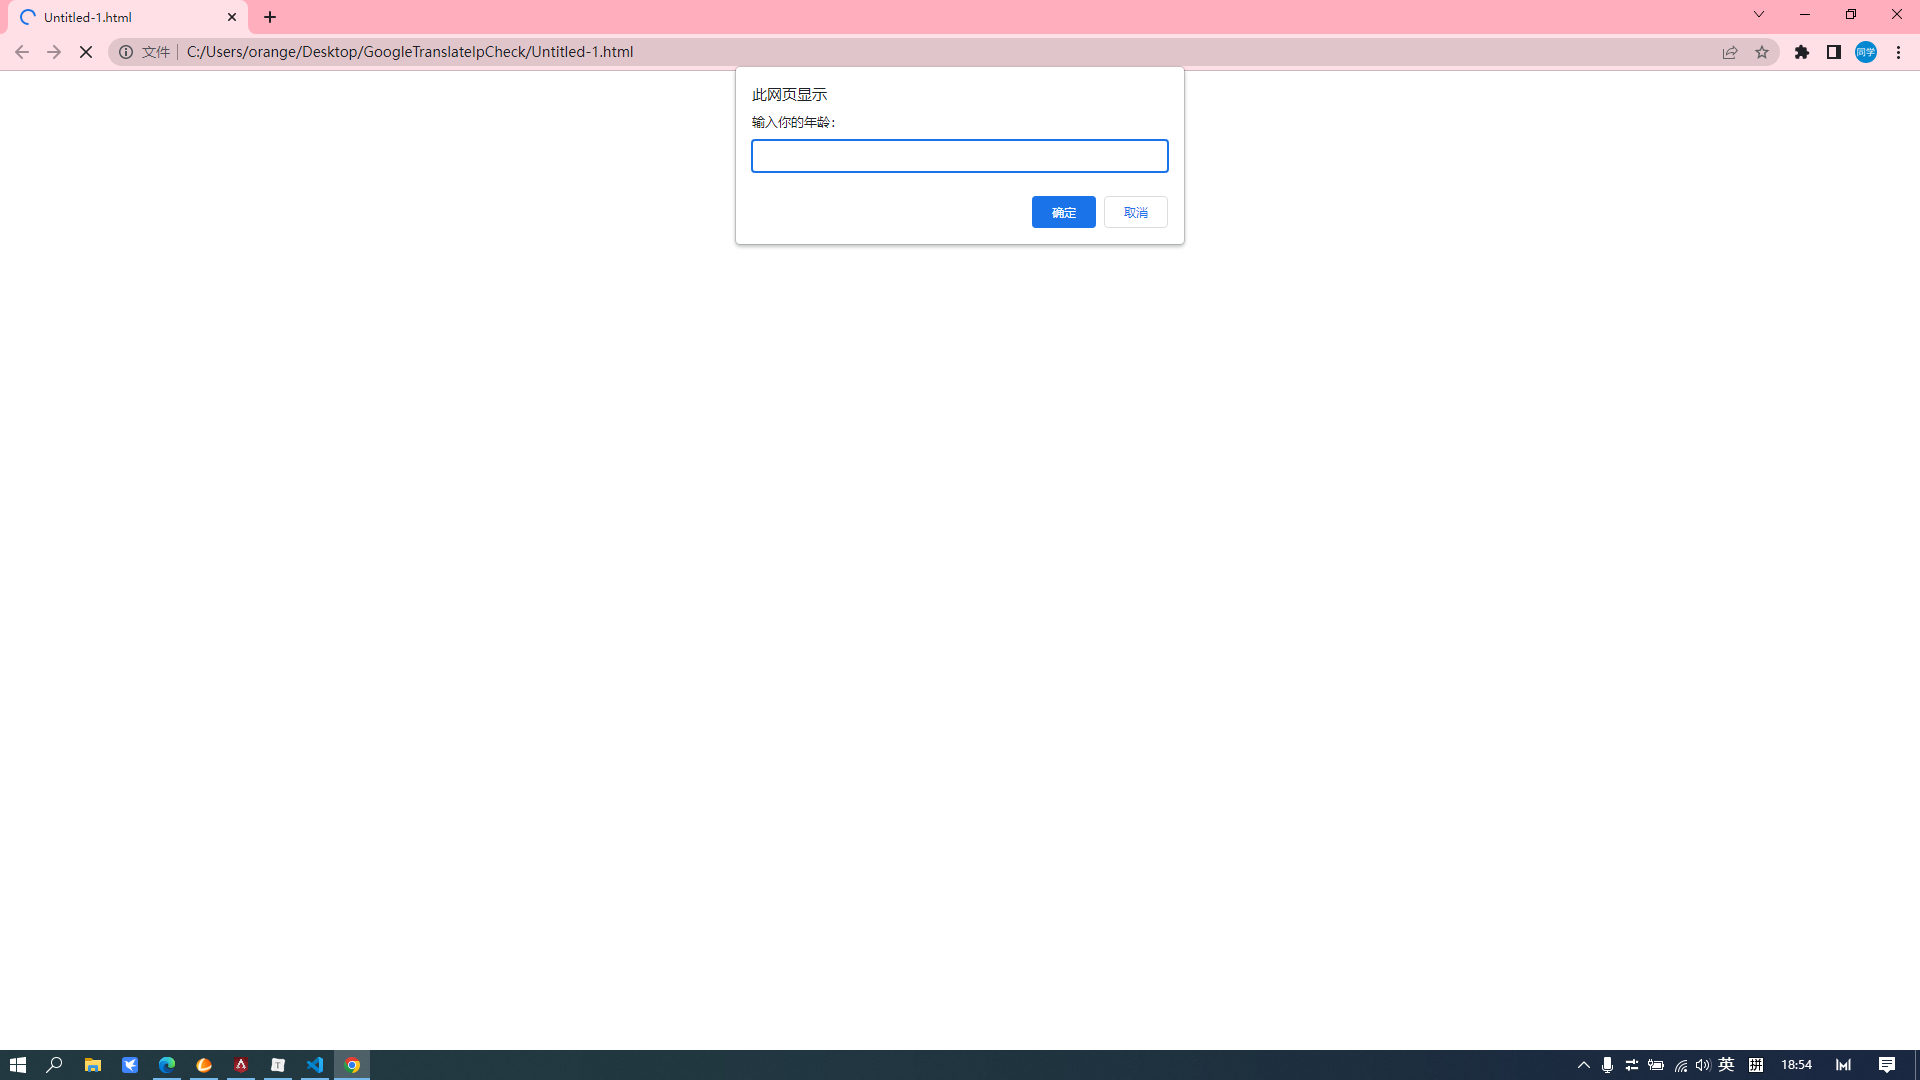
var a = prompt("输入你的年龄:");
alert(a);
</script>
</head>
<body>

</body>
</html>

image-20230130185410670

image-20230130185422027

if

1
2
3
4
5
6
7
8
9
10
11
12
13
14
15
16
17
18
19
20
21
22
<!DOCTYPE html>
<html>
<head>
<meta charset="UTF-8">
<title></title>
<script type="text/javascript">
var a = prompt("输入你的成绩:");
if(a == 100){
alert("奖励宝马一辆");
}else if(a >= 80){
alert("奖励一台手机");
}else if(a >= 60){
alert("奖励十年模拟,三年高考试卷100套");
}else{
alert("奖励棍子打断!!!")
}
</script>
</head>
<body>

</body>
</html>

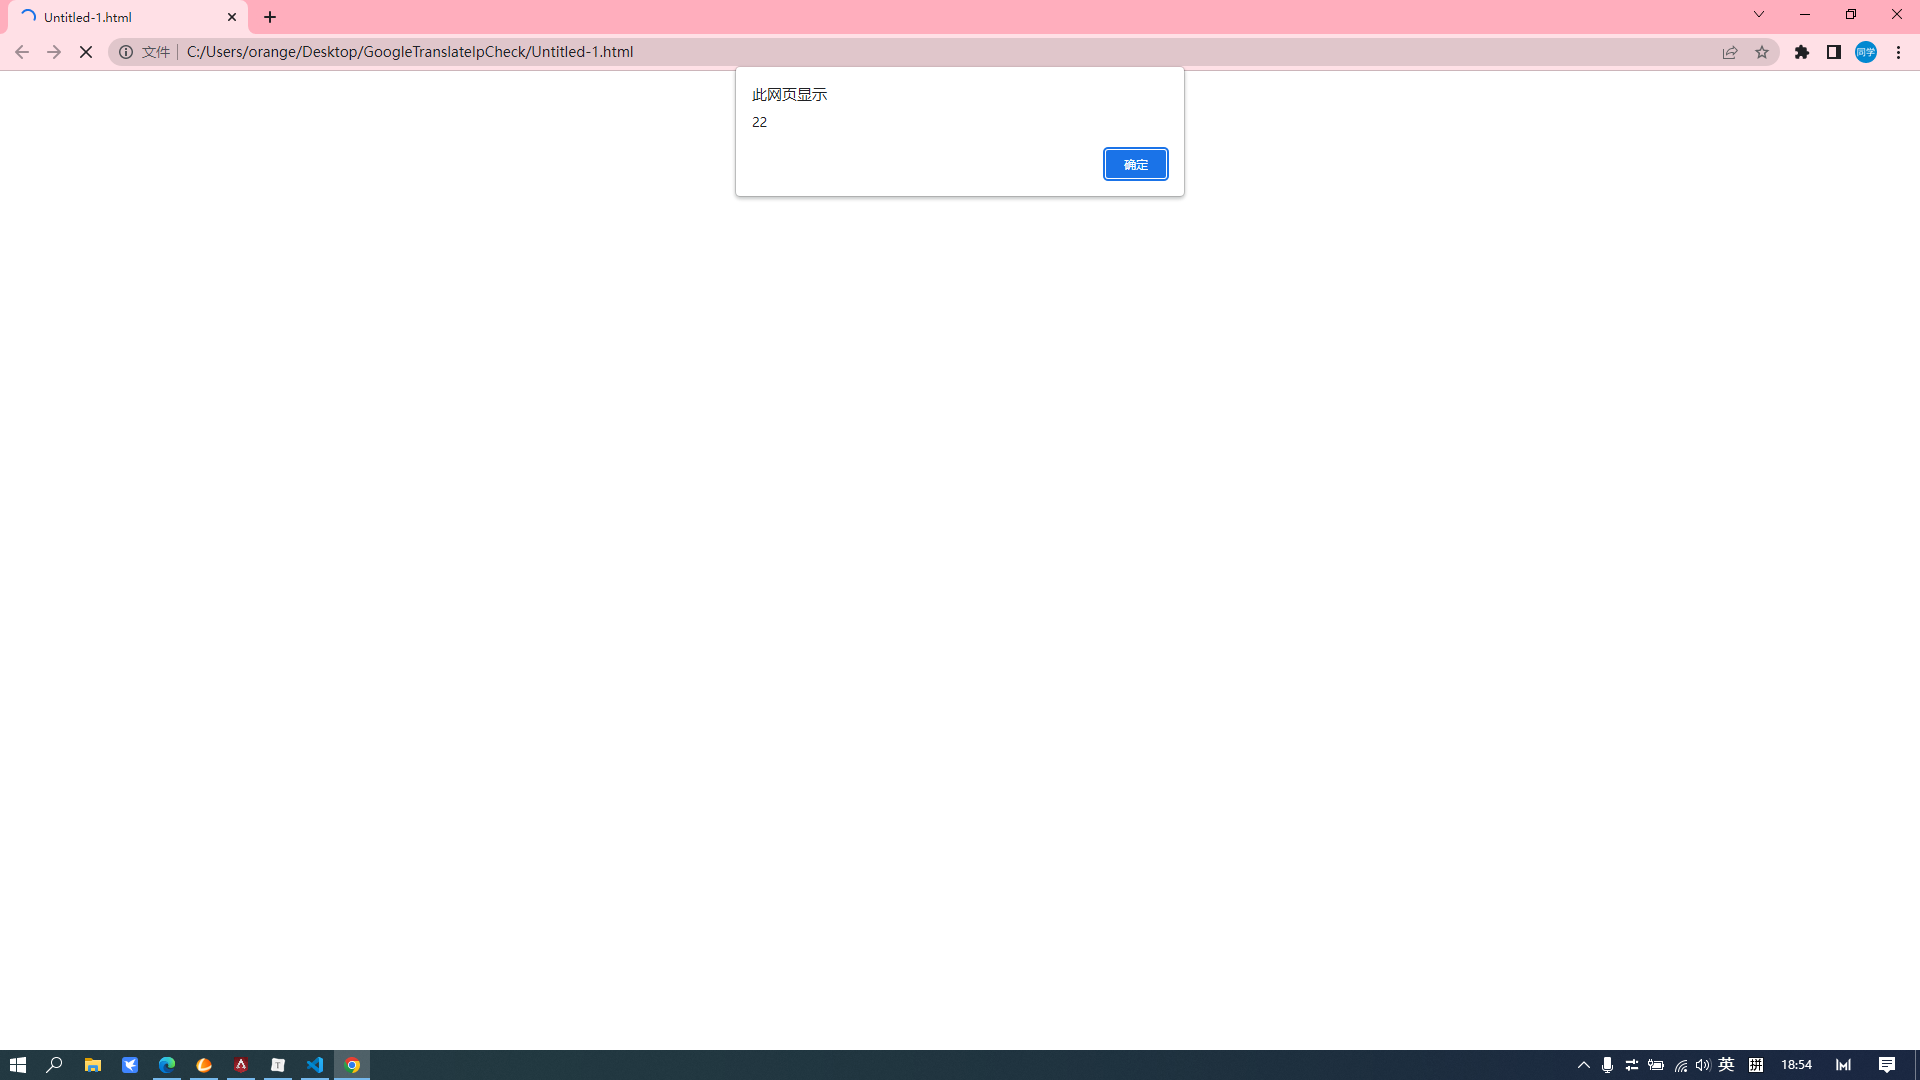
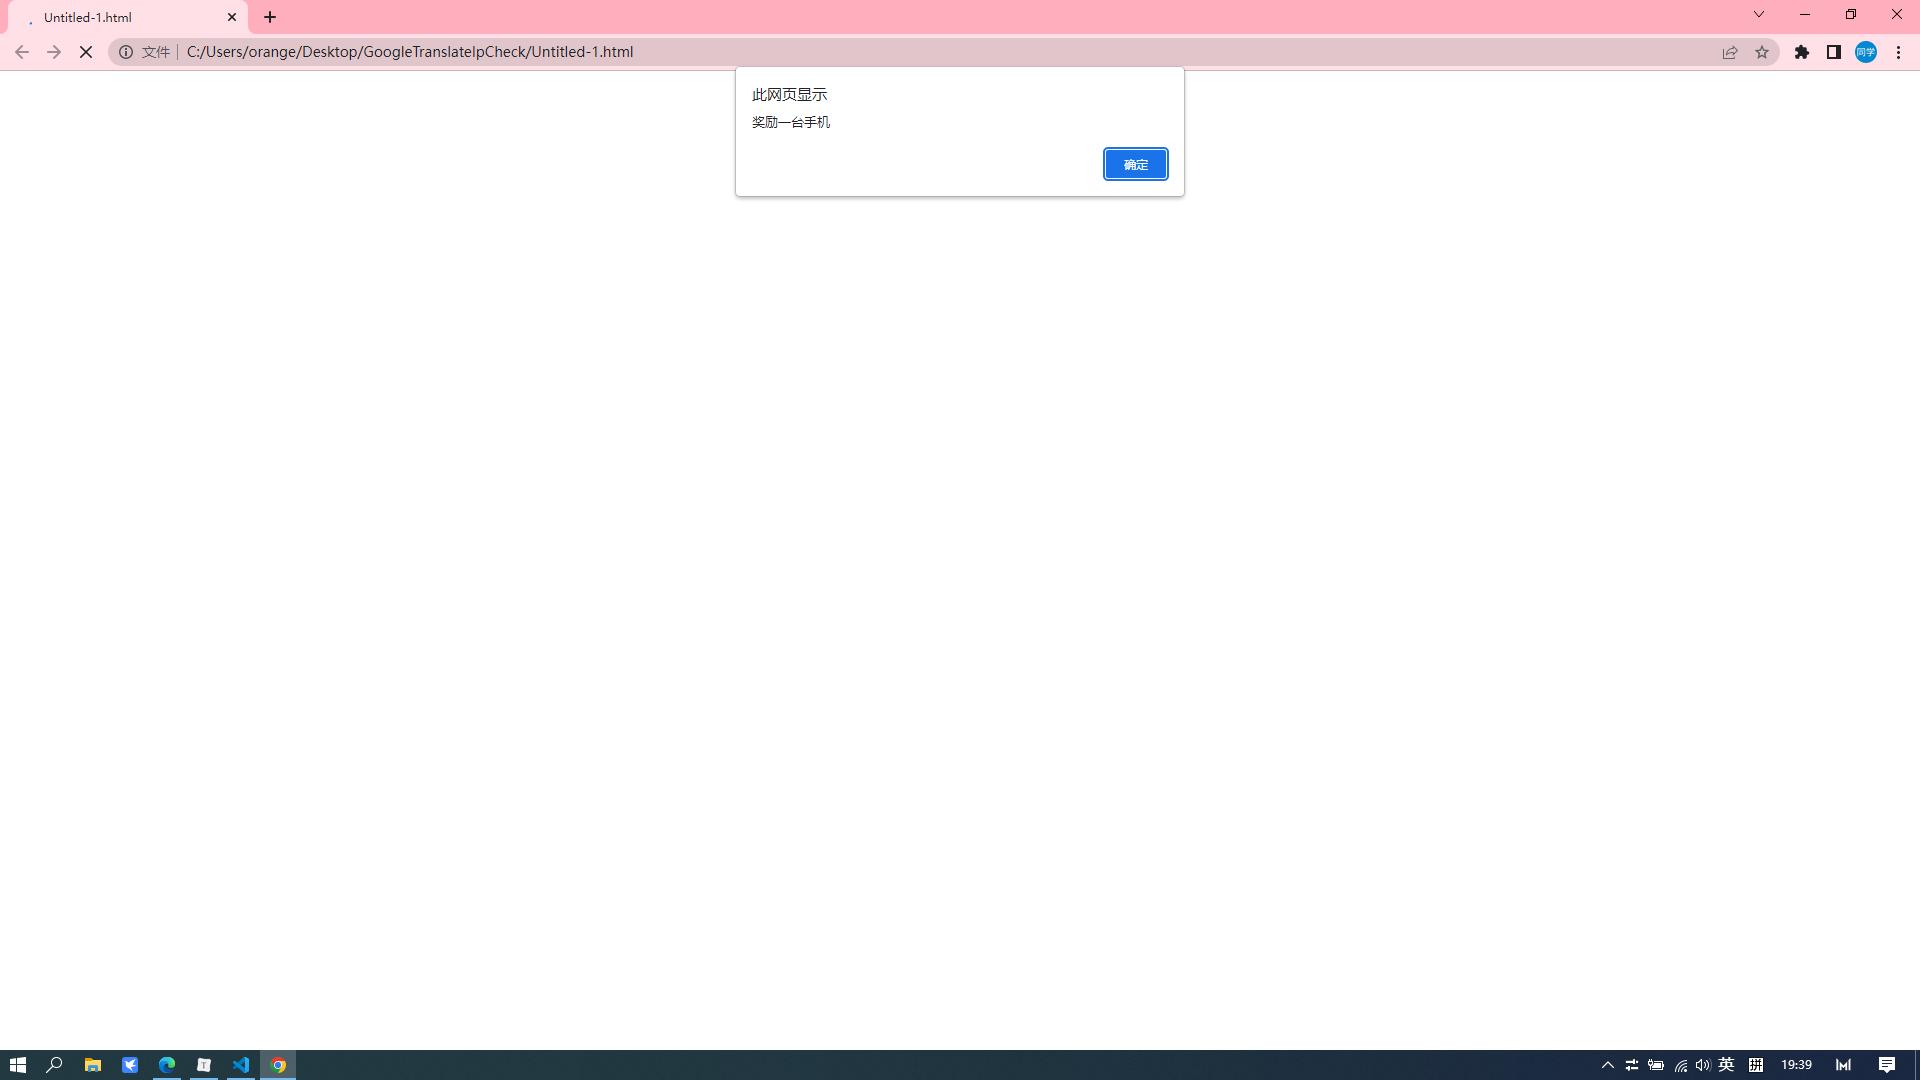
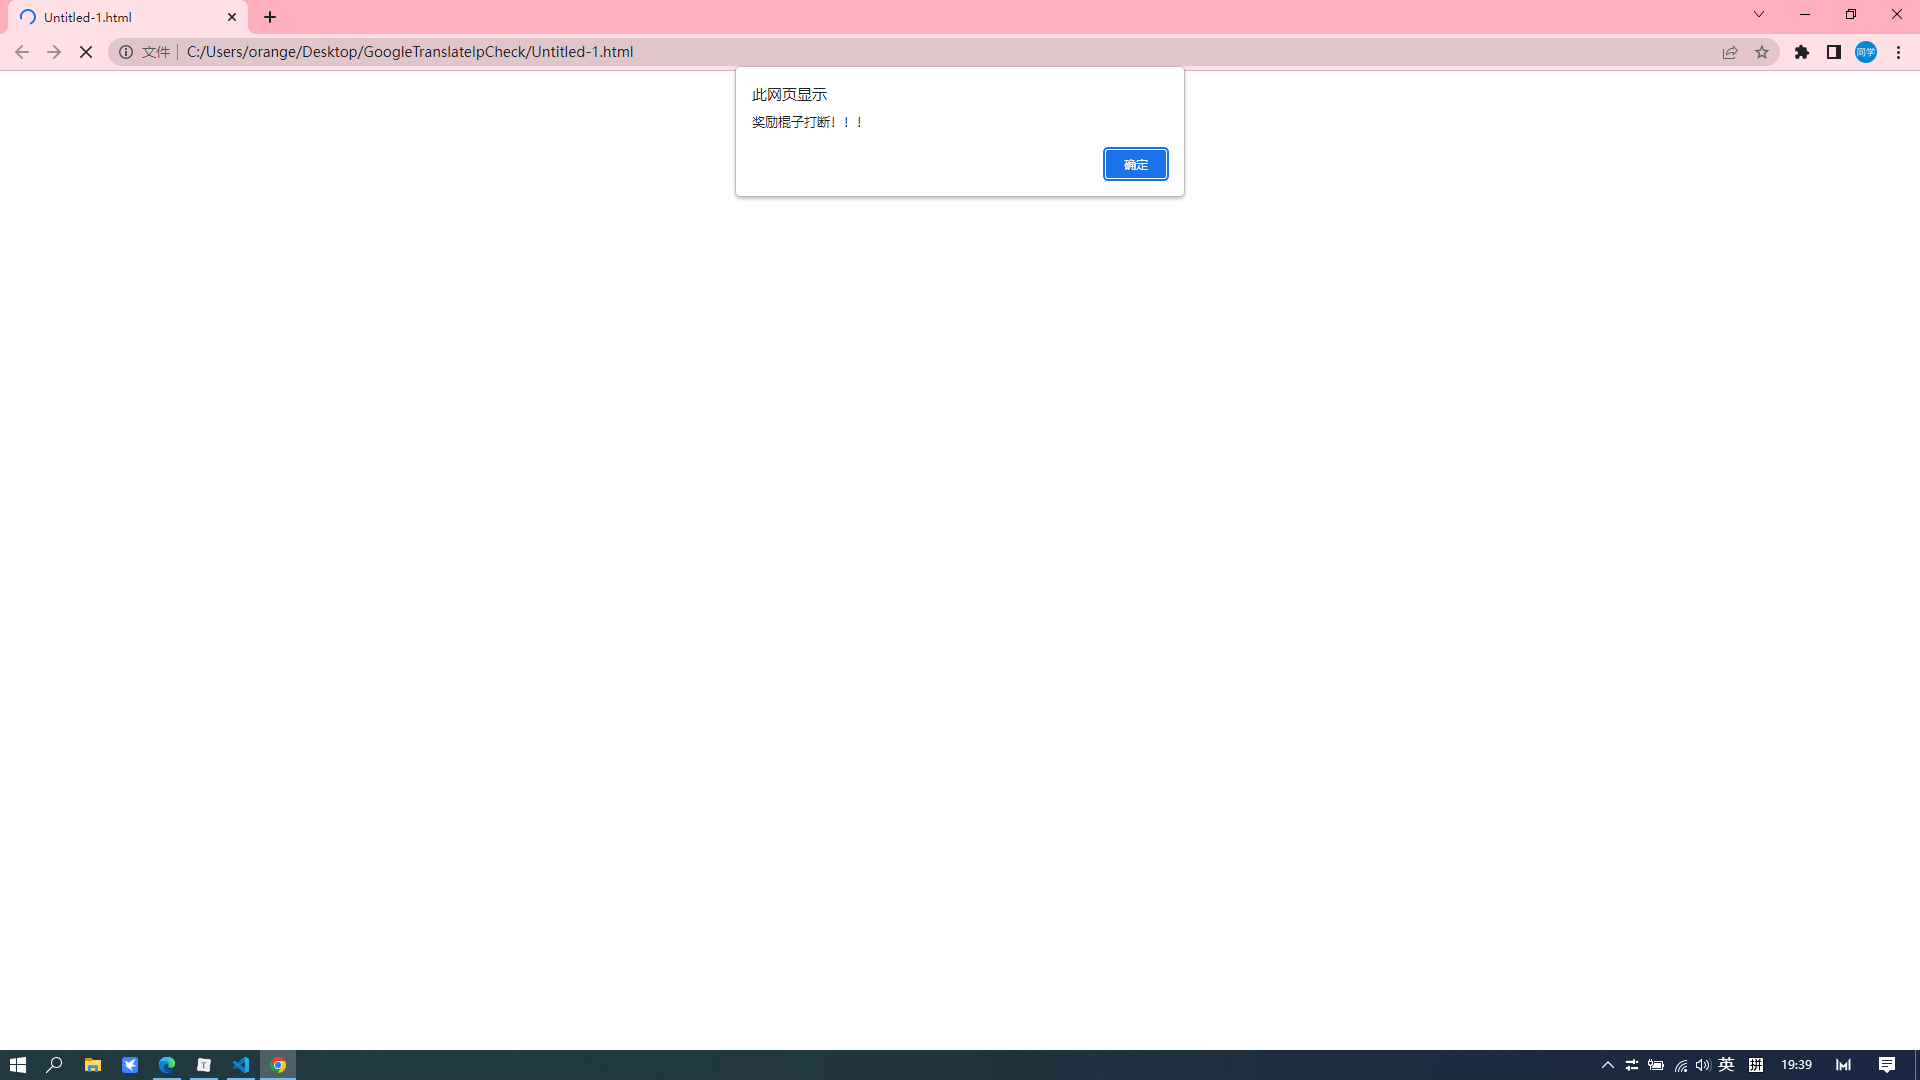
image-20230130193948675

image-20230130193957418

1
2
3
4
5
6
7
8
9
10
11
12
13
14
15
16
17
18
19
20
21
22
23
24
25
26
27
<!DOCTYPE html>
<html>
<head>
<meta charset="UTF-8">
<title></title>
<script type="text/javascript">
var a = prompt("输入你的成绩:");
if(a > 100 || a < 0 || isNaN(a)){
alert("拖出去毙了!!!");
}else{
if(a == 100){
alert("奖励宝马一辆");
}else if(a >= 80){
alert("奖励一台手机");
}else if(a >= 60){
alert("奖励十年模拟,三年高考试卷100套");
}else{
alert("奖励棍子打断!!!")
}
}

</script>
</head>
<body>

</body>
</html>

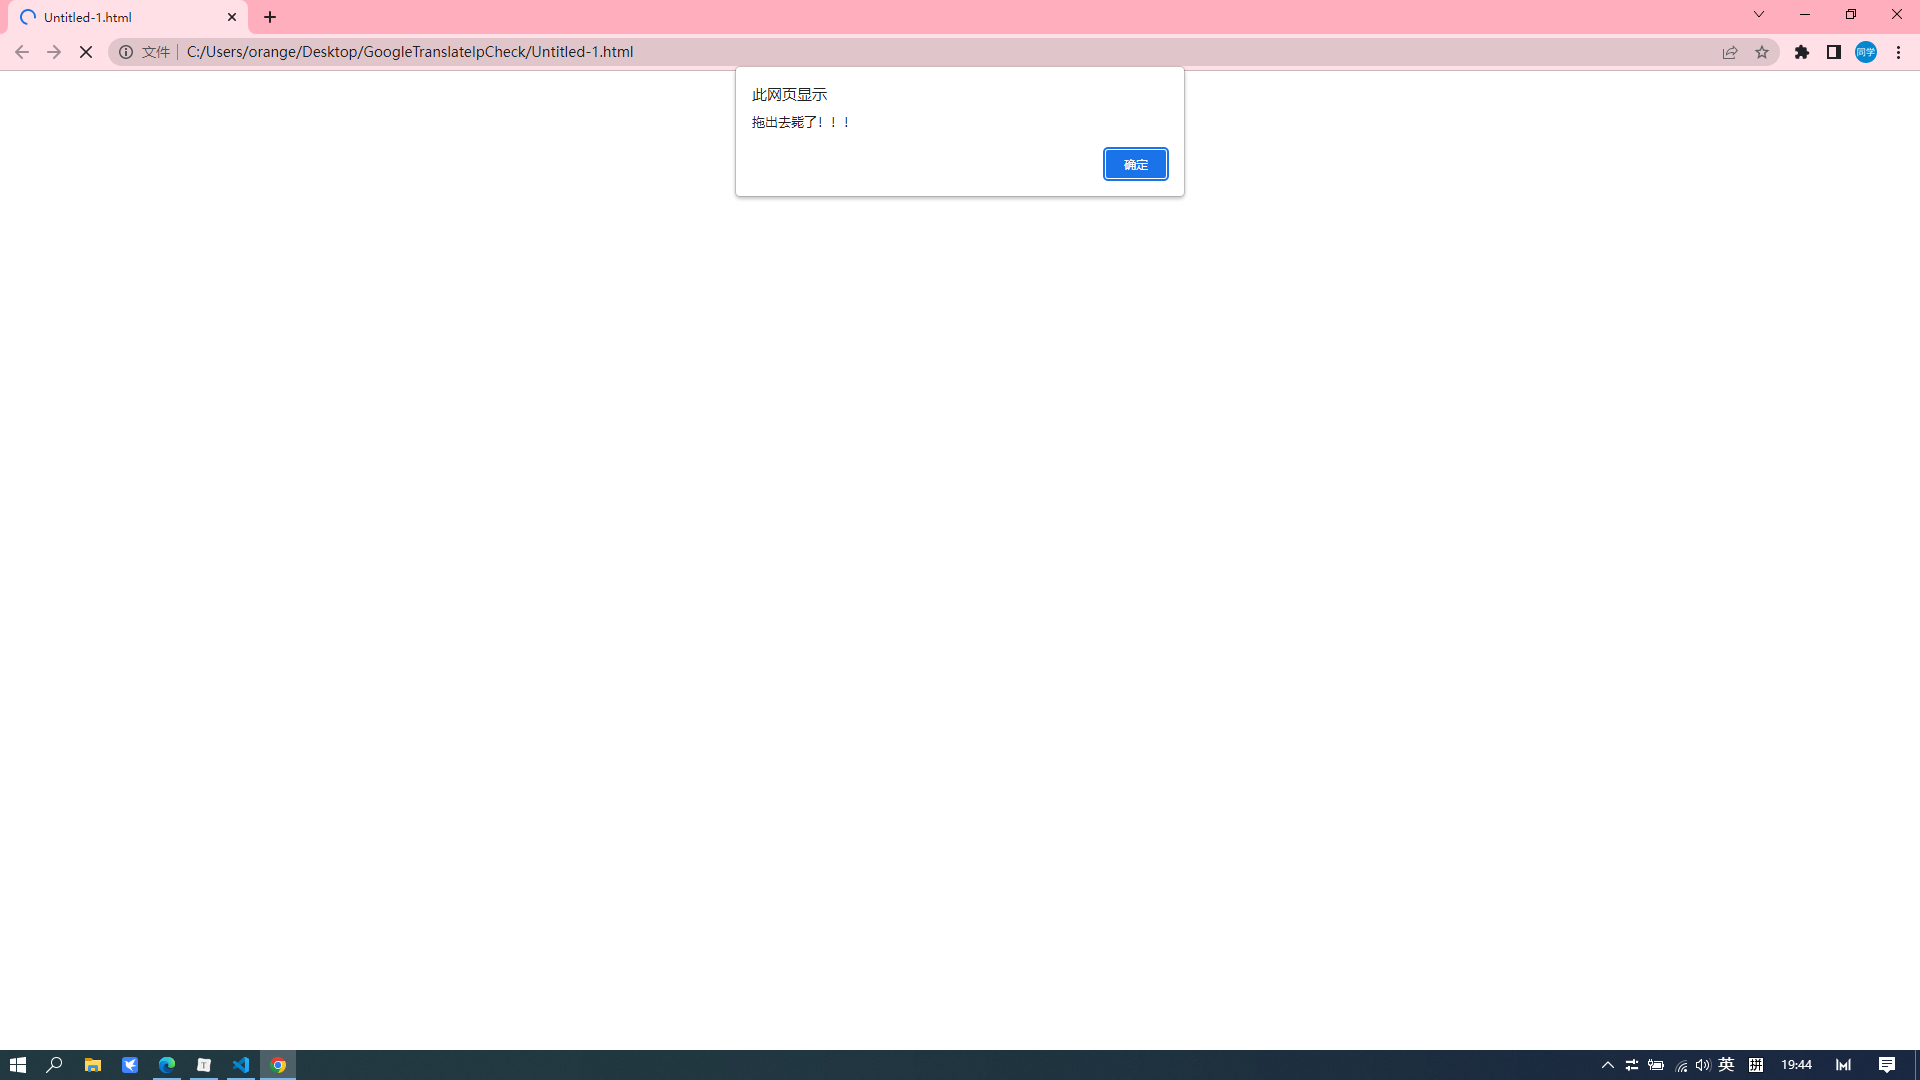
image-20230130194424865

switch

1
2
3
4
5
6
7
8
9
10
11
12
13
14
15
16
17
18
19
20
21
22
23
24
<!DOCTYPE html>
<html>
<head>
<meta charset="UTF-8">
<title></title>
<script type="text/javascript">
var a = Number(prompt("输入1-3其中之一的数字:"));
switch(a){
case 1:
console.log("壹");
break;
case 2:
console.log("贰");
break;
case 3:
console.log("叁");
break;
}
</script>
</head>
<body>

</body>
</html>

image-20230130213105881

1
2
3
4
5
6
7
8
9
10
11
12
13
14
15
16
17
18
19
20
21
22
23
24
25
<!DOCTYPE html>
<html>
<head>
<meta charset="UTF-8">
<title></title>
<script type="text/javascript">
var a = Number(prompt("输入你的成绩0~100:"));
switch(parseInt(a/10)){
case 10:
case 9:
case 8:
case 7:
case 6:
console.log("合格");
break;
default:
console.log("不合格");
break;
}
</script>
</head>
<body>

</body>
</html>

image-20230130221606311

1
2
3
4
5
6
7
8
9
10
11
12
13
14
15
16
17
18
19
20
21
<!DOCTYPE html>
<html>
<head>
<meta charset="UTF-8">
<title></title>
<script type="text/javascript">
var a = Number(prompt("输入你的成绩0~100:"));
switch(true){
case a >= 60:
console.log("合格");
break;
default:
console.log("不合格");
break;
}
</script>
</head>
<body>

</body>
</html>

image-20230130221811910

while

1
2
3
4
5
6
7
8
9
10
11
12
13
14
15
16
<!DOCTYPE html>
<html>
<head>
<meta charset="UTF-8">
<title></title>
<script type="text/javascript">
var a = 1;
while(a <= 10){
document.write(a++ +"</br/>")
}
</script>
</head>
<body>

</body>
</html>

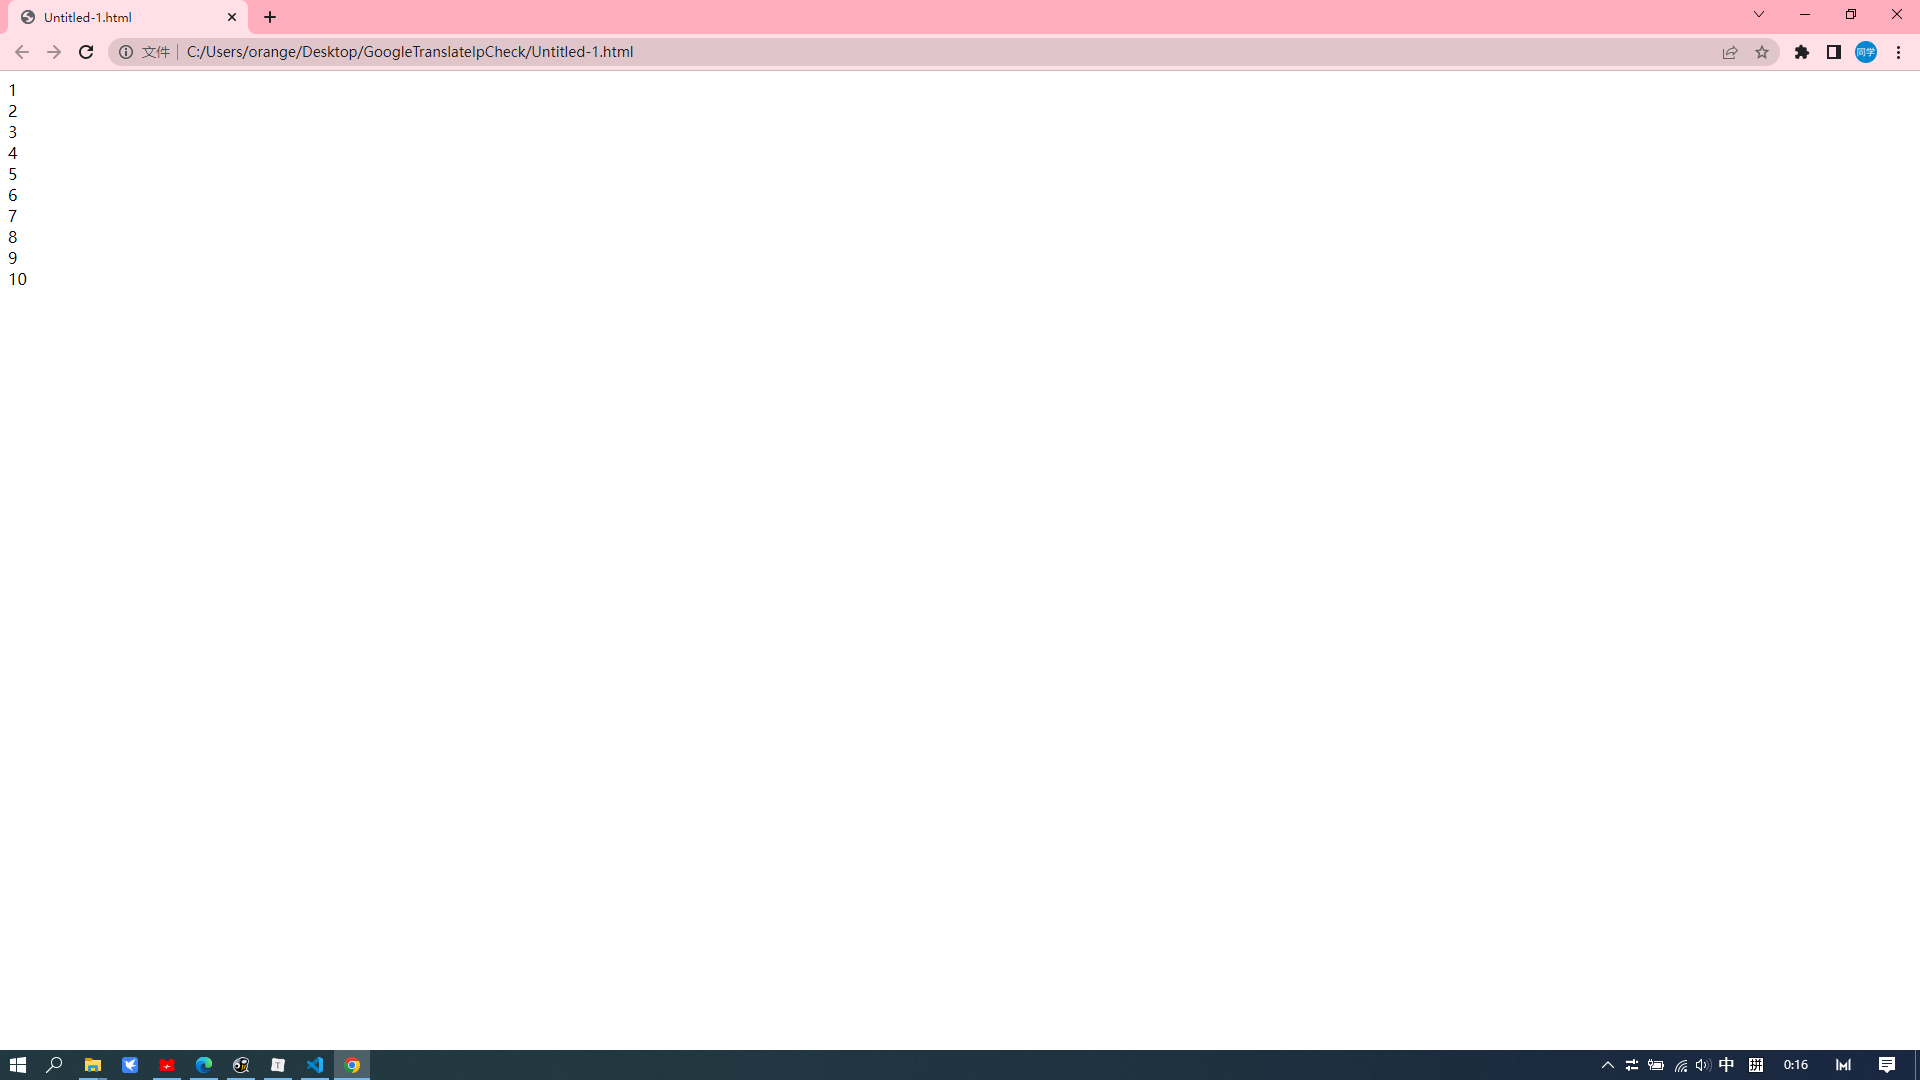
image-20230201001654609

do…while

1
2
3
4
5
6
7
8
9
10
11
12
13
14
15
16
<!DOCTYPE html>
<html>
<head>
<meta charset="UTF-8">
<title></title>
<script type="text/javascript">
var a = 1;
do{
document.write(a++ +"<br/>");
}while(a <= 10);
</script>
</head>
<body>

</body>
</html>

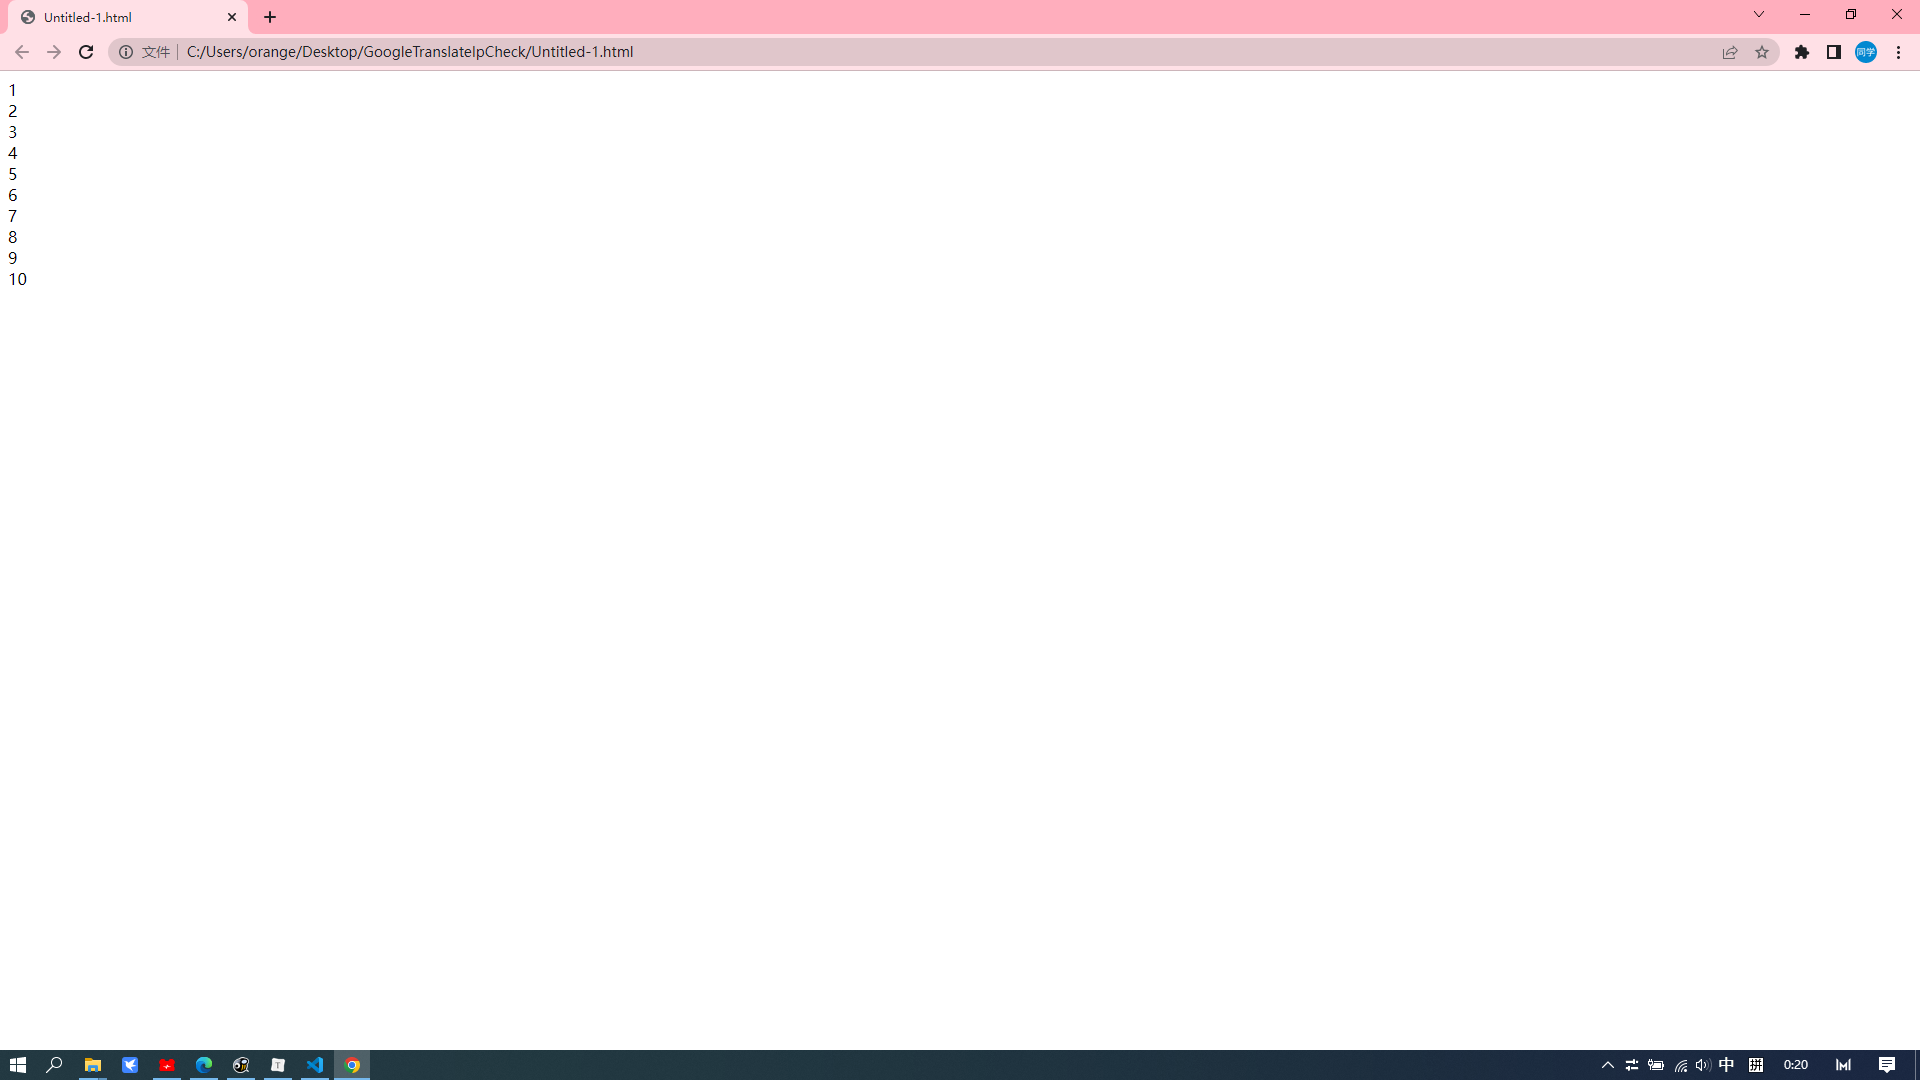
image-20230201002041684

案例 1点击按钮会高亮

01_体验js.html

image-20230824184702067

image-20230824184714907

1
2
3
4
5
6
7
8
9
10
11
12
13
14
15
16
17
18
19
20
21
22
23
24
25
26
27
28
29
30
31
<!DOCTYPE html>
<html lang="en">

<head>
<meta charset="UTF-8">
<meta name="viewport" content="width=device-width, initial-scale=1.0">
<title>Document</title>
<style>
.pink {
background-color: pink;
}
</style>
</head>

<body>
<button class="pink">按钮1</button>
<button>按钮2</button>
<button>按钮3</button>
<button>按钮4</button>
<script>
let bts = document.querySelectorAll('button')
for (let i = 0; i < bts.length; i++) {
bts[i].addEventListener('click', function () {
document.querySelector('.pink').className = ''
this.className = 'pink'
})
}
</script>
</body>

</html>

[toc]

把下载好的pte81-85解压到/root目录下,知道pte81-85解压后是一个www目录

tutum/apache-phppull下来

1
docker pull tutum/apache-php

然后把/root/www下的每一个文件夹分别对应81,82,83,84,85这五个端口即可

1
2
3
4
5
docker run -d -p 81:80 --name=pte_81 -v /root/www/0x1oa/:/app  tutum/apache-php
docker run -d -p 82:80 --name=pte_82 -v /root/www/md3oa/:/app tutum/apache-php
docker run -d -p 83:80 --name=pte_83 -v /root/www/mk2po/:/app tutum/apache-php
docker run -d -p 84:80 --name=pte_84 -v /root/www/oj5fp/:/app tutum/apache-php
docker run -d -p 85:80 --name=pte_85 -v /root/www/zo4m1/:/app tutum/apache-php
1
nmap -A -sV -T4 -p- 192.168.241.134

image-20230114194132350

1
dirsearch -u http://192.168.241.134:27689

image-20230114194559985

/robots.txt/web.config.bak通过/web.config.bak可得知数据库的账号和密码

image-20230114195354272

  • 账号:down
  • 密码:downsql